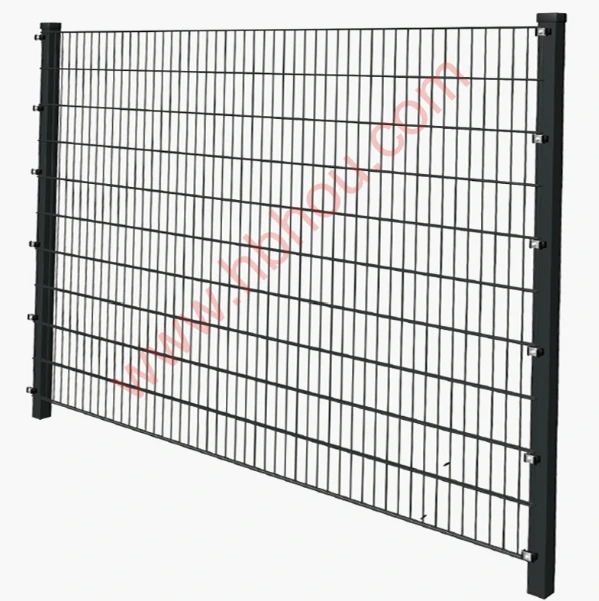
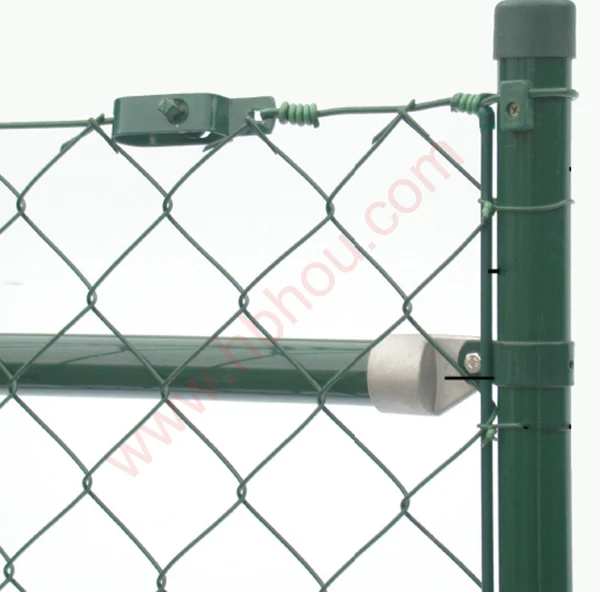
Setting Metal Fence Posts in Concrete A Step-by-Step Guide
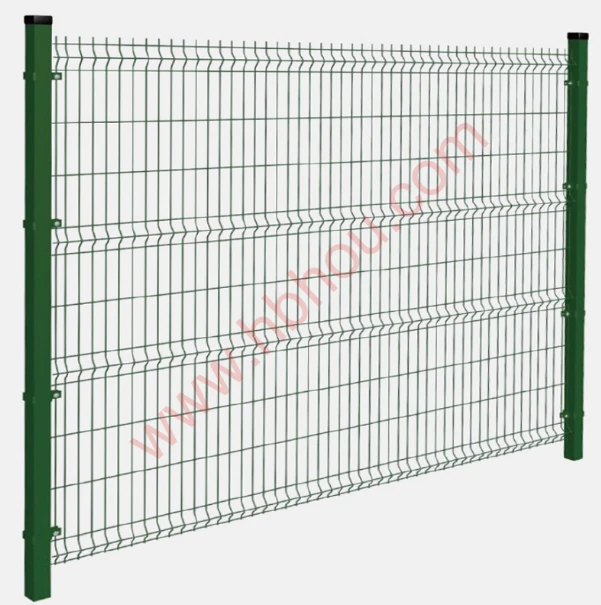
Installing a metal fence can significantly enhance your property’s security and aesthetic appeal. However, the key to a sturdy and long-lasting fence lies in the proper installation of its posts. Setting metal fence posts in concrete is one of the best methods to ensure stability and durability. This article will guide you through the process step by step.
Step 1 Gather Your Materials
Before starting, ensure you have all the necessary materials
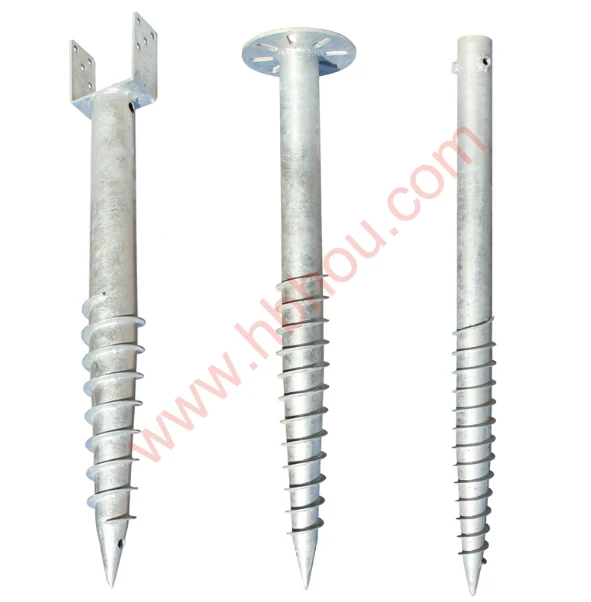
1. Metal Fence Posts Choose galvanized or coated options to prevent rusting. 2. Concrete Mix Ready-mix concrete works well for this purpose. 3. Post Hole Digger You can use a manual or powered digger. 4. Level A post level is essential to ensure your posts are straight. 5. String Line Useful for maintaining even spacing between posts. 6. Water For mixing the concrete. 7. Shovel For digging and mixing.
Step 2 Marking the Area
Plan where your fence will go. Use stakes and a string line to outline the fence's layout. Mark the position of each post, ensuring that they are evenly spaced apart based on the design of your fence, typically 6 to 8 feet apart for most types of fencing.
Step 3 Digging the Holes
Using your post hole digger, dig holes for the fence posts. The holes should be at least one-third of the total height of the fence post deep to provide adequate support. A depth of 2 to 3 feet is recommended for most fences. The diameter of the hole should be about three times the width of the post.
Step 4 Setting the Posts
Once the holes are dug, insert the metal posts into the center of each hole. Use a level to ensure each post is vertical. It’s crucial to check this frequently as you proceed, as minor adjustments can prevent significant issues later on.
set metal fence post in concrete
Step 5 Mixing the Concrete
Follow the instructions on your concrete mix to prepare it. Typically, you’ll need to combine water and concrete mix in a wheelbarrow or a large bucket. Stir until it achieves a thick, workable consistency.
Step 6 Pouring Concrete
Carefully pour the mixed concrete into the hole around the base of the post. Fill the hole to just above ground level, as the concrete will settle slightly when it dries. Use your shovel to tamp down the concrete and eliminate air pockets. Ensure that the post remains level and centered during this process.
Step 7 Finishing Touches
After the concrete is poured, smooth out the surface around the top of the concrete with a trowel for a neat finish. It’s also a good idea to create a slight slope away from the post to help with drainage and prevent water pooling.
Step 8 Curing the Concrete
Allow the concrete to cure as per the manufacturer's instructions. This usually takes about 24 to 48 hours, but it’s best to wait at least a week before attaching the fence panels.
Conclusion
By setting your metal fence posts in concrete, you’re ensuring your fence has the strength and stability it needs to withstand the elements. This step-by-step guide should help you achieve a professional finish even if you’re a DIY novice. A well-installed fence not only provides security but can also enhance the overall look of your property. Happy fencing!


