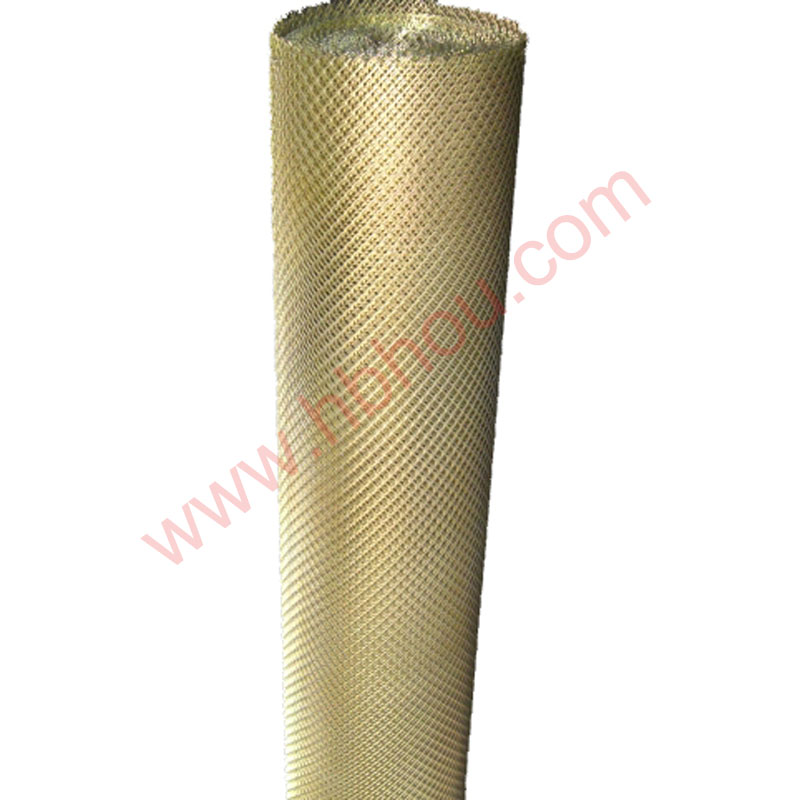
Building a Chain Link Fence with Wood Posts
Building a chain link fence with wood posts combines the durability of metal fencing with the aesthetic appeal of natural wood. This project can enhance your property’s security while offering an attractive design. Below is a comprehensive guide on how to construct a chain link fence using wood posts, ensuring it's both functional and visually pleasing.
Materials Needed
1. Wood Posts Choose pressure-treated wood for longevity. The size will depend on your fence height but typically 4x4 inch posts are standard. 2. Chain Link Fabric Ensure you select the right height and gauge for your chain link fabric. 3. Top Rail Usually a metal tube that runs along the top of the fence for added support. 4. Tension Wire Needed for added stability at both the top and bottom of the fabric. 5. Fence Fittings This includes tension bands, bolts, and clips needed to secure the fabric to the posts. 6. Concrete For securing the wood posts in the ground. 7. Tools You’ll need basic tools such as a post hole digger, level, pliers, a saw, a hammer, and a measuring tape.
Step-by-Step Guide
1. Planning and Design Start by determining where you want to place the fence. Measure the area accurately and create a layout plan. Check with local zoning laws concerning fence height and placement.
2. Post Installation - Digging Holes Use a post hole digger to create holes for your wood posts. The holes should be about 2-3 feet deep and spaced 6-8 feet apart, depending on your fence design. - Setting the Posts Place the wood posts in the holes. Use a level to ensure they are straight and plumb. Pour concrete around the posts to secure them, allowing about 24-48 hours for the concrete to set. - Cutting to Height After the concrete has set, cut the posts to the desired height if needed.
building chain link fence with wood posts

3. Attaching the Top Rail Once the posts are set, install the top rail. Connect the top rail to the wood posts using fence fittings. Ensure the top rail is level across the length of the fence.
4. Installing Chain Link Fabric - Unrolling the Chain Link Carefully unroll the chain link fabric along the fence line. - Attaching the Fabric to the Posts Use tension bands and bolts to attach the chain link fabric to the wood posts, securing it tightly. This will ensure that the fabric remains taut and doesn’t sag. - Install Tension Wire Attach tension wire at the bottom and top of the fence for added stability. Ensure this is tightly secured to prevent any movement.
5. Finishing Touches After all parts are mounted, make sure that all fittings are secure and double-check that the chain link fabric is taut. You might want to paint or stain the wood posts to enhance their appearance and longevity.
6. Maintenance To keep your fence in good condition, perform regular inspections. Check for any loose fittings or damage and address it promptly. Cleaning the chain link will help to maintain its appearance, while staining or sealing the wood posts every few years will protect them from the elements.
Conclusion
Constructing a chain link fence with wood posts is a rewarding DIY project that enhances the functionality and visual appeal of your property. With proper planning and execution, you can ensure your fence serves as an effective barrier and an attractive feature of your landscape. Enjoy the process, and take pride in the sturdy, well-constructed fence that will last for years to come!


