Stretching Welded Wire Fence by Hand A Practical Guide
Creating a sturdy, long-lasting welded wire fence can significantly enhance your property’s security and aesthetics. While many may opt for mechanical tools to stretch fencing materials, being adept at doing it by hand not only saves on equipment costs but also allows for greater control over the process. This article provides a comprehensive guide on effectively stretching welded wire fencing by hand.
Understanding Welded Wire Fencing
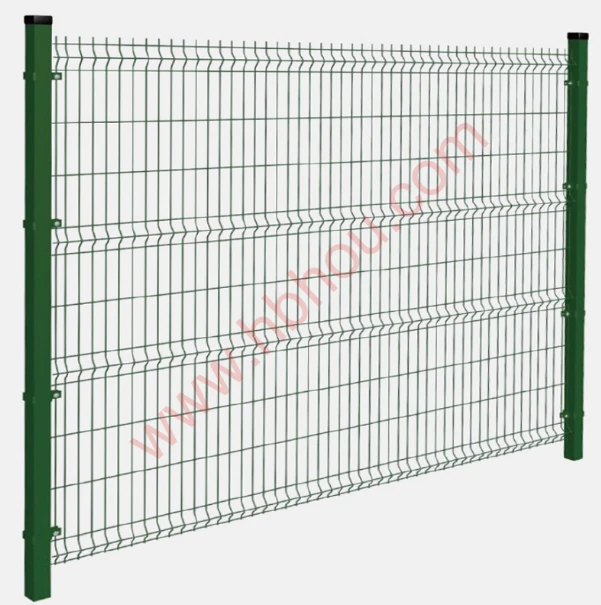
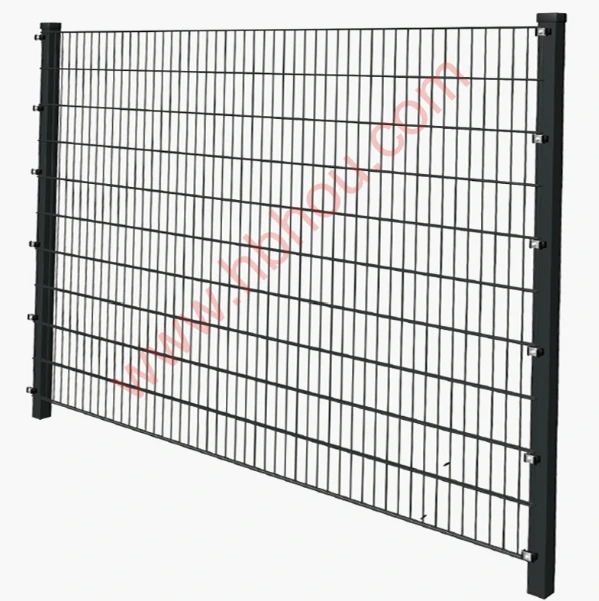
Welded wire fencing is a reliable option constructed from steel wires that are welded at intersections to create a robust and durable mesh. This type of fencing is popular for livestock containment, garden protection, and boundary delineation due to its strength and resilience to weather conditions. When properly installed, it creates a strong barrier that can last for years.
Preparation is Key
Before embarking on your fencing project, it is essential to gather your materials and tools
. You will need- Welded wire fencing rolls - Fence posts (wooden or metal) - Post hole digger or auger - Concrete mix (if setting posts) - Wire cutters - Tensioning tools (such as come-along or hand winch, though manual stretching is possible) - Gloves and protective eyewear
First, determine the area where the fence will be installed, and mark your corner and end post locations. Make sure to comply with any local regulations regarding property lines.
Installation Steps
stretching welded wire fence by hand

1. Post Placement Begin by installing your fence posts at the marked locations. Dig holes deep enough to support the height of the fence and set the posts in concrete for stability. Allow the concrete to cure fully before proceeding.
2. Unrolling the Wire Roll out the welded wire fencing alongside the line of posts. Ensure it is unrolled in the direction you wish to install it to avoid tangling. It's advisable to do this with at least one assistant to manage the wire effectively and prevent kinks.
3. Attaching to Posts Fasten the first end of the wire to the terminal post using fence staples or wire. You can secure it by wrapping the end tightly around the post and using staples to anchor it. Make sure the wire is as vertical as possible to maintain an even look.
4. Stretching the Wire Stretching the wire is perhaps the most critical step. Start by pulling the wire taut toward the next terminal or corner post. You can use a come-along or hand winch for this if available; however, stretching by hand requires muscle and technique. With one person on each side of the post, pull as hard as possible without twisting the wire, using a rocking motion to help gain tension.
5. Securing the Stretch Once the wire is taut, immediately secure the wire to the posts using staples or wire ties. This will prevent it from slipping back and losing the tension you've gained. Repeat this process for the entire length of the fence, regularly checking to maintain an even tautness.
6. Final Touches After all sections are secured, walk along the fence line to check for any sagging or loose spots. Adjust accordingly, ensuring a consistent height and tension. Trim any excess wire at the end and finish securing your posts if necessary.
Conclusion
Stretching welded wire fence by hand might seem challenging, but it is not only doable but can also be quite rewarding. Proper preparation and technique will lead to a durable and visually pleasing fence. Remember that the care you take in installation will reflect in the fence's longevity and functionality. Embrace the manual method as a way to connect with your property while building a secure environment for your needs.


