How to Install Chain link Fencing
In this article, we will guide you with step-by-step instructions on How to Install Chain link Fencing in no time. Chain Link Fencing is a cost-effective and durable fencing option that is widely used in commercial and residential settings. If you are planning to install chain link fencing in your property, here are the steps you need to follow.
Step by Step Guide on How to Install Chain Link Fencing
Step 1: Check Zoning and Permit Requirements
Before you follow the chain link fence installation instructions, check with your local zoning and permit office to ensure that you comply with the zoning laws and obtain the necessary permits. Zoning regulations and permit requirements vary depending on the location, so make sure you understand the requirements in your area.
Step 2: Gather the Necessary Tools and Materials
You will need the following tools and materials to install chain link fencing:
- Measuring tape
- Posthole digger
- Level
- Shovel
- Cement mix
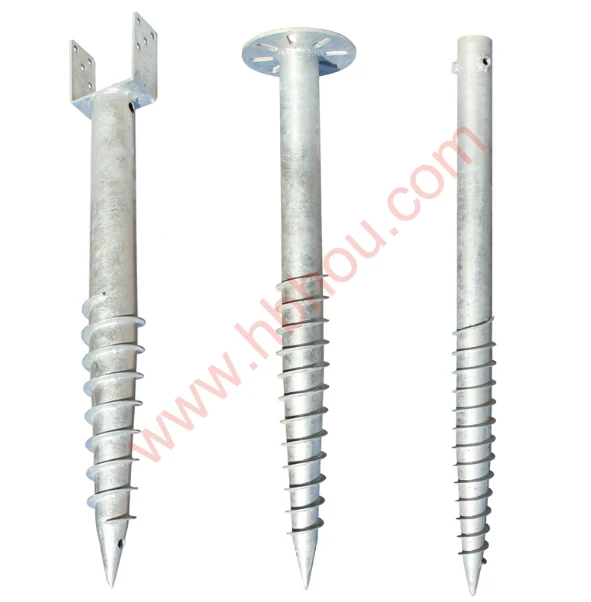
- Fence posts
- Top rails
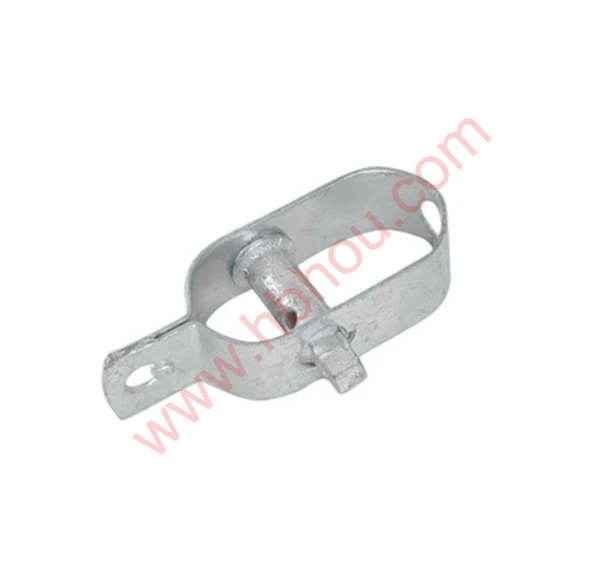
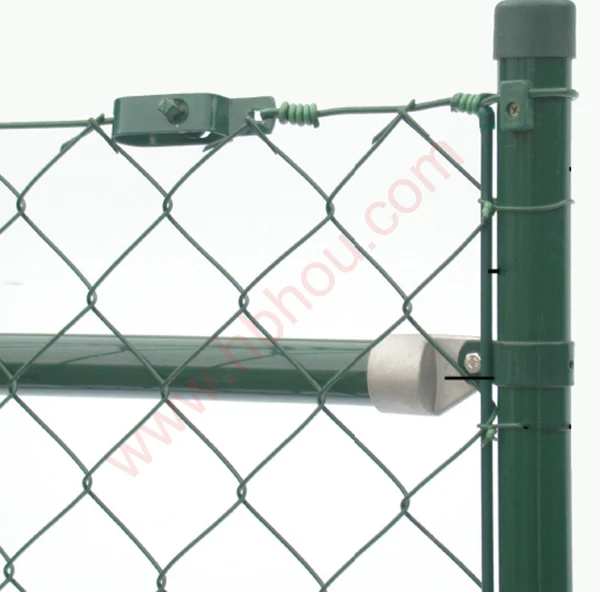
- Tension bands
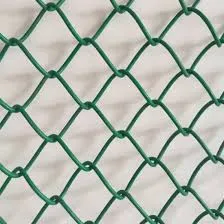
- Fence fabric
- Fence ties
- Gate hardware
- Wire cutters
Step 3: Mark the Fence Line
Use a measuring tape to mark the fence line. Make sure the line is straight and level. If your property has a slope, make sure the fence line follows the slope.
Chain Link Fence Smart Secure Boundary Fencing PVC or Galvanized
Step 4: Dig Post Holes
Use a posthole digger to dig holes for the fence posts. The depth of the holes should be one-third the height of the fence post. For example, if you are using 6-foot fence posts, dig holes that are 2 feet deep.
Step 5: Install the Fence Posts
Place the fence posts into the holes and fill the holes with cement mix. Use a level to ensure that the posts are plumb and level. Allow the cement mix to set for at least 24 hours.
Step 6: Install the Top Rails
Attach the top rails to the fence posts using tension bands. Make sure the top rails are level and evenly spaced.
Step 7: Attach the Fence Fabric
Unroll the fence fabric along the fence line and attach it to the top rails using fence ties. Make sure the fabric is taut and evenly spaced.
Step 8: Install the Gate Hardware
If you are installing a gate, attach the gate hardware to the fence posts and the gate frame. Use wire cutters to cut the fence fabric to fit around the gate frame.
Step 9: Secure the Fence Fabric
Once you have attached the fence fabric to the top rails, use fence ties to secure the fabric to the line posts. Make sure the fabric is taut and evenly spaced.
Step 10: Finishing Touches
Trim any excess fence fabric using wire cutters. Make sure the gate swings freely and adjust the gate hardware if necessary.
In conclusion, installing a chain link fence is a relatively simple process that requires following the chain link fence installation instructions. With the right tools and materials, you can install a durable and functional fence that will provide security and privacy for your property.
Still having doubts on How to Install Chain link Fencing? YKM Fence Team is available to guide you. We are the leading chain link fencing supplier and manufacturer with a dedicated fence installation team.
How to choose the right material for fencing?
When choosing the right chain link fencing , consider the level of security and privacy you need, as well as the environmental conditions of your area. Welded mesh galvanized is the most common and affordable option, but it may not be suitable for areas with high moisture or salt content. Corrosion Resistant Vinyl-coated chain link Fence comes in a variety of colors, making it a popular choice for residential fencing. For high-security applications, consider using heavy-duty materials such as aluminized steel or stainless steel wire mesh chain link fence. Ultimately, the right material & having an idea of How to Install Chain link Fencing will help reduce the over budget for fencing.
Faq (Frequently Asked Questions)
Installation times vary based on the area’s size and complexity. On average, it may take3 to 4 days for a standard residential property.
Yes, chain link fencing is adaptable and can be installed on uneven terrain with proper adjustments.
While it’s possible, professional installation ensures accuracy and durability. DIY installation requires careful attention to detail.

