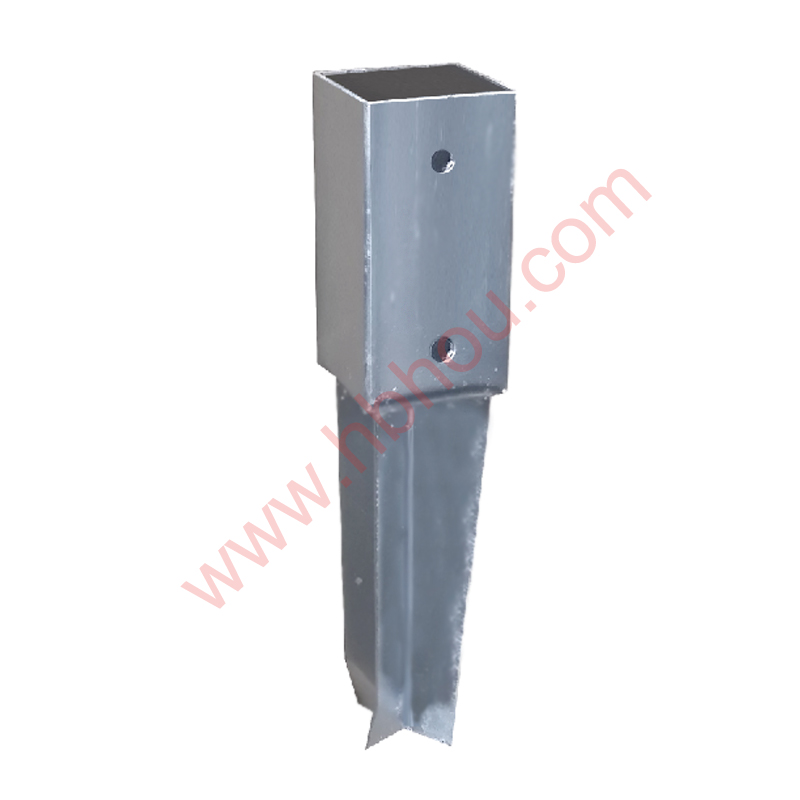
Setting Up a Snow Fence A Comprehensive Guide
As winter approaches, homeowners in snowy regions often face the challenge of managing snow accumulation around their property. One effective solution is to set up a snow fence. A well-placed snow fence can minimize drifting and accumulation, protecting driveways, sidewalks, and landscape features from unwanted snow buildup. This guide will walk you through the steps to effectively set up a snow fence to enhance your winter experience.
Understanding Snow Fences
Before delving into the setup process, it’s important to understand what a snow fence is and how it works. A snow fence is typically a barrier constructed of wood, vinyl, or fabric that can effectively disrupt wind patterns and control snow drifts. The primary purpose of a snow fence is to create a snow catchment area, preventing snow from piling up in unwanted locations.
Choosing the Right Location
The first step in setting up a snow fence is determining the ideal location. Place the fence at least 20 to 50 feet away from the areas you want to protect, depending on the terrain and typical wind patterns. The goal is to allow the fence to intercept the wind and cause the snow to be deposited in front of it rather than behind it.
When surveying potential fence locations, look for open areas where wind can flow freely. Avoid placing the fence close to trees or buildings, as these can disrupt wind flow and reduce the fence's effectiveness. Instead, aim for a higher ground or a gently sloping area, as this will enhance the fence’s ability to redirect the snow.
Selecting the Type of Fence
There are different types of snow fences to choose from, each having its pros and cons. Traditional wooden slatted fences are effective and durable but require maintenance. In contrast, synthetic materials such as mesh are lightweight and easy to install but may not be as effective in extreme conditions. Choose according to your needs, budget, and how permanent you want the installation to be.
Installation Process
setting up snow fence

1. Gather Materials For a simple wooden snow fence, you will need wooden posts, slats or boards, nails, and a hammer. If you opt for a mesh material, ensure you have the appropriate posts and connectors.
2. Mark the Location Use stakes to mark where the fence will go. This will help you visualize the setup and ensure alignment.
3. Set the Posts Dig holes for your posts, making sure they are securely buried to withstand snow load and wind pressure. A depth of at least one-third of the post height is recommended. Space the posts about 8 to 10 feet apart.
4. Attach the Fencing Material For wooden slats, nail the boards horizontally between the posts, leaving gaps to allow wind flow. If using mesh, stretch the material tautly between the posts and secure it tightly.
5. Secure the Base Ensure that the bottom of the fence is secured to the ground. This prevents wind from lifting the fence and ensures that it remains stable throughout the season.
Maintenance and Considerations
Once your snow fence is in place, it’s crucial to monitor its condition throughout the winter. Check for any signs of damage from heavy snow or high winds. Make repairs as necessary to ensure continued effectiveness.
Additionally, be aware of local regulations regarding snow fences, as some areas may have specific requirements regarding height and placement to ensure they do not obstruct visibility or pose hazards.
Conclusion
Setting up a snow fence is an effective way to manage snow accumulation during winter months. By choosing the right location, selecting appropriate materials, and carefully installing your fence, you can protect your property while embracing the beauty of the winter season. With proper maintenance, your snow fence will serve as a barrier against the cold, ensuring a safer and more enjoyable winter for you and your family.


