Setting Up Fence Posts A Step-by-Step Guide
Fencing serves multiple purposes in residential and agricultural settings, from providing privacy and security to keeping livestock contained. One of the most critical aspects of building a fence is setting up the fence posts properly. Properly installed posts ensure that your fence remains sturdy and lasts for years to come. In this article, we'll walk you through the process of setting up fence posts effectively.
1. Gather Your Materials
Before you begin, gather all the necessary tools and materials. You'll need fence posts (wood, vinyl, or metal), concrete mix or compacted gravel, a post hole digger or auger, a level, a tape measure, a string line, and a hammer. Having everything ready will help streamline the installation process.
2. Mark Your Layout
The first step in setting up fence posts is to choose the location where your fence will go. Use stakes and a string line to outline the layout. Mark the exact spots where you want each post to be placed – typically, posts should be spaced 6 to 8 feet apart depending on the fence type. Make sure to check local regulations or HOA guidelines for any specific rules regarding fence placement.
Once your layout is marked, it’s time to dig the post holes. The general rule of thumb is to dig holes that are one-third the length of the post. For example, if you are using an 8-foot post, aim for a hole that is about 2 to 2.5 feet deep. The width of the hole should be about three times the thickness of the post (usually 10-12 inches wide). Use a post hole digger or auger for efficiency. Ensure the holes are deep enough to provide stability, especially for taller fences.
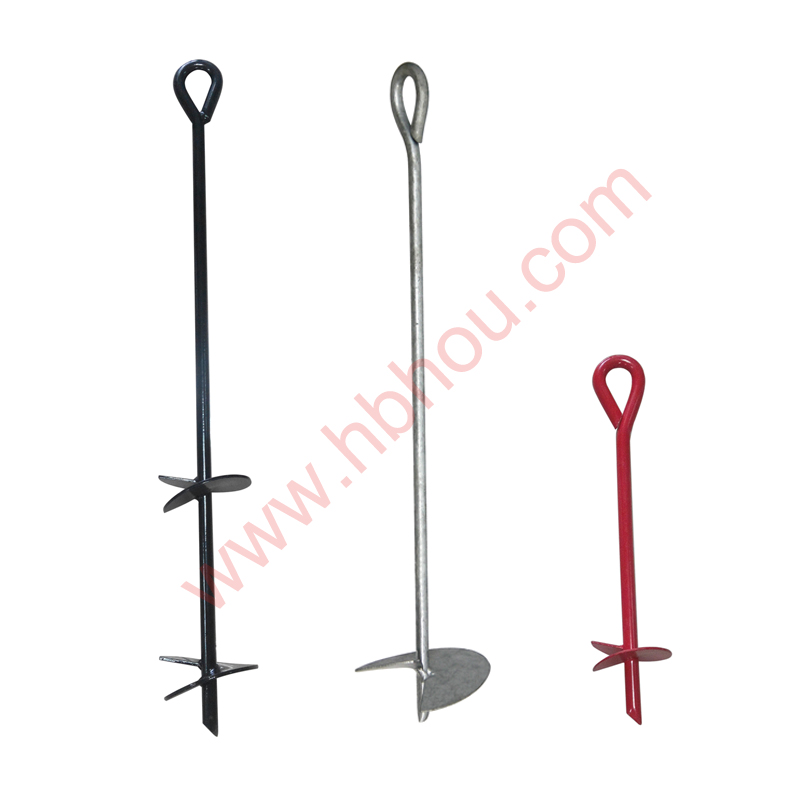
setting up fence posts
4. Positioning the Posts
Place your fence posts in the center of each hole. Use a level to ensure the posts are plumb (vertically straight). This step is crucial because a leaning post can ruin the appearance and stability of your fence. If the ground is uneven or if you’re working on a slope, you may need to adjust the height of the posts to keep them aligned.
5. Securing the Posts
Once the posts are in position, it’s time to secure them. Fill the hole with concrete mix or compacted gravel. If you’re using concrete, follow the instructions on the bag regarding water ratios. Allow the concrete to set according to the manufacturer's instructions, usually 24-48 hours, before applying any lateral pressure or attaching fence panels.
6. Finishing Touches
After your posts are secured and the concrete has set, you can proceed with attaching the fencing material. If you are installing a wood fence, make sure to use galvanized nails or screws to prevent rust. For chain-link or vinyl fences, follow the manufacturer's guidelines for installation.
Conclusion
Setting up fence posts might seem like a daunting task, but with the right tools and steps in place, it can be a manageable project. Take your time to ensure each post is set up correctly, as this foundation will support the integrity of your entire fence. Whether it’s for privacy, decoration, or security, a well-installed fence can enhance your property for years to come. Happy fencing!


