Setting Up a Snow Fence A Guide to Winter Preparation
As winter approaches, homeowners in snowy regions face the challenge of managing snow accumulation on their property. One effective solution is to install a snow fence. A well-placed snow fence can not only help control the amount of snow that drifts onto your driveway and walkways but also protect your landscaping and outbuildings from the harsh effects of winter storms. Here’s a comprehensive guide on how to set up a snow fence.
Understanding the Purpose
A snow fence works by creating a barrier that disrupts the wind flow and prevents snow from drifting onto areas where it’s not wanted. The fence reduces wind speed and causes snow to settle in front of it instead of accumulating in problematic areas. This not only keeps your paths clear but also reduces the amount of shoveling required throughout the winter season.
Choosing the Right Location
The first step in setting up a snow fence is determining the ideal location. Typically, snow fences should be placed 20 to 40 feet away from the area you want to protect. The exact distance may vary depending on local topography and the direction of prevailing winds. Look for open spaces without obstructions, as this will maximize the fence’s effectiveness.
Selecting Materials
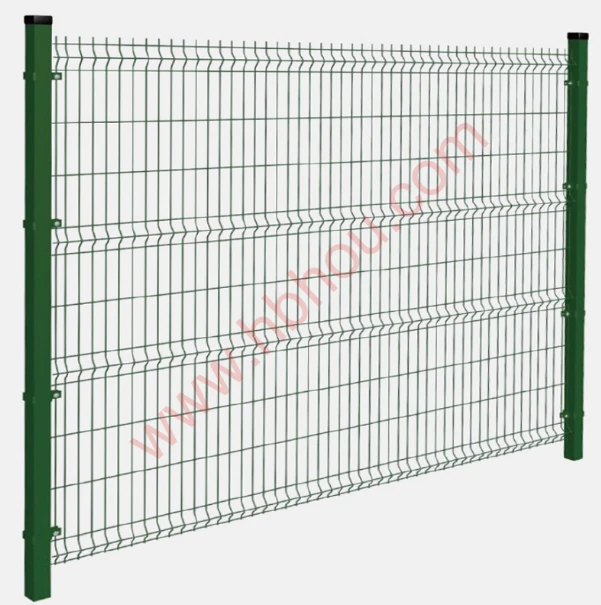
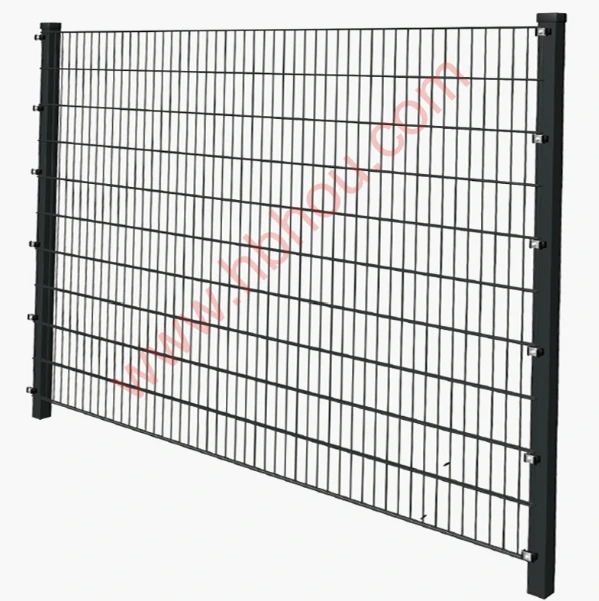
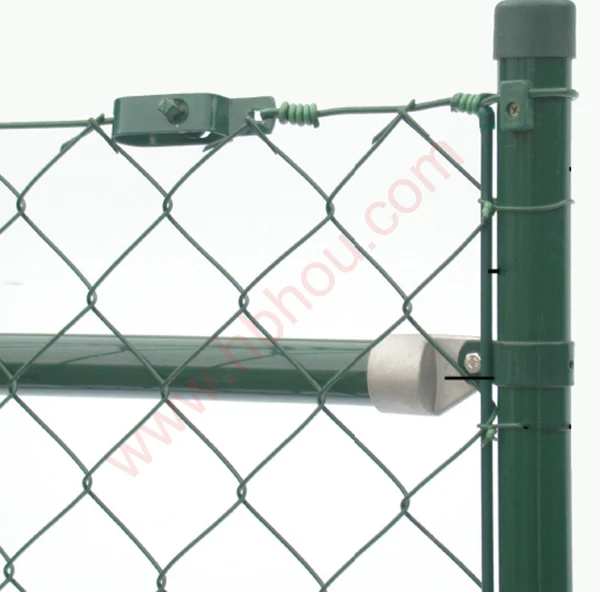
When it comes to materials, there are various options available, including wooden slats, plastic mesh, and wire fencing. Wooden slats are durable and can be very effective, while plastic mesh is lightweight and easy to install. Choose a material that suits your budget and aesthetic preferences, keeping in mind that durability is key for winter weather.
setting up a snow fence

Installation Steps
1. Measure the Area Before installation, measure the area to determine how much fencing material you will need. 2. Prepare the Ground Clear the area where the fence will be installed of snow, debris, and any obstacles that might impede the process.
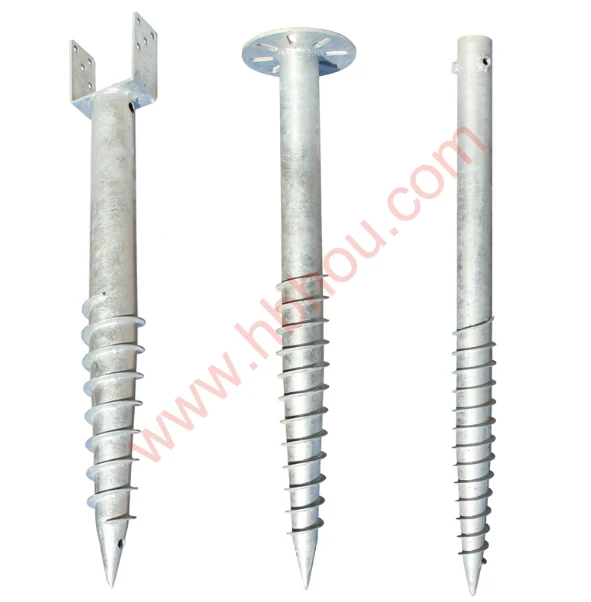
3. Set Up Posts Use stakes or posts, ideally made of wood or metal, to support the fence. Space the posts about 6 to 8 feet apart for stability.
4. Attach the Fence Securely attach the fencing material to the posts. If you’re using wooden slats, ensure they are oriented vertically with gaps to allow wind to pass through.
5. Test Stability Once installed, check the stability of the fence to make sure it can withstand winter winds and heavy snow.
Maintenance
Regularly inspect your snow fence throughout the winter for any damage or wear. Promptly repair any sections that may become compromised to maintain its effectiveness.
By implementing a snow fence, you can significantly reduce the snow accumulation around your home. Not only does this make winter more manageable, but it also protects your property and landscaping from the harsh elements. With these guidelines, you are well on your way to enjoying a snow-free winter season.


