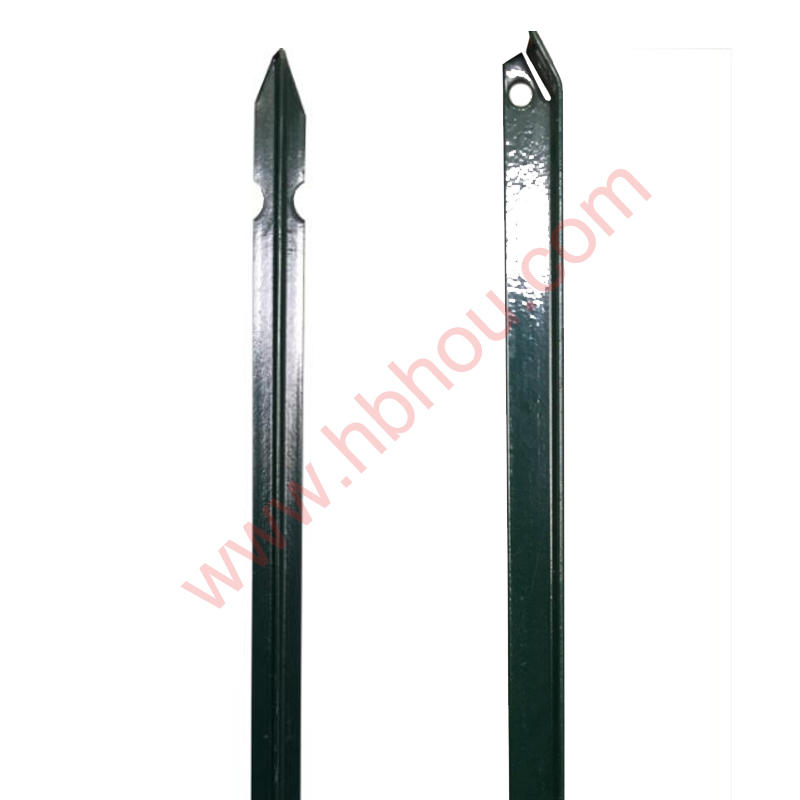
Setting Straight Fence Posts A DIY Guide
When it comes to landscaping, fencing is often one of the first aspects to be tackled. A sturdy and well-aligned fence not only defines your property but also adds to its aesthetic appeal. However, it’s not uncommon for fence posts to become misaligned over time, whether due to shifting soil, natural wear and tear, or accidental impacts. Fortunately, setting straight fence posts is a manageable DIY task that can significantly enhance your outdoor space.
Tools and Materials Needed
Before you begin, gather the necessary tools and materials to ensure a smooth process. You will need
- A level (or a laser level for precision) - A post driver or sledgehammer - A post hole digger - Concrete mix (for securing the posts) - String line - Measuring tape - A saw (if adjustments to the post length are needed) - Safety gear (gloves, goggles)
Step-by-Step Guide
1. Assessing the Current State of the Fence
Start by evaluating your existing fence. Identify which posts need straightening and assess their current positions. Look for signs of leaning or instability. If several posts are misaligned, you might want to work on the entire fence for a consistent appearance.
2. Marking the Correct Positions
Using your measuring tape, determine the correct placement of the fence posts based on your fence design. Use a string line to mark a straight boundary. This will serve as your guide for aligning the posts. Ensure that the distance between the posts is consistent with your fence design, typically between 6 to 8 feet apart, depending on the type of fence.
3. Removing Misaligned Posts
setting straight fence posts

If a post is leaning significantly, it may need to be removed. Use the post hole digger to excavate around the base, loosening the soil. With a bit of force, pull the post out. If the post is set in concrete, you may need to pry it out with a crowbar.
4. Preparing New Holes
Once the misaligned posts are removed, it’s time to dig new holes. The holes should be about one-third the height of the post above ground. Use the post hole digger to create holes at the marked locations along your string line.
5. Setting the Posts
Place the posts into the freshly dug holes. Use a level to ensure that each post is perfectly vertical. This step is crucial, as even a slight lean can affect the entire fence structure. If the post is slightly out of line, adjust its position until it is straight.
Once aligned, fill the hole with concrete mix, ensuring it surrounds the post well. Use your level again to check that the post remains straight while the concrete sets.
6. Finishing Touches
Allow the concrete to cure for the recommended time, usually 24-48 hours, before applying any pressure to the posts. After the concrete sets, you can trim any excess material or make aesthetic adjustments as necessary. Consider adding a weather-resistant seal or paint to protect the wood from the elements.
Conclusion
Setting straight fence posts may seem like a daunting task, but with the right tools and a bit of patience, it can be accomplished by most homeowners. Not only will a straight fence enhance your property’s curb appeal, but it will also provide structural integrity and security. So gear up, and take pride in transforming your outdoor space!


