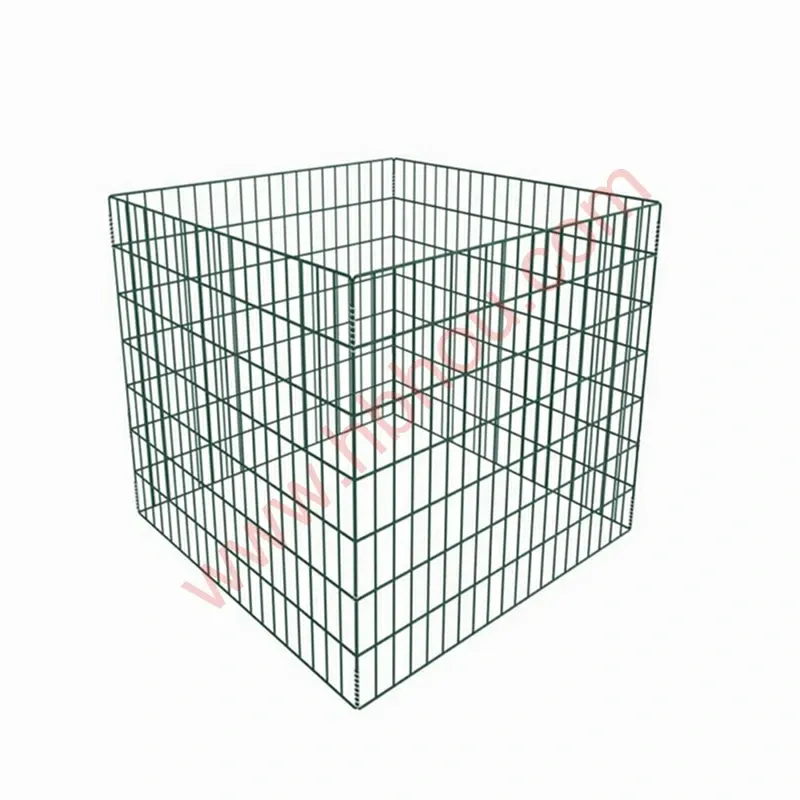
Setting Steel Fence Posts A Step-by-Step Guide
Installing a steel fence is an effective way to secure your property, enhance its aesthetic appeal, and maintain privacy. Among the critical steps in constructing a durable steel fence is properly setting the fence posts. Steel posts provide outstanding support and longevity, making them an excellent choice for both residential and commercial fencing. This article guides you through the process of setting steel fence posts, ensuring a sturdy and professional-looking installation.
Materials Needed
Before you begin, gather the necessary materials and tools
- Steel fence posts (ensure they are of the correct height) - Cement mix or gravel (for securing the posts) - Post hole digger or auger - Level - Measuring tape - String line (for alignment) - Safety goggles and gloves - Water (if using cement)
Step 1 Mark the Fence Line
Start by marking the desired fence line. Use a measuring tape to determine the distance between fence posts, typically 6-8 feet apart, depending on the type of fencing. Use stakes and string to outline the line. This will help keep your installation straight and ensure accurate post placement.
Step 2 Digging the Post Holes
Using a post hole digger or auger, dig holes for the steel posts. The depth of the holes generally depends on the height of the posts; however, a good rule of thumb is to dig at least one-third of the post height into the ground. For example, if you have a 6-foot post, aim for a hole that is 2 feet deep. The diameter of the hole should be around three times the diameter of the post for stability.
Step 3 Setting the Posts
Once the holes are dug, it’s time to set the steel posts. Place a post in the center of each hole, ensuring it is vertical. Use a level to check if the post is straight. This is a crucial step, as leaning or uneven posts can compromise the integrity of the entire fence structure.
setting steel fence posts

If you're using multiple posts, you can run a string line between the first and last post to ensure alignment. Adjust the position of the posts as needed while maintaining a straight line.
Step 4 Securing the Posts
To secure the posts, you can use either cement or gravel. If you opt for cement, mix it according to package instructions and pour it into the hole around the post. Ensure the post remains straight while the cement sets, which can take several hours to cure.
If you prefer gravel, pour it around the post until the hole is filled. Use a tamper to compact the gravel and ensure the post is secure. Gravel allows for better drainage and can be a quicker option for setting posts.
Step 5 Curing the Posts
Allow the cement to cure fully for the time recommended on the package, usually around 24 to 48 hours. If you used gravel, check the posts after a few hours to ensure they haven’t shifted. It’s important to let the posts set firmly before continuing with the installation of the fence panels.
Step 6 Installing the Fence Panels
Once the posts are set and secure, it’s time to install the fence panels. Begin at one end, attaching the panels to the posts according to the manufacturer’s instructions. Ensure each panel is level and secure before moving to the next.
Final Touches
After installing all the panels, check the fence line for any imperfections. Adjust as necessary. Finally, consider applying a protective coating to the steel posts to prevent rust and extend the lifespan of your fence.
By following these steps, you can effectively set steel fence posts, creating a sturdy foundation for your fence. With proper installation, your steel fence will not only enhance the security of your property but also its overall appearance.


