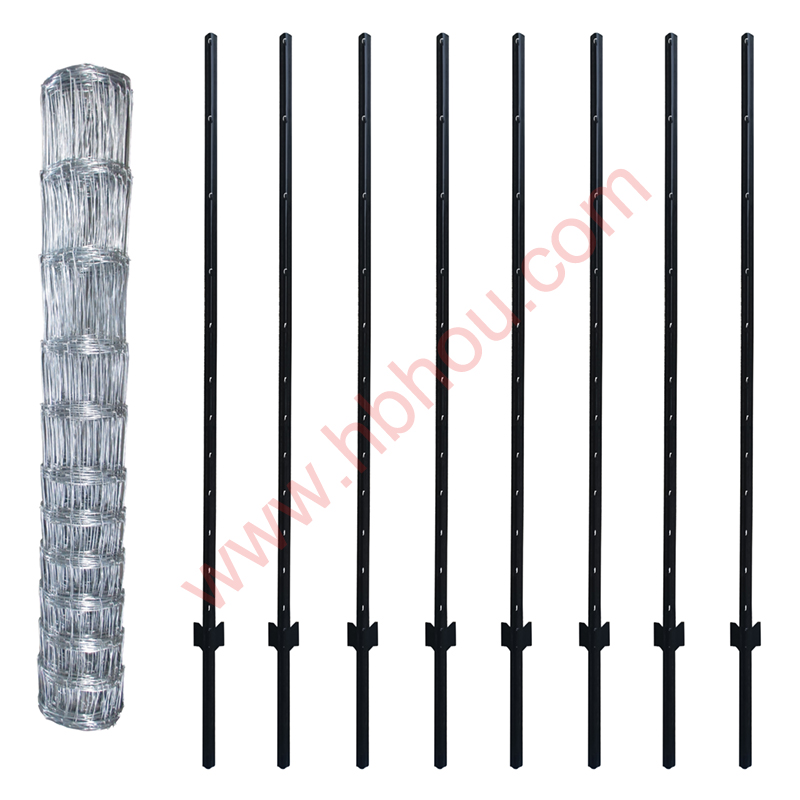
Setting PVC Fence Posts A Comprehensive Guide
Installing a PVC fence is a popular choice for homeowners looking to add both aesthetic appeal and functionality to their properties. Known for their durability, low maintenance, and versatility, PVC fences can enhance the privacy and security of your outdoor space. However, setting the posts correctly is crucial to ensuring the overall integrity and longevity of your fence. This article will guide you through the process of setting PVC fence posts effectively.
Step 1 Plan Your Layout
Before you begin setting your posts, it's essential to plan the layout of your fence. Start by measuring the area where you want to install the fence. Use stakes and string to outline the perimeter, ensuring you mark the locations where each post will go. Typically, PVC fence posts are spaced between 6 to 8 feet apart, depending on the style of the fence.
Step 2 Gather Your Tools and Materials
Having the right tools on hand will make the installation process smoother. For setting PVC fence posts, you will need
- PVC fence posts - Post holes digger or auger - Cement mix (fast-setting is recommended) - Level - Tape measure - Gravel (optional for drainage) - Trowel - Safety gear (gloves and goggles)
Step 3 Dig the Post Holes
Once your layout is planned, use the post hole digger or auger to dig holes for your posts. The depth of the holes should be approximately one-third the height of your fence. For example, if your fence is 6 feet tall, dig holes that are about 2 feet deep. Ensure that the width of the hole is sufficient to accommodate the size of the post, typically around 6 to 8 inches in diameter.
Step 4 Prepare the Posts
setting pvc fence posts

Before placing the posts, consider adding gravel at the bottom of the holes for drainage. This prevents water accumulation, which can lead to post rotting in the long run. Place the post into the hole, ensuring that it is upright and aligned with your string line. Use the level to check that the post is straight.
Step 5 Pouring Concrete
Once the post is in position, mix the fast-setting cement according to the package instructions. Fill the hole around the post with the concrete mix, ensuring it is evenly distributed. Use the trowel to smooth the surface and direct any excess concrete away from the post. Allow the concrete to set for at least 24 hours before proceeding to the next step.
Step 6 Attaching the Panels
After the concrete has cured, it’s time to attach the PVC fence panels to the posts. Depending on the design of your fence, you may need brackets or screws for this step. Follow the manufacturer’s instructions for secure installation. Make sure to check for level and alignment as you go along, adjusting as necessary.
Step 7 Final Touches
Once all the panels are installed, inspect the entire fence for stability and alignment. Ensure that all posts are secure and that the fence line is straight. If desired, you can add caps to the top of the fence posts for a finished look, which also helps to prevent water from entering the posts.
Conclusion
Setting PVC fence posts can be a reasonably straightforward process if you follow the right steps. By planning meticulously, using the right materials, and ensuring proper installation, you can enjoy a beautiful and durable fence that enhances your property for years to come. With minimal upkeep required, your PVC fence will remain a valuable addition to your home, providing comfort and privacy for your family.


