Setting Metal Fence Posts in Concrete A Step-by-Step Guide
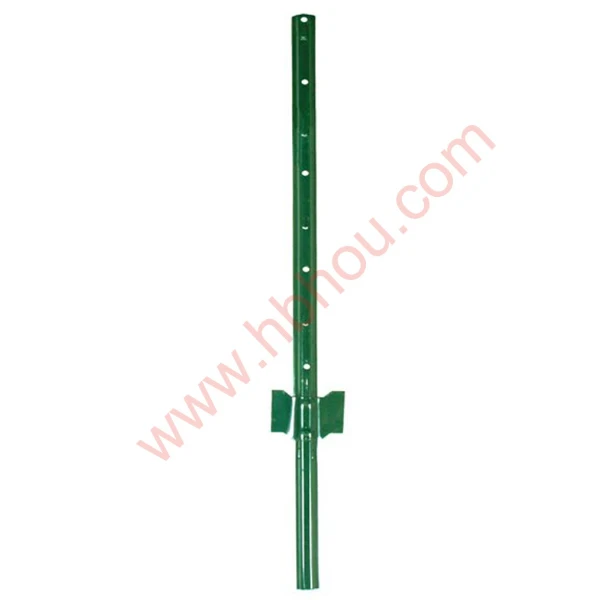
When it comes to building a sturdy and lasting fence, setting metal fence posts in concrete is essential. Whether you're erecting a fence for privacy, security, or boundary demarcation, the durability of the fence largely depends on the stability of the posts. This article will guide you through the process of properly setting metal fence posts in concrete, ensuring your project stands the test of time.
Materials Needed
Before beginning, gather the necessary materials
1. Metal fence posts Choose between galvanized steel or aluminum for longevity. 2. Concrete mix Ready-mix concrete is commonly used for ease of application. 3. Gravel This aids in drainage and prevents water from pooling at the base of the posts. 4. Post hole digger Essential for creating deep and wide holes for the posts. 5. Level To ensure your posts are straight. 6. Measuring tape For accurate spacing and depth measurement. 7. Water To mix with the concrete. 8. Trowel For smoothing the concrete around the posts. 9. Bracing materials Wooden stakes or braces to hold the posts in place while the concrete sets.
Step-by-Step Process
1. Planning and Marking the Layout
Begin by planning your fence layout. Use stakes and string to outline where the posts will go. It's crucial to measure and mark the locations carefully to ensure uniform spacing. Most fence posts should be spaced between 6 to 8 feet apart, depending on the type of fence you're installing.
2. Digging the Post Holes
Using a post hole digger, dig holes for each post. A depth of at least 2 feet is recommended for metal posts. The diameter of the hole should be around three times the width of the post for proper stability. Make sure the bottom of the hole is flat and level.
Before placing the post in the hole, add a few inches of gravel to the bottom. This layer facilitates drainage and prevents water from accumulating at the base of the post, which could lead to rusting or deterioration over time.
setting metal fence posts in concrete
4. Setting the Post
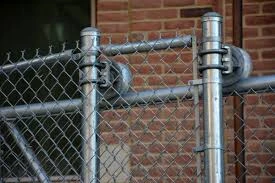
Insert the metal fence post into the center of the hole. Ensure it’s vertical by using a level. This step is essential for the aesthetics and strength of your fence. If needed, ask someone to help hold the post while you proceed.
5. Mixing and Pouring Concrete
Follow the instructions on your concrete mix to prepare the mixture. Typically, you’ll mix one part water with three parts concrete. After mixing, pour the concrete into the hole around the post, ensuring it fills all gaps. Leave about 2 to 3 inches at the top of the hole for soil or topsoil.
6. Leveling and Bracing
After pouring the concrete, use the level again to check that your post remains straight. If it shifts, adjust it immediately. To help maintain the position of the post while the concrete sets, you can use bracing materials, like wooden stakes, anchoring them to the ground and the post.
7. Allowing Time to Set
Concrete typically requires at least 24-48 hours to cure fully, depending on weather conditions. It’s important to keep the area undisturbed during this time. Avoid any pressure on the posts until the concrete hardens completely.
8. Finishing Touches
Once the concrete is set, you can backfill the top few inches of the post hole with soil to create a smooth transition between the post and the ground. This will also help with the aesthetics of your fence line.
Conclusion
Setting metal fence posts in concrete is a vital part of constructing a reliable fence. By following these steps, you can ensure your posts are stable and your fence will stand strong against the elements. Take your time with each stage of the process to achieve the best results. With patience and careful planning, your fence will not only serve its purpose but also enhance the beauty of your property for years to come.


