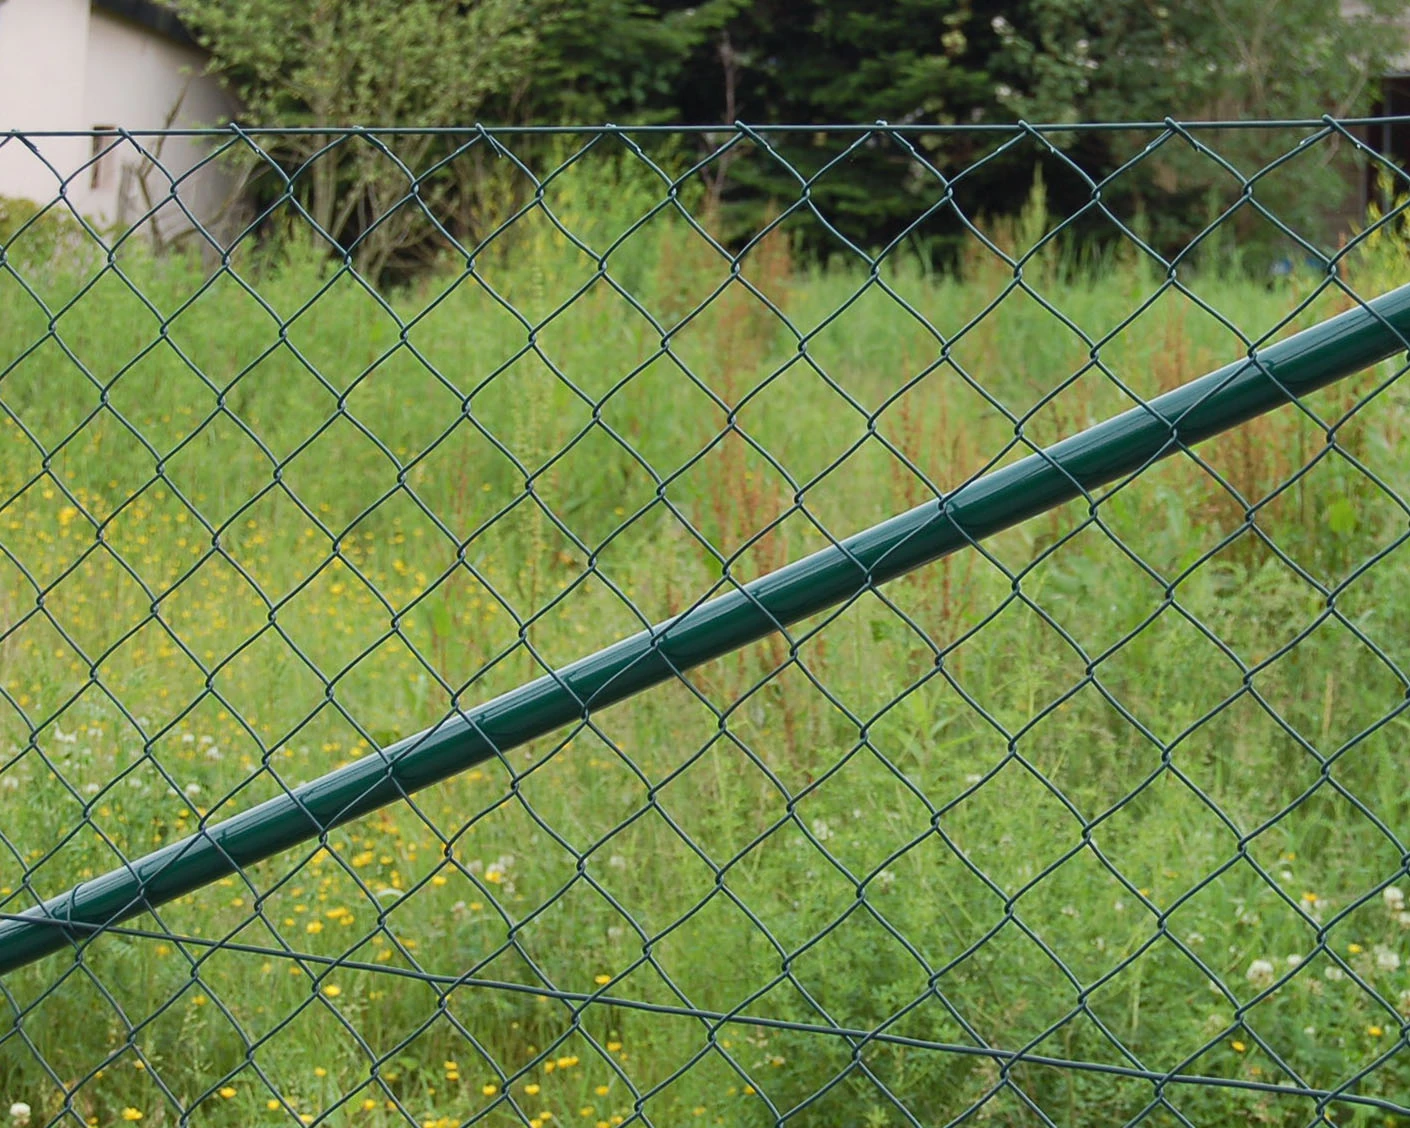
Setting Galvanized Fence Posts A Comprehensive Guide
When it comes to building a sturdy and long-lasting fence, one of the most crucial aspects is setting the fence posts. Galvanized fence posts are a popular choice due to their rust-resistant properties, strength, and durability. This guide will walk you through the steps necessary to properly set galvanized fence posts, ensuring your fence stands firm against the elements for years to come.
Why Choose Galvanized Fence Posts?
Galvanized fence posts are coated with zinc, which enhances their resistance to corrosion compared to traditional steel posts. This makes them an excellent choice for areas with high humidity or frequent rainfall. Additionally, galvanized posts are often able to withstand the wear and tear caused by sun exposure and temperature fluctuations. By choosing galvanized posts, you are investing in a material that requires less maintenance and offers long-term reliability.
Materials You Will Need
Before you begin setting up your galvanized fence posts, gather the following materials
1. Galvanized Fence Posts Choose the appropriate height and thickness based on your fencing needs. 2. Concrete Mix For securing the posts in place. 3. Post Hole Digger or Auger To create holes for the posts. 4. Level To ensure your posts are positioned upright. 5. Tape Measure For accurate measurements. 6. String Line To mark the alignment of your posts. 7. Shovel For additional digging and leveling.
Step-by-Step Process
Step 1 Planning and Measuring Before you start digging, take the time to plan your fence layout. Use a tape measure to determine the distance between each post, typically around 6 to 8 feet apart, depending on your fence design. Hammer stakes into the ground to mark the corners and ends of the fence, then use a string line to ensure a straight alignment.
setting galvanized fence posts

Step 2 Digging the Post Holes Using the post hole digger or auger, start digging holes for your galvanized posts. The holes should be at least one-third of the length of the post to ensure stability. For example, if your post is 8 feet tall, aim for a hole depth of at least 2.5 to 3 feet.
Step 3 Positioning the Posts Once your holes are ready, place the galvanized posts into the holes. Use a level to make sure each post is vertical. Adjust as needed to achieve the correct position. It’s essential to have the posts aligned properly, as this will affect the overall appearance and strength of your fence.
Step 4 Securing the Posts with Concrete Prepare your concrete mix according to the manufacturer's instructions. Pour the concrete into the hole around the post, filling it to the surface level. Use a trowel to smooth the top and ensure proper drainage. Allow the concrete to cure for at least 24 to 48 hours, depending on the product’s specifications.
Step 5 Final Touches After the concrete has set, you can remove the string line and any stakes used for measurement. If needed, add soil or mulch around the base of the posts to promote drainage and prevent water accumulation.
Maintenance Tips
After setting your galvanized fence posts, regular maintenance is key to ensuring their longevity. Inspect the posts occasionally for any signs of wear or damage. If you notice any rust or corrosion, consider applying a protective coating or paint designed for metal surfaces.
Conclusion
Setting galvanized fence posts is a straightforward process that can significantly enhance the durability and aesthetic appeal of your fence. By following this guide and investing time in proper installation, you will create a strong barrier that stands the test of time, providing security and style to your property. Whether you’re enclosing a garden or delineating your property line, well-set galvanized fence posts are your first step toward a reliable fencing solution.


