Setting Field Fence Posts A Guide to Proper Installation
When it comes to agricultural and rural property management, one of the primary tasks is setting field fence posts. A strong, well-installed fence serves various purposes it keeps livestock in, protects crops, and defines property boundaries. The right installation technique not only ensures durability but also reduces maintenance costs in the long run. Here, we provide a comprehensive guide to setting field fence posts effectively.
Materials Required
To set field fence posts, you will need several materials, including
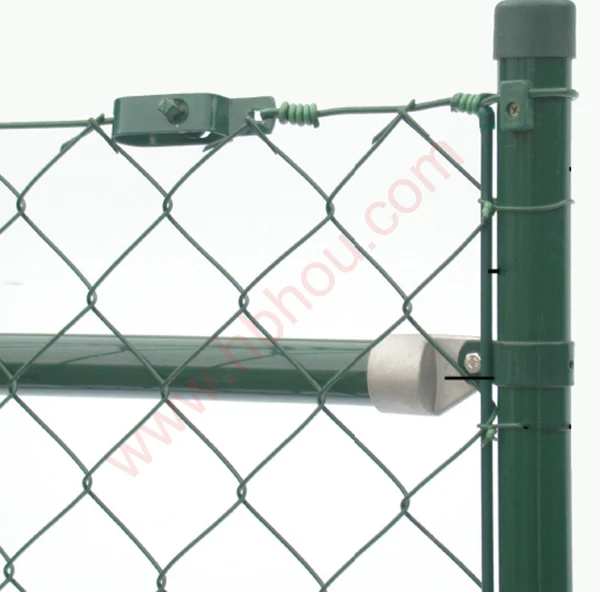
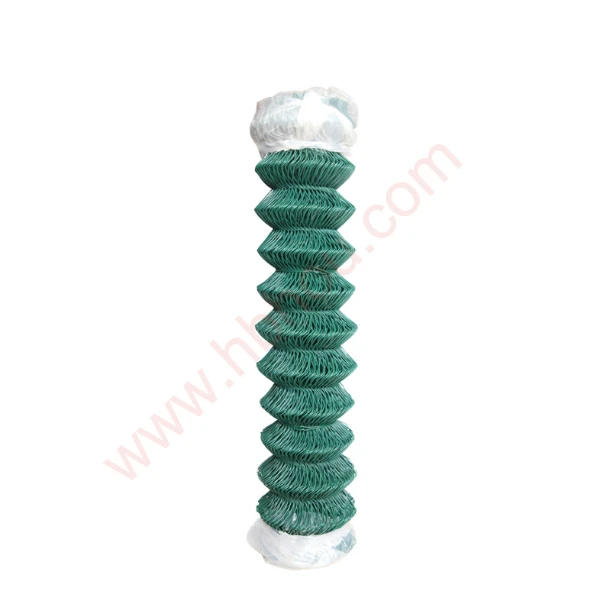
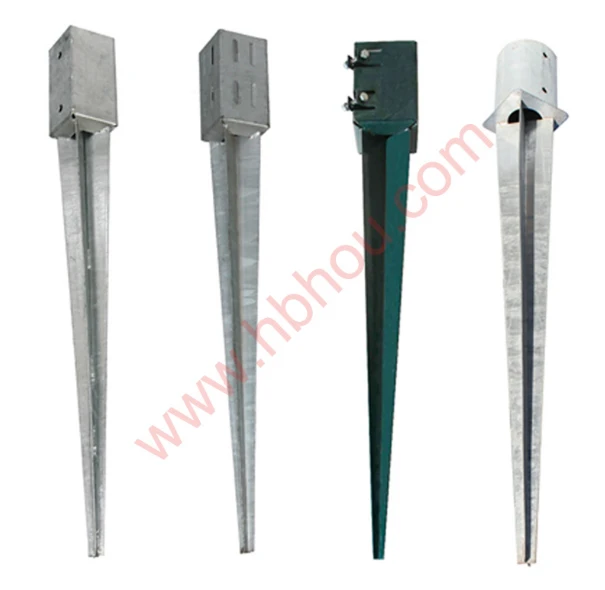
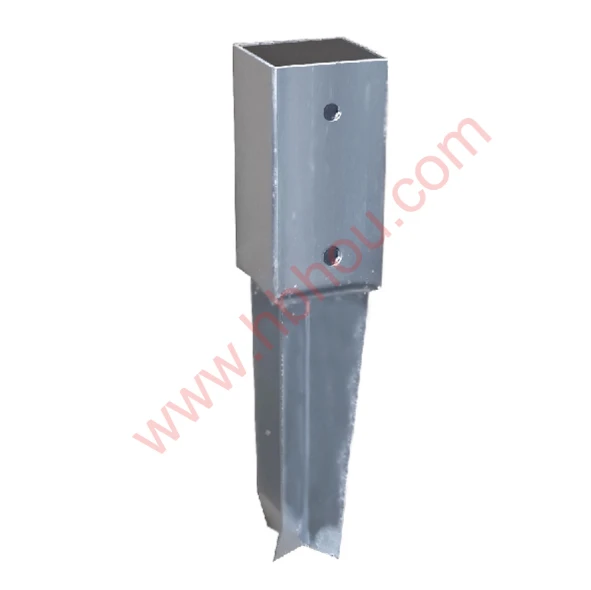
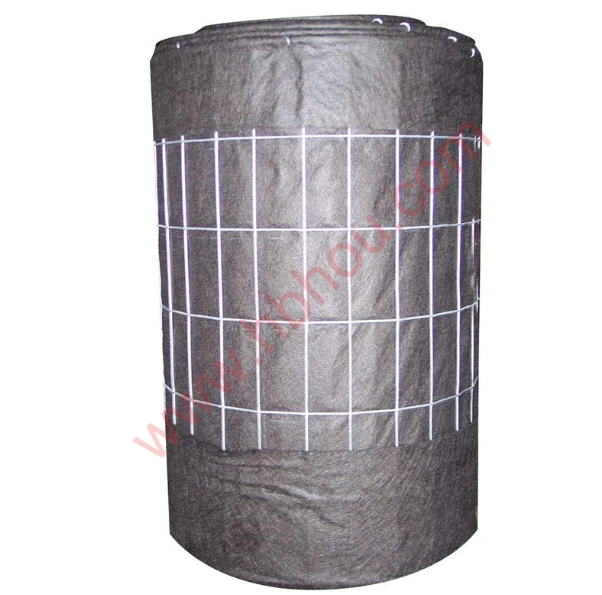
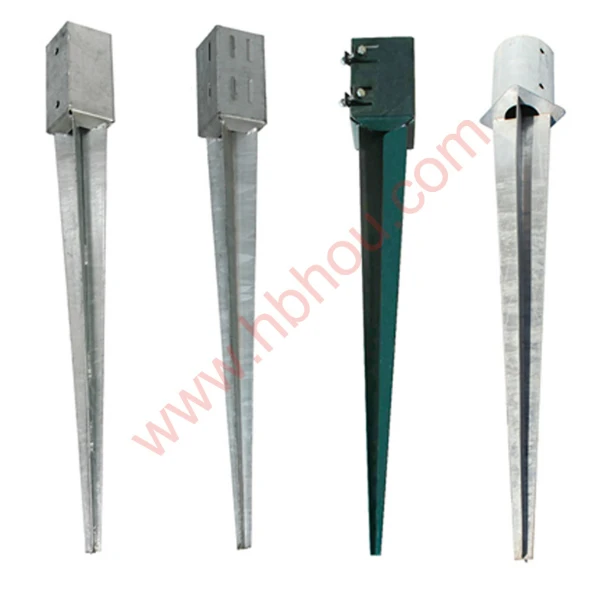
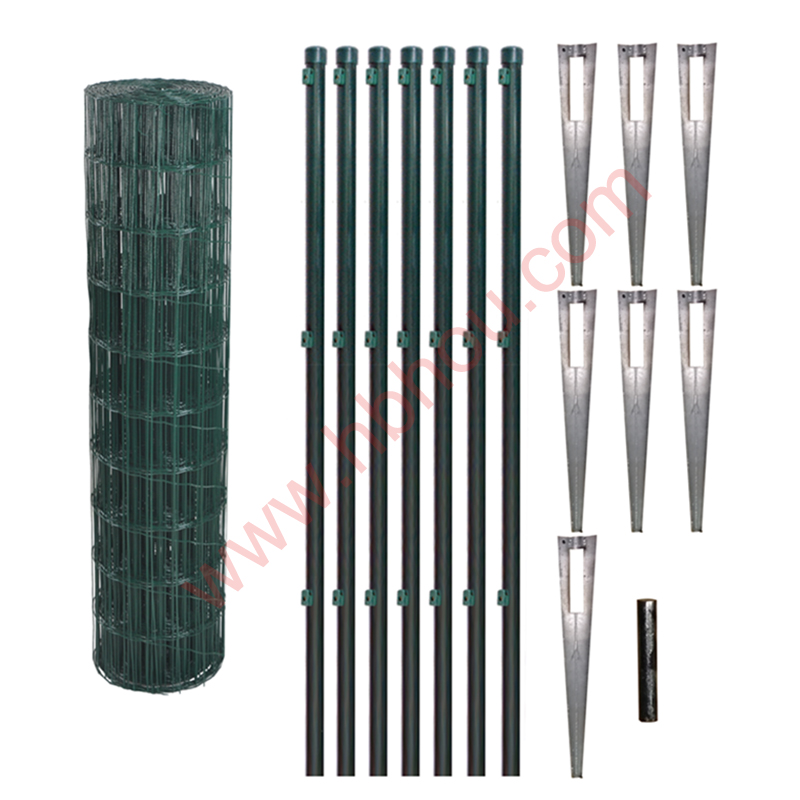
1. Fence posts These can be wooden, metal, or vinyl, depending on your preference and budget. 2. Concrete or gravel For stability and strength. 3. Tools A post hole digger, level, hammer, and measuring tape are essential. 4. Wire and other fencing materials Tailored to the type of fence you are installing.
Planning the Layout
Before you start digging, it's important to plan the layout of your fence. Measure the area accurately and determine the number of posts required. A common spacing for fence posts is 8 to 10 feet apart, but you may need to adjust this based on the type of fence and terrain. Mark the location of each post with stakes, ensuring that the layout conforms to your property boundaries and follows any local regulations.
Digging the Holes
setting field fence posts
Once you have your layout finalized, it’s time to dig the post holes. Use a post hole digger to create holes that are at least one-third the height of the post deep. This depth helps ensure that the post remains stable and can withstand various weather conditions. For instance, for a standard 6-foot post, your holes should be at least 2 feet deep.
Setting the Posts
After digging the holes, it's time to set the posts. Place the post in the hole and use a level to ensure it is plumb. You can add gravel or crushed stone around the post for drainage and additional stability. If using concrete, mix it according to the manufacturer’s instructions and pour it into the hole around the post. Allow the concrete to cure for at least 24 to 48 hours before proceeding with the fencing.
Attaching the Fence
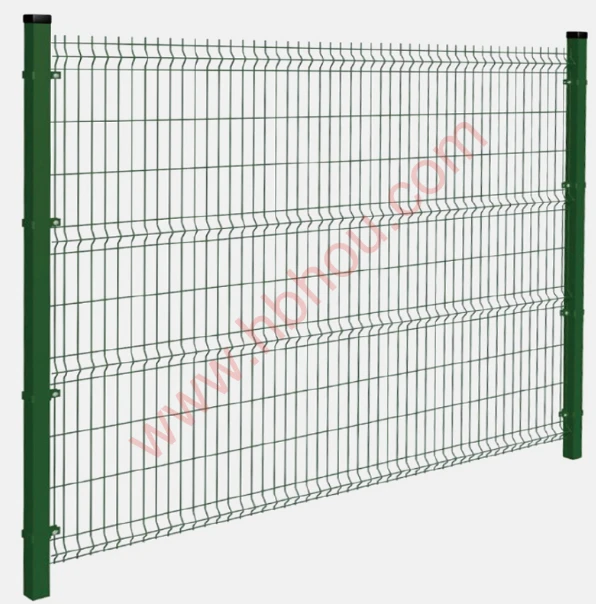
Once the posts are securely in place, you can attach the fencing material. Begin at one end and stretch the wire or fencing taut towards the next post. Secure the fencing with staples or ties, making sure there are no gaps that livestock could slip through. Continue this process until the entire fence is installed.
Maintenance Tips
After installing your fence, regular maintenance will prolong its life. Check for any loose ties, rusting (in the case of metal posts), and signs of wear and tear. Keep an eye on the area around the posts for any erosion or movement, as these can compromise the fence's structural integrity.
By following these steps and tips, you can set up a durable and effective field fence that meets your needs for years to come. Whether you're containing livestock or marking property lines, a good fence is an investment in your land's security and productivity. Happy fencing!


