Setting Field Fence Posts A Step-by-Step Guide
Setting field fence posts is a crucial task for anyone looking to create a durable and sturdy boundary for their property or livestock management. A well-installed fence not only keeps your animals safe but also helps maintain the aesthetics of your land. Here’s a detailed guide on how to effectively set field fence posts, ensuring stability and longevity.
Tools and Materials Needed
Before starting the project, gather the necessary tools and materials
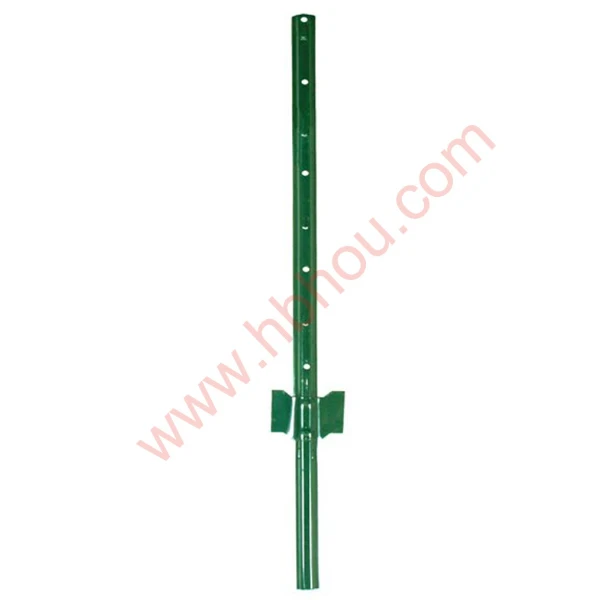
- Fence Posts Choose between wooden, metal, or vinyl posts depending on your preference and budget. Wooden posts should ideally be treated for weather resistance. - Concrete Mix For extra support, especially in loose soil. - Post Hole Digger This can be a manual or motorized tool to create holes for your posts. - Level To ensure the posts are straight. - String Line For aligning the posts along a straight line. - Tape Measure For measuring distances accurately.
Steps to Setting Fence Posts
1. Planning Your Fence Line Before digging any holes, plan out the layout of your fence. Use stakes and string to mark the desired line of your fence. Consider the purpose of your fence and the layout of your land, ensuring it meets your operational needs.
2. Measuring and Marking Determine the spacing for your fence posts. Typically, posts should be spaced between 6 to 8 feet apart, depending on the type of fence you’re installing. Use a tape measure to ensure consistent spacing along your marked line.
setting field fence posts
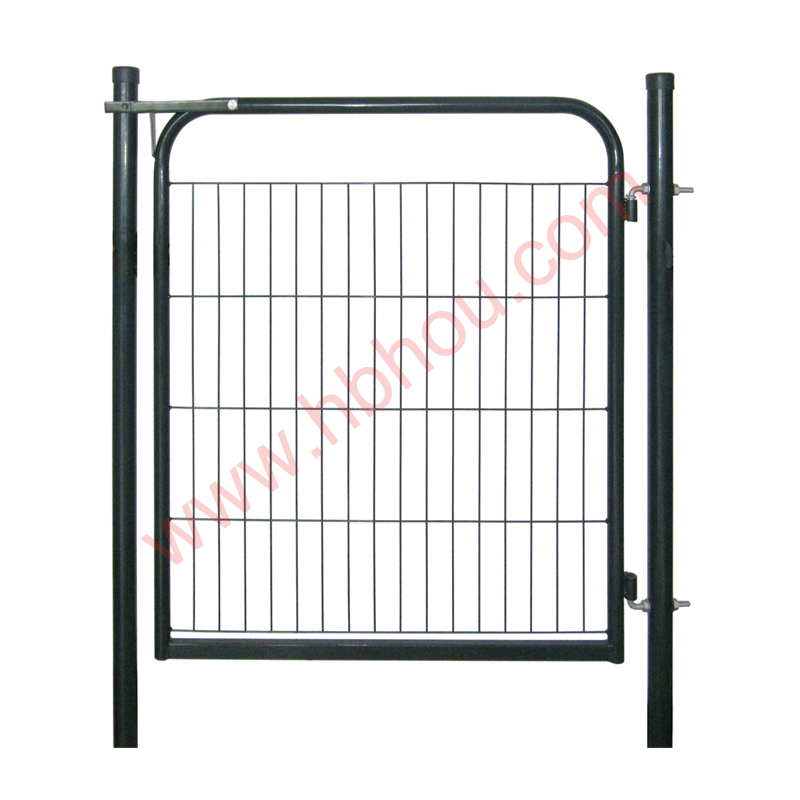
3. Digging the Holes Using a post hole digger, start creating holes at the marked locations. The depth of the holes should be about one-third the length of the post (generally 2 to 3 feet deep). This depth provides adequate support and stability for the posts.
4. Setting the Posts Place the first post into its hole. Use a level to ensure it’s straight, adjusting until it is perfectly vertical. Once the post is in place, you can backfill the hole with dirt, or if you prefer extra stability, mix concrete according to package instructions and pour it into the hole around the post.
5. Securing the Posts If using concrete, give it adequate time to cure (usually 24 to 48 hours) before proceeding to the next post. If you’re backfilling with dirt, ensure you pack it tightly around the post to minimize any movement.
6. Repeating the Process Continue setting posts along your marked line, using the string line as a guide. Regularly check each post for level as you proceed to ensure a straight and professional-looking fence.
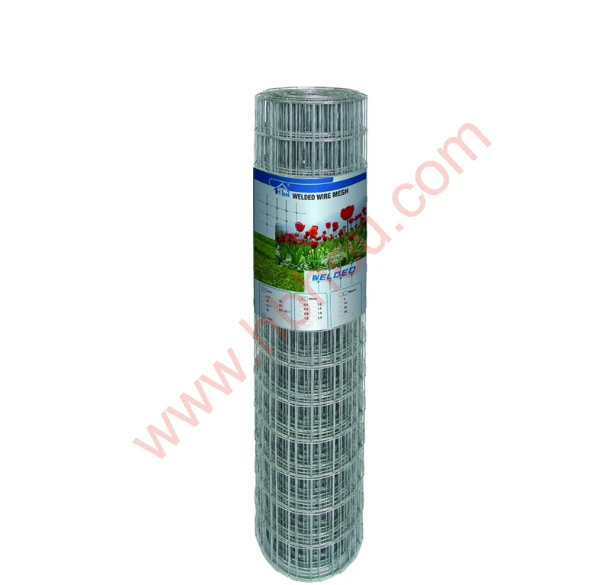
7. Finishing Touches Once all the posts are set and secure, you can attach your fencing material (wire or panels) to the posts. Make sure to tension the fencing adequately to prevent sagging.
Maintenance Tips
Regularly check your fence posts for signs of wear or movement. Promptly repair any loose fencing or damaged posts to maintain the integrity of your boundary. Over time, environmental factors can affect the stability of your posts, so a little maintenance goes a long way.
By following these steps, you can effectively set field fence posts that not only secure your property but also enhance its overall appearance. Whether you are fencing for livestock, gardens, or privacy, a well-installed fence will serve you well for years to come.


