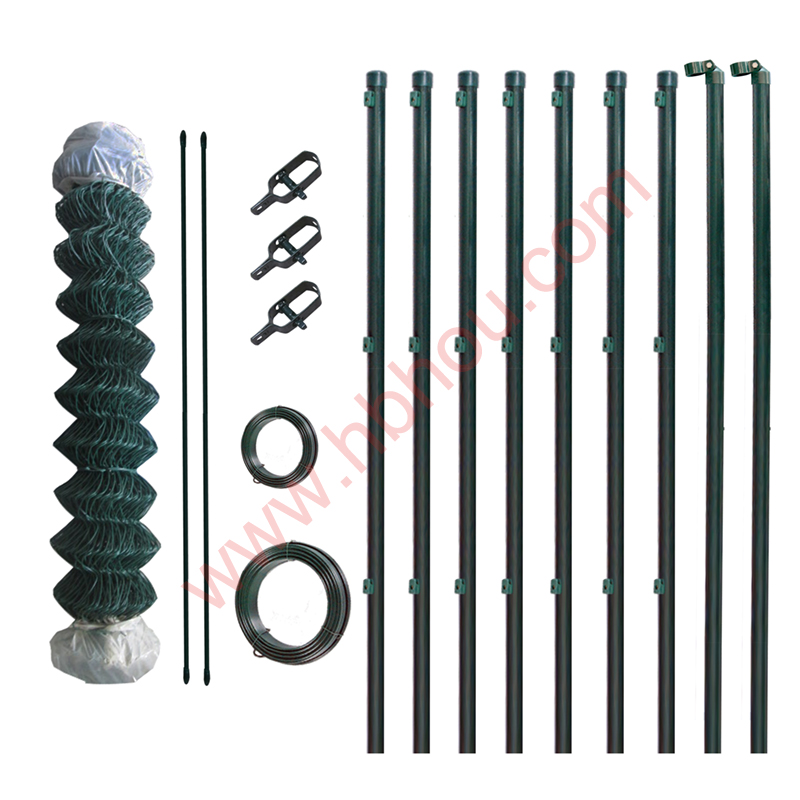
Setting Field Fence Posts A Practical Guide
When it comes to maintaining a well-structured and safe property, setting fence posts is one of the most crucial tasks. Whether you're establishing boundaries for your farm, creating a safe space for animals, or simply enhancing your homestead, the proper installation of field fence posts is essential. This article will provide you with a practical guide on how to effectively set fence posts, ensuring that your fence stands the test of time.
Choosing the Right Materials
Before you start digging holes, it's important to choose the right materials for your fence. Common materials for fence posts include wood, metal, and vinyl. Each has its advantages and disadvantages. Wooden posts, like cedar or pressure-treated pine, are popular for their natural appearance and affordability. Metal posts, such as galvanized steel, provide durability and resistance to rot; however, they can be more expensive. Vinyl posts offer a maintenance-free option but may lack the strength required for certain applications. Consider the purpose of your fence and select a material that best suits your needs.
Tools and Equipment Needed
To set fence posts properly, you will need several tools
- Post hole digger or auger - Level - Measuring tape - Concrete or gravel for setting posts - String line for alignment - Hammer or mallet - Safety gear (gloves, goggles)
Preparing the Site
setting field fence posts

Once you have your materials and tools ready, start by preparing the site. Clear the area of any debris, vegetation, or obstructions. Mark the location of each post using your measuring tape and a stake. A common spacing distance is 8 to 10 feet between posts, but this may vary based on the type of fence and terrain.
Digging the Holes
Using the post hole digger or auger, dig holes for each post. A depth of at least one-third the height of the post is recommended to ensure stability; for taller posts, this may mean digging deeper. If you’re using concrete, the hole should be slightly wider than the post to allow for the material to fill in around it.
Setting the Posts
Once the holes are ready, place the post into the hole. Use a level to ensure the post is vertical, making adjustments as necessary. For added stability, you can add a few inches of gravel at the bottom of the hole before placing the post. Once positioned correctly, fill around the post with concrete mix or packed gravel. If using concrete, follow package instructions for setting time.
Finishing Touches
After the posts are set and the concrete has cured, you can add the fencing material according to your plan. Make sure to check the tension and alignment of the fence as you attach it to the posts. This will help ensure a straight and secure fence line.
In conclusion, setting fence posts might seem like a daunting task, but with the right preparation and tools, it can be accomplished with ease. By following these steps, you will create a sturdy fence that enhances the boundaries of your property and adds to its overall appeal. Happy fencing!


