Setting Aluminum Fence Posts A Comprehensive Guide
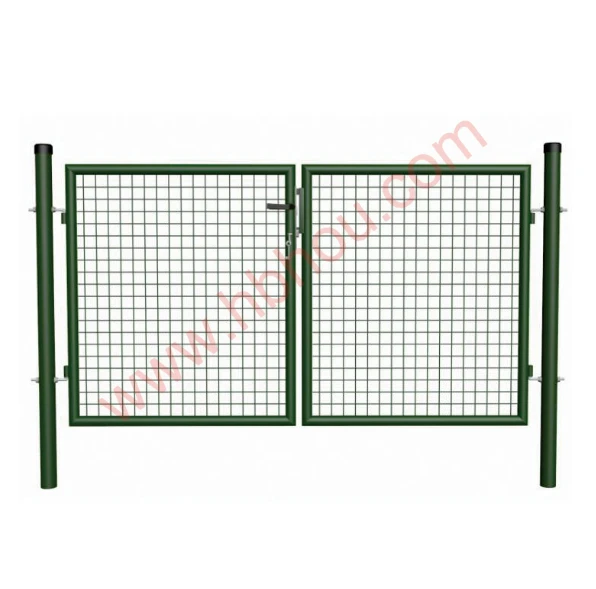
Installing an aluminum fence can significantly enhance the aesthetics and security of your property. Among the various components of this fencing system, setting the fence posts correctly is crucial for ensuring stability and longevity. This guide will walk you through the essential steps and considerations for setting aluminum fence posts effectively.
1. Gather Your Materials and Tools
Before you begin the installation process, gather all necessary materials and tools
- Aluminum fence panels - Aluminum fence posts - Concrete mix or gravel - Post hole digger or auger - Level - Measuring tape - String line or chalk line - Trowel - Safety gear (gloves, goggles)
2. Plan Your Fence Layout
Start by planning the layout of your aluminum fence. Determine where you want the fence to start and end, taking into consideration your property lines and any local zoning regulations. Use stakes and a string line to outline the perimeter of the fence. This will help you visualize the layout and ensure that your posts are set in straight lines.
3. Mark the Post Locations
Next, mark the locations for your fence posts. The placement highly depends on the type of fence and the length of the panels, but a common rule of thumb is to space the posts 6 to 8 feet apart. Use your measuring tape to ensure consistent spacing and mark each post location with a stake.
Using a post hole digger or auger, dig holes at each marked location. Each hole should be about one-third the length of the post deep. For example, if your posts are 6 feet tall, you should dig holes approximately 2 feet deep. The diameter of the holes should be about three times the width of the post. This allows enough space for concrete or gravel to provide adequate stability.
5. Insert the Posts
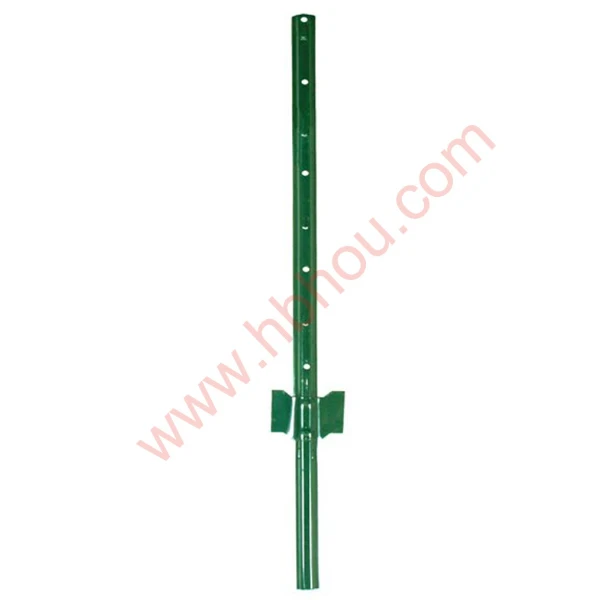
setting aluminum fence posts
Once the holes are dug, it’s time to insert the aluminum posts. Place the first post in the center of its hole, ensuring that it stands vertically and at the desired height. To verify that it is straight, use a level. This step is essential; if the posts are not vertical, it will affect the appearance and durability of the fence.
6. Fill the Holes
After positioning the posts, fill the holes with either concrete mix or gravel. If using concrete, follow the manufacturer’s instructions for mixing. Pour the concrete into the hole around the post and tamp it down to remove any air pockets. If you prefer gravel, pour gravel into the hole and compact it thoroughly.
7. Allow for Curing Time
If you used concrete, it’s crucial to allow it to cure properly. This usually takes about 24 to 48 hours, depending on the weather conditions. During this time, avoid disturbing the posts to ensure they set firmly in place.
8. Attach the Fence Panels
Once the posts are secure, you can begin attaching the aluminum panels. Start with one end and work your way around, ensuring that the panels fit snugly between each post. Most aluminum fences come with brackets to assist in securing the panels to the posts.
9. Perform Final Checks
After the installation, perform a final inspection. Ensure that all posts are vertical and that the panels are aligned correctly. Make any necessary adjustments before finishing.
Conclusion
Setting aluminum fence posts might seem like a daunting task, but with careful planning and execution, it becomes manageable. Proper installation ensures not only the aesthetic appeal of your fence but also its functionality and durability. By following the steps outlined above, you can enjoy the benefits of your aluminum fence for years to come, enhancing your home’s curb appeal and security. Happy fencing!


