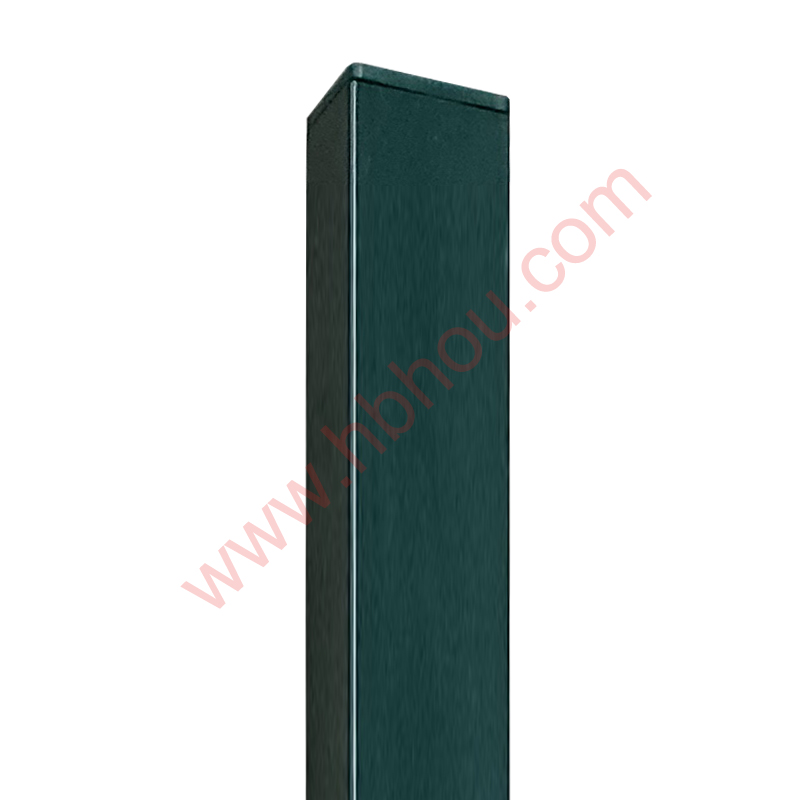
Setting 4x4 Posts for a Fence A Comprehensive Guide
Building a fence can enhance the aesthetic appeal of your property, provide privacy, and serve as a boundary for your yard. One crucial step in constructing a sturdy fence is setting 4x4 posts, which will provide the structural support for the entire fence framework. Here’s a detailed guide on how to set these posts effectively.
Materials Needed
Before you begin, gather the necessary materials - 4x4 pressure-treated wooden posts (length depends on your fence height) - Concrete mix (quick-setting for ease) - Gravel (for drainage) - Level - Measuring tape - Post hole digger or auger - String line - Marking paint
Step 1 Plan Your Fence Layout
Start by visualizing and planning where the fence will go. Use marking paint to outline the perimeter. Ensure that you comply with local zoning laws and neighbor agreements regarding fence placement.
Step 2 Measure and Mark Post Locations
Using a measuring tape, mark the locations for your posts. The standard distance between posts is typically 6 to 8 feet, depending on your fence design. Once marked, use a string line to ensure your posts will be aligned properly. This line will serve as a guide throughout the installation process.
Step 3 Dig the Post Holes
Using a post hole digger or auger, dig holes for each post. The holes should be about one-third the length of your posts deep to ensure stability. For instance, if you're using 8-foot posts, the hole should be at least 2 feet deep. The width of the hole should be approximately 10-12 inches to allow for concrete.
setting 4x4 posts for fence

Step 4 Add Gravel for Drainage
Before inserting the posts, add a few inches of gravel at the bottom of each hole for drainage
. This step is critical in preventing water accumulation, which could rot the wood over time.Step 5 Set the Posts
Place your 4x4 post into the hole, ensuring it is vertical using a level. Once in place, pour the concrete mix around the post, following the instructions on the bag for mixing and consistency. Fill the hole up to ground level, leaving it slightly mounded to allow for settling.
Step 6 Allow the Concrete to Cure
Allow the concrete to set according to the manufacturer's recommendations, usually 24 to 48 hours. During this time, avoid disturbing the posts to ensure they are secured firmly.
Step 7 Check Alignment and Level
Once the concrete has cured, recheck the level and alignment of each post. Make any necessary adjustments before proceeding with the installation of the fence panels.
Conclusion
Setting 4x4 posts correctly is fundamental to constructing a durable fence. By following these steps, you can ensure that your fence will stand strong against the elements and serve its purpose for years to come. Happy fencing!


