Setting Field Fence Posts A Guide for Effective Fencing
When it comes to maintaining livestock or safeguarding crops, a sturdy field fence is essential. The foundation of any effective fence lies in its posts, which serve as the backbone of the entire structure. Setting up fence posts correctly is crucial for durability and stability. This article provides a comprehensive guide to properly setting field fence posts.
Choosing the Right Posts
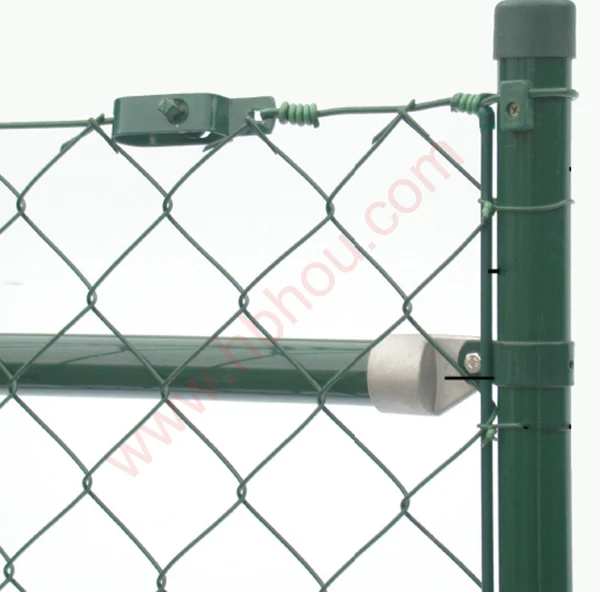
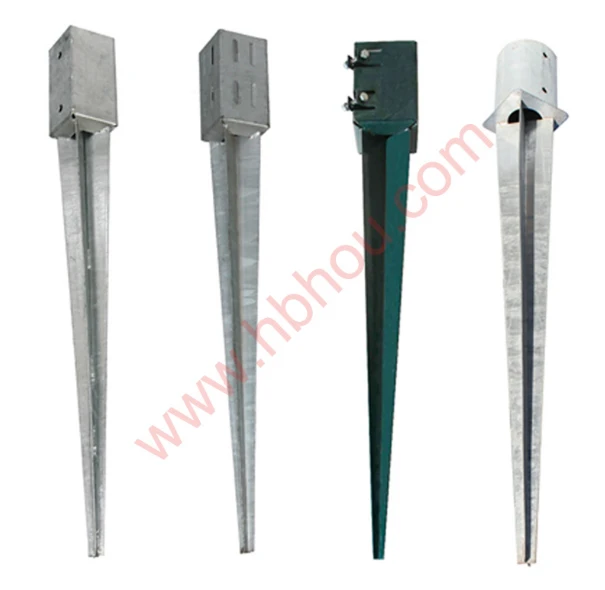
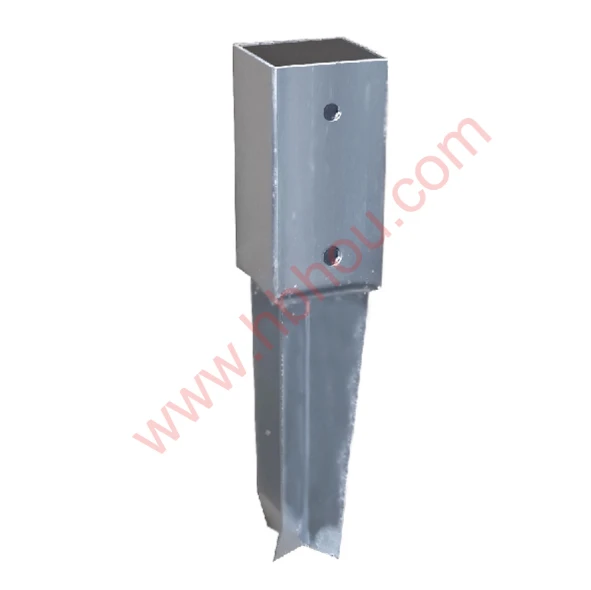
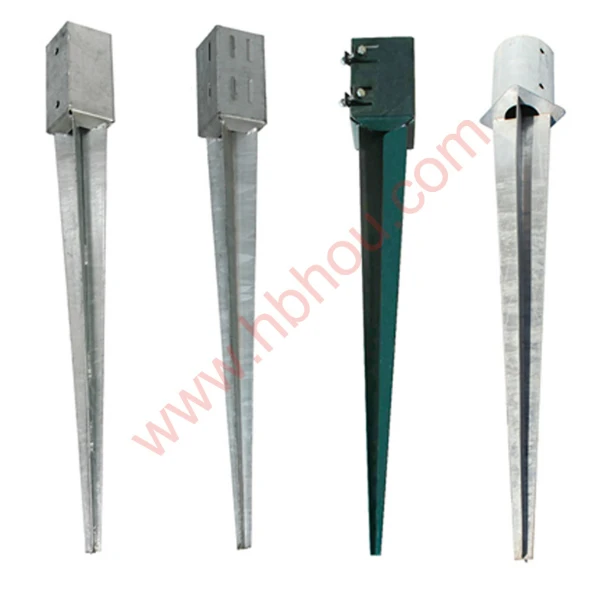
Before you start, selecting the appropriate type of posts is crucial. The materials typically used for fence posts include wood, metal, and vinyl. Wooden posts, often made from cedar or treated pine, are popular due to their natural appearance and affordability. Metal posts, such as T-posts, are robust and resistant to decay, making them ideal for long-term use. Vinyl posts are low maintenance but tend to be more expensive.
Consider the specific needs of your fencing project. If your land experiences heavy livestock traffic, sturdier posts like metal may be more suitable. For boundary and decorative fences, wooden or vinyl options may blend better aesthetically.
Tools and Materials Needed
To set your posts effectively, gather the necessary tools and materials. You will need
- Fence posts (wood, metal, or vinyl) - Concrete mix or gravel - A post hole digger or auger - A level - A measuring tape - Safety gloves and goggles - A hammer or mallet (for wooden posts)
Ensure you have enough materials for the number of posts you plan to install. It’s often wise to buy a few extra in case of breaks or errors during installation.
setting field fence posts
Setting the Posts
1. Mark the Locations Use string or markers to outline where the fence will go. Generally, posts should be spaced 8 to 10 feet apart, depending on the type of fence you are installing.
2. Dig the Holes Using a post hole digger or auger, dig holes that are at least 1/3 of the post length deep. For instance, if your post is 6 feet tall, the hole should be around 2 feet deep. This depth helps ensure stability.
3. Position the Posts Place the post in the center of the hole. Use a level to ensure the post is vertical. For additional support, consider attaching a temporary brace to keep the post steady while you fill the hole.
4. Add Concrete or Gravel If using concrete, mix according to the package instructions and pour it into the hole around the post. If using gravel, fill the hole and compact it firmly to eliminate air pockets. Allow concrete to cure according to the manufacturer's recommendations.
5. Check Alignment Once the posts are set, double-check the alignment before moving on to the next post. Maintaining a straight line is essential for the fence's overall appearance and functionality.
Final Thoughts
Setting field fence posts might seem like a labor-intensive task, but it is essential for ensuring the longevity and reliability of your fence. Taking the time to choose the right materials, prepare the site, and execute proper installation techniques will pay off in the long run. A well-constructed fence not only protects your land and livestock but can also enhance the overall value of your property. With these tips, you'll be well on your way to erecting a fence that stands the test of time.


