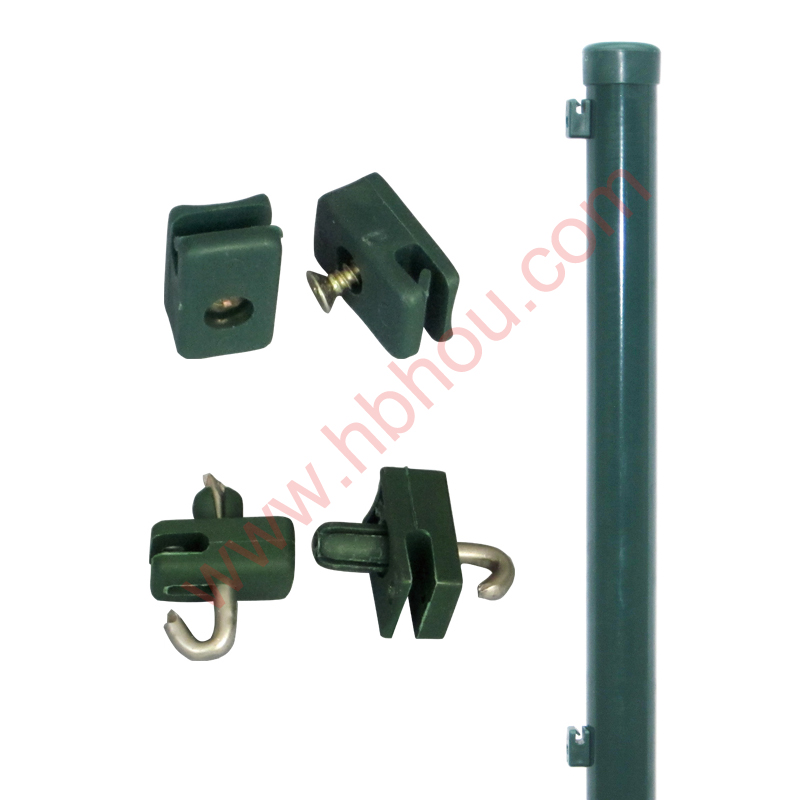
Setting Corner Fence Posts A Step-by-Step Guide
When setting up a fence on your property, one of the most crucial tasks is properly installing the corner fence posts. Corners are vital to the integrity of your fence, as they connect two separate runs of fencing and bear a significant amount of tension. Here’s a step-by-step guide on how to set corner fence posts effectively.
1. Gather Your Materials Before you start digging, ensure you have all the necessary materials. You will need corner fence posts (typically taller and stronger than regular posts), concrete mix, gravel, a level, measuring tape, and a post hole digger or auger. Additionally, rope or string can be used for marking alignment.
2. Plan Your Layout Decide where your fence will go and mark the corners clearly. Use stakes and string to outline the entire fence, ensuring it’s straight. Accurate measurements are critical here; take the time to confirm distances between posts and ensure that your corners are square.
3. Dig the Post Holes Once your layout is marked, use the post hole digger to excavate holes for the corner posts. The holes should be at least 2-3 feet deep, depending on your local building codes and the height of your fence. The deeper the hole, the more stability the posts will have. Ensure that the diameter of the hole is wide enough to accommodate the post and some gravel.
4. Prepare the Base Before placing your corner posts, pour about six inches of gravel at the bottom of each hole. This will aid with drainage and prevent water from pooling around the post, which can lead to wood rotting or metal posts rusting.
setting corner fence posts

5. Insert the Corner Posts Place the corner post into the hole, ensuring it is straight. It’s helpful to have a helper hold the post in place while you check its level. Use a level on all sides to ensure it is perfectly vertical.
6. Fill with Concrete Once the post is correctly positioned, fill the hole with concrete mix. It’s generally best to mix the concrete according to the manufacturer’s instructions before pouring it into the hole. Leave a little space at the top of the hole for additional gravel or soil to allow proper drainage.
7. Secure the Post Using stakes, brace the post on all sides while the concrete sets. This is crucial as it prevents the post from moving out of alignment. Allow the concrete to cure for at least 24-48 hours, depending on the weather conditions.
8. Finish Up After the concrete has fully set, remove any bracing and backfill the hole with soil or gravel to create a smooth surface. Ensure that the area is clean and clear of debris.
9. Inspect and Align Lastly, inspect the corner posts for vertical alignment and adjust if necessary. A well-set corner post will not only serve as a strong anchor but will also ensure your fence maintains a straight line and functions effectively for years to come.
Setting corner fence posts might seem like a straightforward task, but careful attention to detail will yield the best results. With solid corner posts in place, your fence will be sturdy and aesthetically pleasing.


