Setting a Fence Post with Dry Concrete A Step-by-Step Guide
When it comes to improving your outdoor space or enhancing your property’s aesthetics, installing a fence can be a rewarding and practical solution. Whether it’s for privacy, security, or purely decorative purposes, a well-installed fence can significantly elevate your property’s appeal. One key element of fence installation is setting the posts securely. This article will guide you through the process of setting a fence post with dry concrete, ensuring a stable and long-lasting fence.
Materials Needed
Before you begin the installation process, gather the following materials
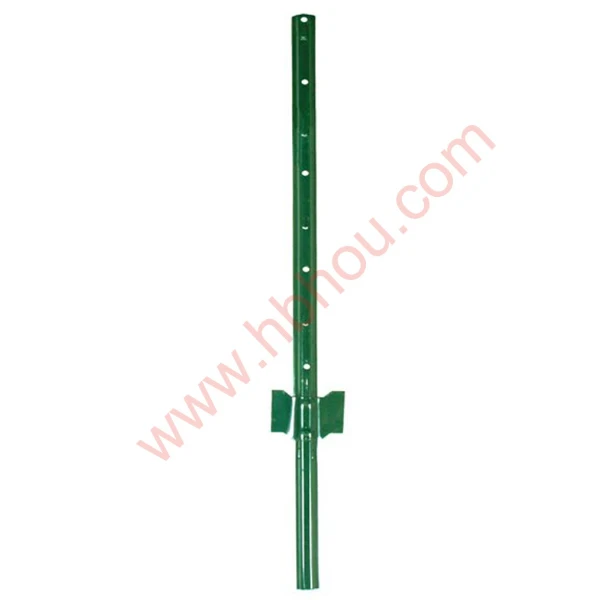
- Fence posts - Dry concrete mix - Gravel (for drainage) - Measuring tape - Level - Shovel - Post hole digger or auger - Water (if necessary for the dry mix) - Wood stakes (optional) - String line (optional)
Step 1 Planning and Preparation
The first step is to plan your fence layout. Use a measuring tape to determine the length of the fence and the desired distance between each post, typically ranging from 6 to 8 feet depending on the type of fence. Mark the locations for each post with stakes and string to create a straight line. This will ensure the alignment of your fence.
Step 2 Digging the Post Holes
Using a post hole digger or auger, dig holes for each post. The holes should be at least 1/3 of the post’s length above ground, and generally 6 to 8 inches wider than the post itself. For example, if your fence post is 8 feet tall, your hole should be approximately 2 to 3 feet deep. The wider base will provide better stability.
Step 3 Adding Gravel for Drainage
To prevent moisture buildup that can rot the post, add a few inches of gravel at the bottom of each hole. This layer of gravel aids in drainage, helping to keep the post dry and secure over time. Compact the gravel slightly to create a stable base.
set fence post with dry concrete
Step 4 Setting the Posts
Place the fence post into the center of the hole, making sure it stands straight. Use a level to check that the post is vertical. If necessary, adjust the depth or angle until it is correctly aligned. It can be helpful to have someone hold the post in place while you prepare to secure it.
Step 5 Mixing and Pouring Dry Concrete
Follow the instructions on your dry concrete mix. If your mix calls for water, prepare it according to the guidelines. Once you have the correct consistency, begin pouring the dry mix around the post. Fill the hole about 2/3 full, then add water according to the package instructions to activate the concrete. The dry mix will begin to set once it absorbs the moisture.
Step 6 Finishing Touches
After pouring the concrete, use a level one more time to ensure the fence post is straight. You may need to make minor adjustments before the concrete sets. Allow the concrete to cure as per the manufacturer’s specifications, usually 24 to 48 hours. During this time, avoid disturbing the post to ensure it remains stable.
Step 7 Backfilling and Cleaning Up
After the concrete has set, backfill the remaining space in the hole with soil, firmly packing it down to eliminate air pockets. Make sure the top of the hole is slightly mounded to allow for settling over time. Finally, clean up the area by removing any excess materials and debris.
Conclusion
Setting a fence post with dry concrete is a manageable DIY task that can enhance your property while also providing practical benefits. By following these steps, you can ensure that your fence posts are secure, allowing you to enjoy your new fence for many years to come. Always remember to check local regulations and guidelines regarding fence installation to remain compliant with property standards. Embrace your DIY spirit and make your outdoor space truly yours!


