Setting a fence post without concrete can be a straightforward and effective method for creating a sturdy fence, especially in situations where you want to avoid using cement for environmental reasons or prefer a more temporary solution. Whether you're a DIY enthusiast or just looking to enhance your yard's aesthetics, here's a guide on how to set a fence post securely without the use of concrete.
Choosing the Right Materials
Before you begin, it's essential to gather the necessary materials. You'll need
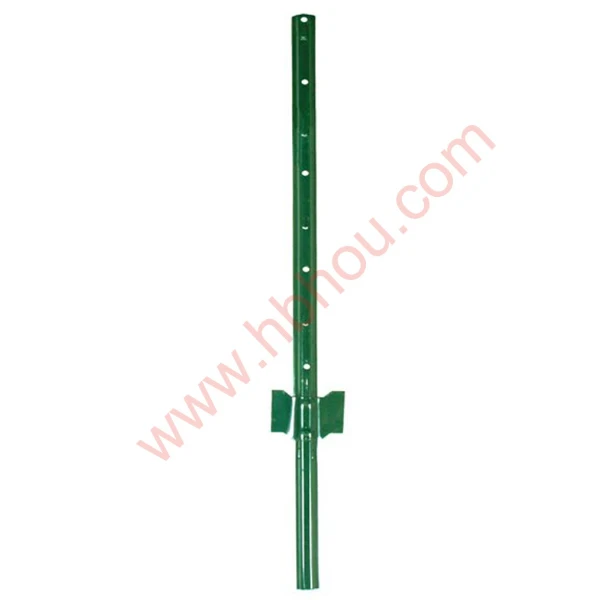
1. Fence Post Choose a treated wooden post or a metal post suitable for outdoor use. The height and thickness will depend on your specific fencing needs. 2. Gravel This will help to create drainage around the base of the post, preventing moisture buildup that can rot or weaken the post. A ¾-inch decorative gravel is a good choice.
3. Tamper or Post Driver This tool will be used to pack down the gravel later on.
4. Protective Gear Don’t forget gloves and safety glasses for protection during the installation process.
Selecting the Location
Choose the location of your fence post carefully. Consider the purpose of your fence — whether it's decorative, to keep animals in or out, or to provide privacy. Mark the spots where each post will go, ensuring they are evenly spaced based on your fencing design. A common distance for fence posts is 6 to 8 feet apart.
Digging the Hole
For setting a fence post properly without concrete, the hole is crucial. Use a post hole digger or shovel to create a hole approximately two feet deep and about twice the width of the post. This diameter will allow for adequate stabilization. The depth ensures that the post will have sufficient support while remaining above ground.
set a fence post without concrete
Setting the Post
Once your hole is ready, place the post in the center. Make sure it stands straight; you can use a level to check its vertical alignment. To keep the post in place while you work, you may need a couple of temporary braces on either side or enlist a helper to hold it steady.
Adding Gravel
Start adding gravel to the hole around the post. Fill the hole halfway with gravel, then use the tamper or post driver to pack it down. This step is essential to eliminate air pockets, which could allow the post to shift over time. Continue adding gravel until the hole is full, leaving an inch or so below ground to accommodate soil and grass.
Compacting the Base
After filling the hole, continue to tamp down the gravel until it is solid and well compacted. This step is crucial because it creates a sturdy base for your fence post, ensuring it will remain erect and secure. The pebble base also allows for water drainage, significantly reducing the risk of rot or decay in the wood.
Finishing Touches
Once the gravel is level with the ground, you can cover it with soil to blend it into the landscape. Water the area lightly to help settle the soil. Ensure that the top of the post extends to your desired height above ground.
Conclusion
Setting a fence post without concrete is an eco-friendly and temporary option that can yield strong results when done correctly. By choosing the right materials, digging an appropriately sized hole, and properly packing gravel, you can establish a solid fence that stands the test of time. This method is perfect for seasonal fencing or when you need the flexibility to relocate your fence in the future. Take your time through each step, and soon you'll enjoy your newly erected fence, adding both functionality and beauty to your outdoor space.


