Resetting a Fence Post A Guide to DIY Repairs
A well-maintained fence not only enhances the aesthetics of your property but also provides security and defines boundaries. However, over time, fence posts can become loose, rot, or bend due to various environmental factors such as weather changes, soil erosion, or even the effects of strong winds. Resetting a fence post might seem like a daunting task, but with the right approach, tools, and materials, it can be a straightforward DIY project. This article will guide you through the process of resetting a fence post effectively.
Understanding the Problem
Before diving into the physical work, it’s essential to assess the condition of the fence post in question. If the post is merely loose but not damaged, it may be possible to reset it without replacing it. On the other hand, if the post is rotten or severely bent, you might need to replace it entirely. Look for signs of rot, such as soft or crumbling wood, and assess whether the post is still strong enough to support the fence.
Tools and Materials Needed
To successfully reset a fence post, you’ll need a few tools and materials
1. Tools - Post hole digger or auger - Shovel - Level - Sledgehammer - Saw (if replacing the post) - Hammer - String line (optional for alignment)
2. Materials - New fence post (if necessary) - Concrete mix or gravel (for stability) - Wood preservative (if applicable) - Pea gravel (optional for drainage)
Step-by-Step Guide to Resetting a Fence Post
1. Prepare the Area Clear the area around the fence post to give yourself enough room to work. Remove any fencing attached to the post and clear away debris or overgrown vegetation.
resetting a fence post
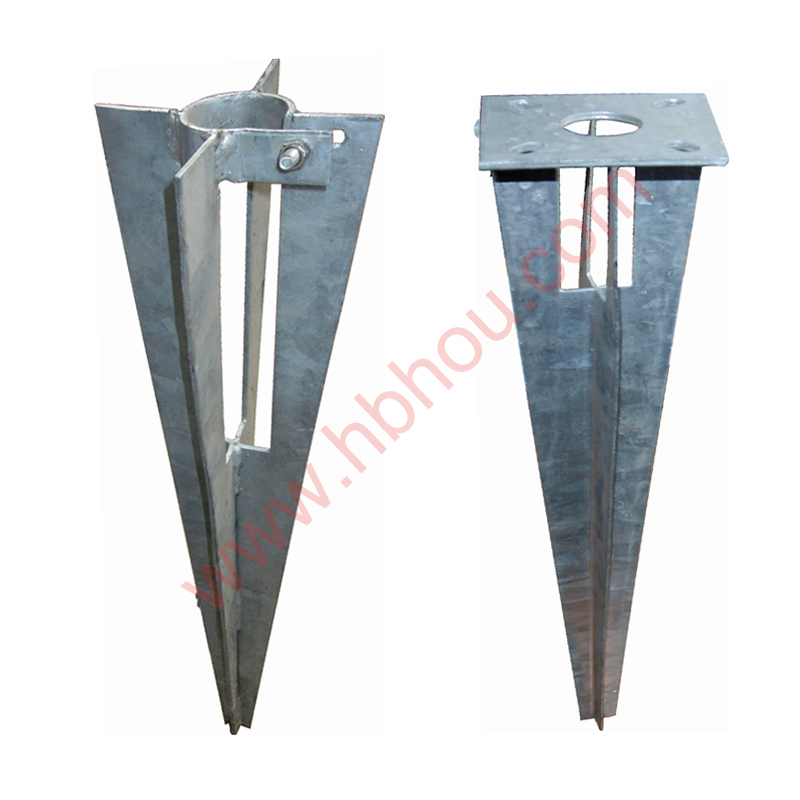
2. Remove the Old Post Using a post hole digger or an auger, excavate the soil around the post. The goal is to expose the full length of the post. If the post is rotten, you may be able to pull it out without too much effort. If the post is stuck, you might need to rock it back and forth or use a sledgehammer to loosen it.
3. Inspect the Hole Once the old post is removed, check the hole for drainage issues. If water settles at the bottom, you may want to add a layer of gravel to encourage drainage and prevent future rot. Aim for at least six inches of gravel.
4. Determine the Height Before setting the post, ensure that you know the proper height for the fence. Hold the new or existing post in place and mark the ideal height, taking into account how much of the post will be buried underground. A standard recommendation is to bury one-third of the post in the ground.
5. Insert the New or Existing Post Place the post in the center of the hole. At this stage, you might want to use a string line to ensure that it aligns with other fence posts. Make sure the post is plumb (vertically straight) using a level.
6. Set the Post Once the post is aligned, you can begin filling the hole with concrete mix or tightly packed soil. If you are using concrete, mix it according to the package instructions and pour around the base of the post. If using soil, pack it in firmly to eliminate any air pockets. This is crucial for stability.
7. Allow to Cure If you used concrete, give it at least 24-48 hours to cure before attaching any fencing. If you used gravel or soil, ensure that it is compact and stable before proceeding.
8. Reattach the Fencing Once the post is secure, reattach any fencing materials you removed earlier. Make sure to check for proper tension and alignment.
Conclusion
Resetting a fence post can be an approachable DIY project that saves you money and enhances the longevity of your fencing. By following these steps, you ensure that your investment remains stable and visually appealing. Regular maintenance is also key; check your fence posts periodically to prevent future issues. With a bit of effort, you’ll enjoy a sturdy fence that meets your needs for years to come. Happy repairing!


