Quick Set Up Fence An Efficient Guide for Homeowners
Setting up a fence around your property not only enhances its aesthetic appeal but also provides security and privacy. Whether you're looking to keep pets safe, create a boundary for children to play, or simply add a decorative element to your yard, a well-constructed fence can serve multiple purposes. The good news is that you don't need to hire a professional to set up a fence. With the right tools and a little guidance, you can achieve a sturdy and attractive fence in no time. This article will provide a quick yet comprehensive guide to setting up a fence efficiently.
Choose the Right Material
The first step in setting up a fence is selecting the right material. Your choice will depend on several factors, including the purpose of the fence, your budget, and personal aesthetics. The most common materials include
1. Wood Offers a natural look and can be painted or stained, providing versatility. However, it requires maintenance to prevent rot and weathering.
2. Vinyl Durable and low-maintenance, vinyl fencing comes in various styles and colors. It's resistant to fading and doesn’t need painting.
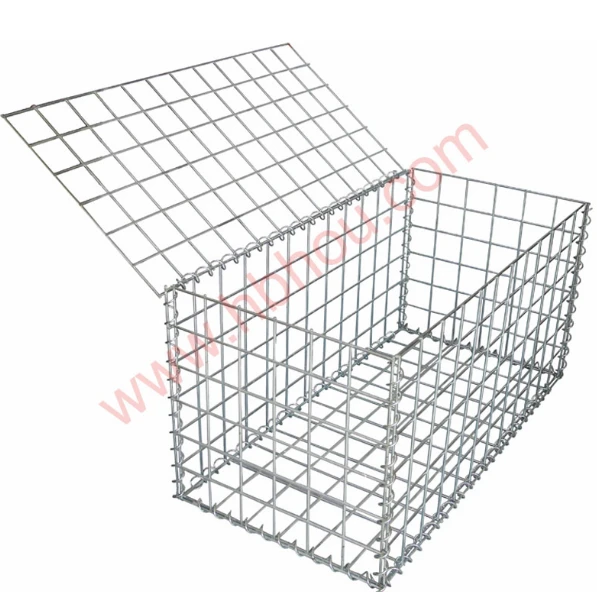
3. Metal Chain-link, aluminum, or wrought iron fences are sturdy and offer a traditional look. They provide security without completely obstructing views.
4. Composite Made from recycled wood and plastic, composite fences mimic wood’s appearance but are more weather-resistant and require less maintenance.
Plan Your Layout
Before you start digging, it’s essential to plan the layout of your fence. Measure the perimeter of the area you want to enclose and consider the following tips
- Check Local Regulations Consult with your local zoning laws to understand any restrictions regarding fence height or placement
.- Locate Utilities Avoid interference with underground utility lines by contacting your local utility company for a line mark.
quick set up fence
- Mark the Line Use stakes or spray paint to outline where the fence will be placed. This gives you a clear visual reference during installation.
Gather Your Tools
A well-prepared project starts with the right tools. Here is a basic list of what you may need
- Post hole digger or auger - Level - Tape measure - Hammer - Saw (if using wood) - Concrete mix (if setting wooden posts) - Wire cutters (for chain-link fencing) - Gloves for protection
Installing the Fence
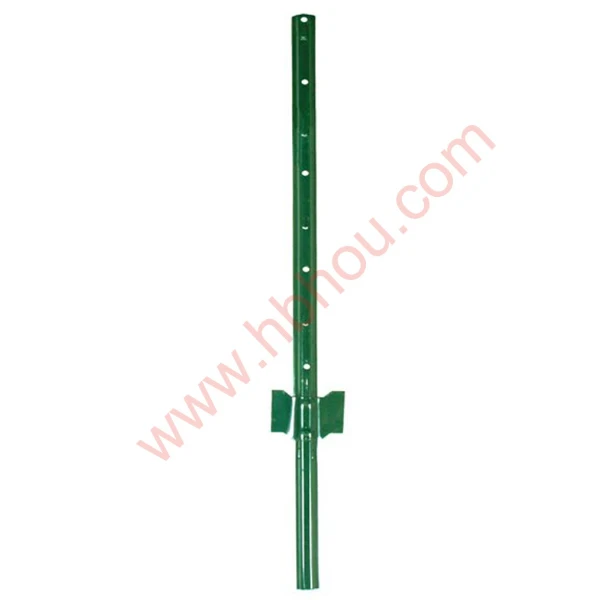
1. Post Installation Begin by digging holes for your fence posts. The holes should be about one-third the height of the post and spaced according to the type of fence you are installing—typically 6 to 8 feet apart. Place the posts in the holes, ensuring they are level and straight. If you're using wooden posts, fill the holes with concrete for added stability.
2. Attach Fence Panels Once the posts are secure, you can attach the fence panels. If using wood, you will need to cut your panels to size and attach them with screws or nails. For vinyl and composite fences, follow the manufacturer's instructions to secure the panels properly.
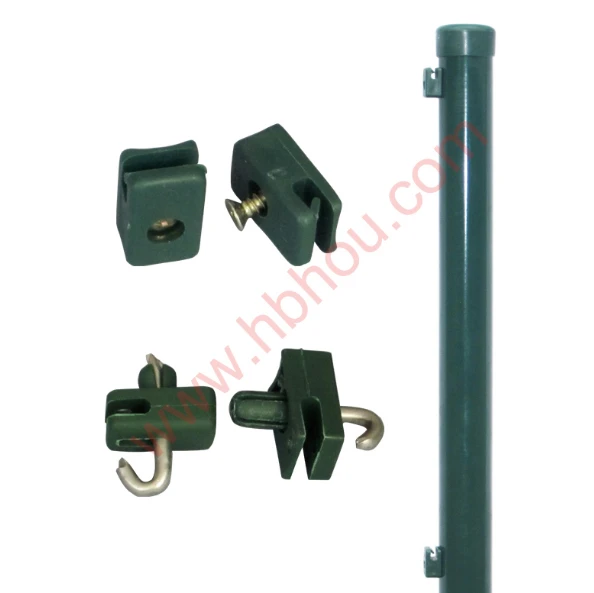
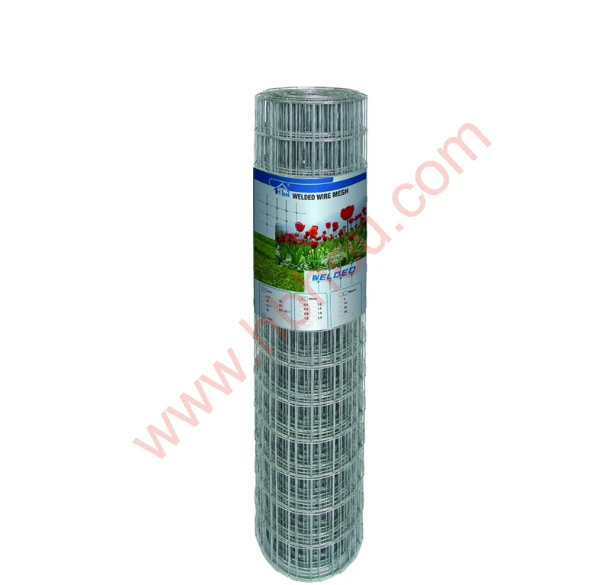
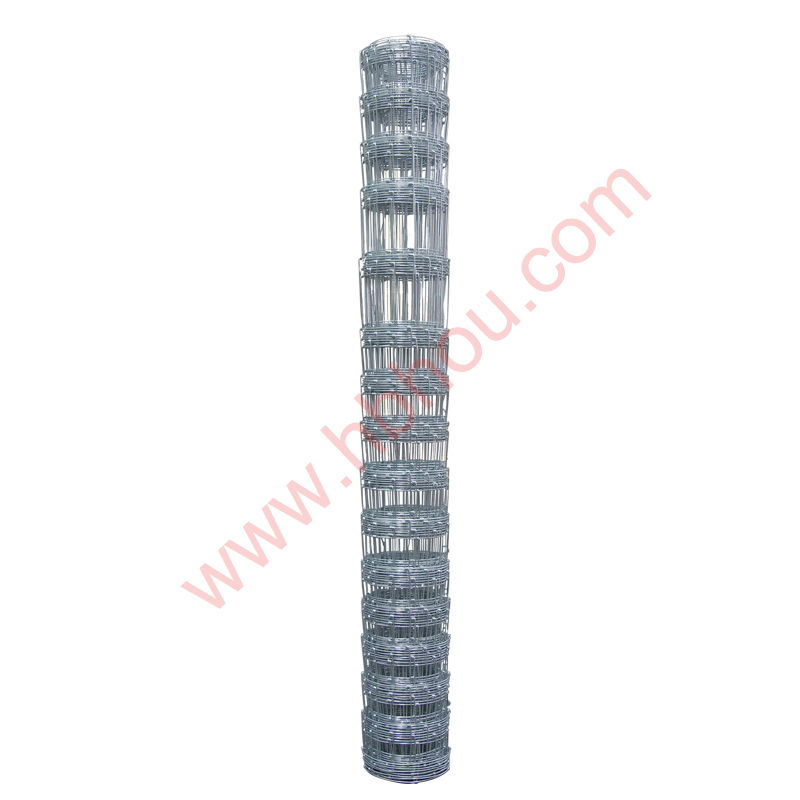
3. Chain-Link Installation If you chose a chain-link fence, unravel the chain-link fabric and attach it to the posts using tension bars and ties. Make sure the fabric is taut to ensure durability.
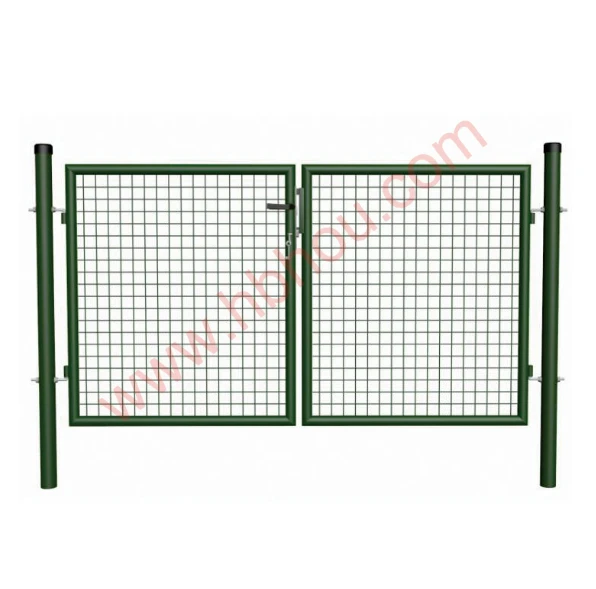
4. Finishing Touches After the panels are in place, install any gates you may have to allow access in and out of the fenced area. Finally, consider adding a stain or sealant if your fence is wooden or any maintenance required for other materials.
Conclusion
Setting up a fence can be a rewarding DIY project when approached with the right tools and knowledge. It offers not just a boundary for your property but also an opportunity to enhance your outdoor space. By choosing the right material, properly planning your layout, gathering your tools, and carefully installing the fence, you will create a durable and attractive addition to your home. With your new fence in place, enjoy the benefits it brings for years to come!


