Putting Up Chicken Wire Fence A Practical Guide
Creating a safe and secure environment for your poultry is essential for any aspiring chicken keeper. One of the most effective ways to protect your chickens from predators while providing them a space to roam freely is by installing a chicken wire fence. This guide will walk you through the process of setting up a chicken wire fence, including necessary tools, materials, and step-by-step instructions.
Why Use Chicken Wire?
Chicken wire is a lightweight and flexible fencing material that serves as a barrier against many common threats to your flock, such as raccoons, foxes, and stray dogs. It allows for good visibility, enabling you to keep an eye on your birds while providing adequate ventilation. Additionally, it is relatively easy to install, making it an ideal choice for beginners.
Materials and Tools Needed
Before you start, gather the following materials and tools
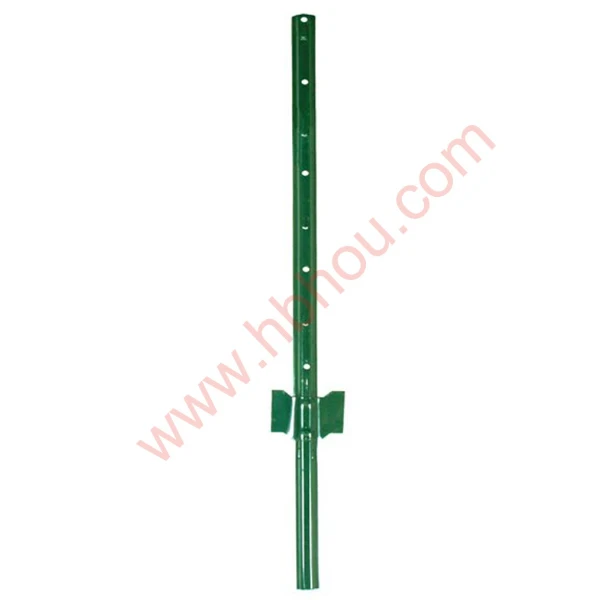
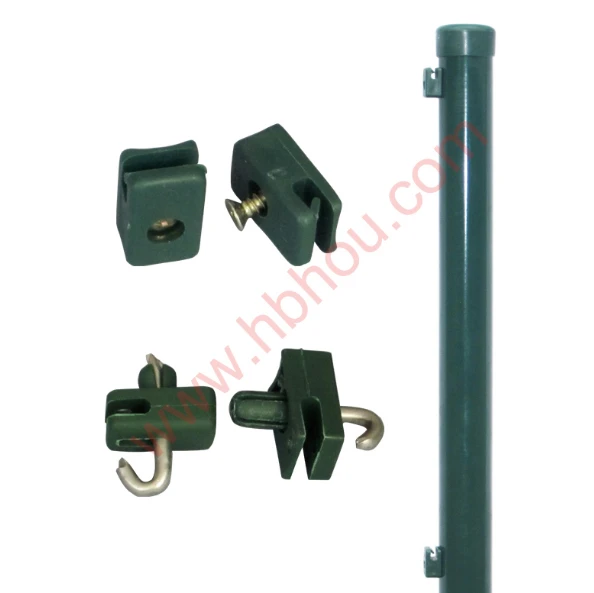
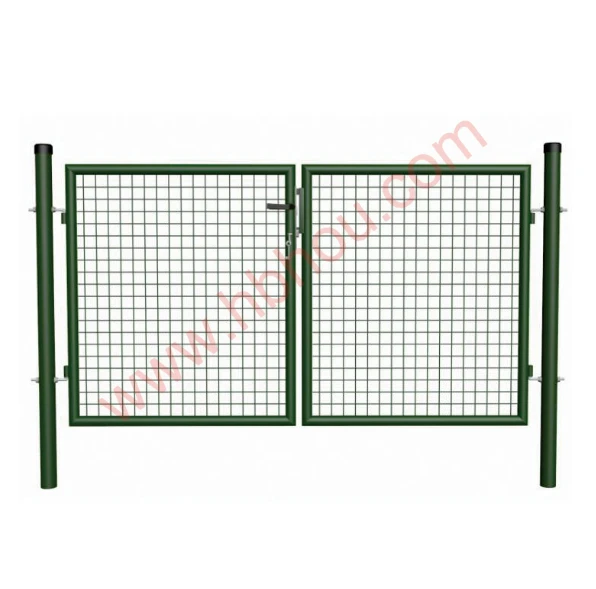
- Chicken wire Typically available in rolls of varying heights and mesh sizes. A 4 to 6-foot height is usually sufficient. - Wooden or metal posts These will serve as the framework for your fence. Depending on your needs, you may choose treated wooden posts or metal T-posts. - Gate A simple gate can be constructed using the same mesh and frame as the rest of your fence. - Clips or staples To secure the chicken wire to the posts. - Wire cutters For trimming the chicken wire to size. - Post hole digger To create holes for your fence posts. - Hammer or post driver For setting your posts into the ground.
Step-by-Step Installation
1. Plan Your Layout Before you begin, plan the dimensions of your chicken yard. Consider the size of your flock and the space required for their movement. Make sure to mark the corners and the gate position clearly.
putting up chicken wire fence
2. Dig Post Holes Use your post hole digger to create holes for your posts. Typically, posts should be spaced about 6 to 8 feet apart. Make the holes about 2 feet deep to ensure stability.
3. Set the Posts Place your posts into the holes. Ensure they are vertically straight using a level. Fill the holes with dirt or use concrete mix for added stability, especially in areas prone to strong winds or where larger predators are present.
4. Attach the Chicken Wire Start at one corner of your fenced area. Unroll the chicken wire along the first side and attach it to the post using clips or staples. As you move along, pull the wire taut to avoid sagging.
5. Secure the Wire Continue attaching the chicken wire to each post along the perimeter. When you reach a corner, make sure the wire wraps around the post for added security. Cut the wire to size when necessary, using wire cutters to avoid fraying the material.
6. Add a Gate Construct your gate using the same materials as your fence. Ensure it swings freely and closes securely to prevent any escapes.
7. Final Inspection Once the fence is in place, walk around the entire perimeter to check for gaps or areas where predators might get through. Make necessary adjustments and secure any loose areas.
Conclusion
Building a chicken wire fence is a rewarding project that enhances the safety and well-being of your flock. By following these steps and paying attention to detail, you can create a secure enclosure that keeps your chickens safe from harm while allowing them to enjoy the outdoors. With your new chicken wire fence in place, you can rest assured that your chickens will have a safe haven to thrive in your backyard environment. Happy chicken keeping!


