The Art of Pushing in Fence Posts A Step-by-Step Guide to Building a Stronger Boundary
Building a fence can be an integral improvement for any property, providing security, privacy, and aesthetic appeal. However, the success of a fence largely depends on the strength and stability of its posts. This article will guide you through the process of pushing in fence posts to ensure a robust structure that will stand the test of time.
Choosing the Right Materials
Before you even think about pushing in your fence posts, you'll want to ensure that you've selected the right materials. There are several types of posts available, including wood, vinyl, and metal. Wooden posts, particularly cedar and pressure-treated wood, are common choices due to their natural resistance to rot and insects. However, they require more maintenance than vinyl or metal options.
Whichever material you choose, ensure that the posts are sturdy and suitable for the climate in your area. For instance, in regions with heavy winds or snow, you might want to select heavier, deeper-set posts for additional stability.
Tools and Preparation
Having the right tools can make the process of pushing in fence posts significantly easier
. Here’s what you will need1. Post Hole Digger Essential for creating the holes where your posts will be set. 2. Level To ensure that your posts are straight and upright. 3. Tape Measure For precise measurements of the spacing and depth of your holes. 4. Concrete (optional) If you want additional stability for your posts. 5. Hammer or post driver Useful for driving the posts into the ground efficiently.
Before starting your project, it’s also advisable to mark out where your fence will go. Use stakes and string to visualize the layout, ensuring that you account for any obstacles, property lines, and local regulations.
The Process of Pushing in Fence Posts
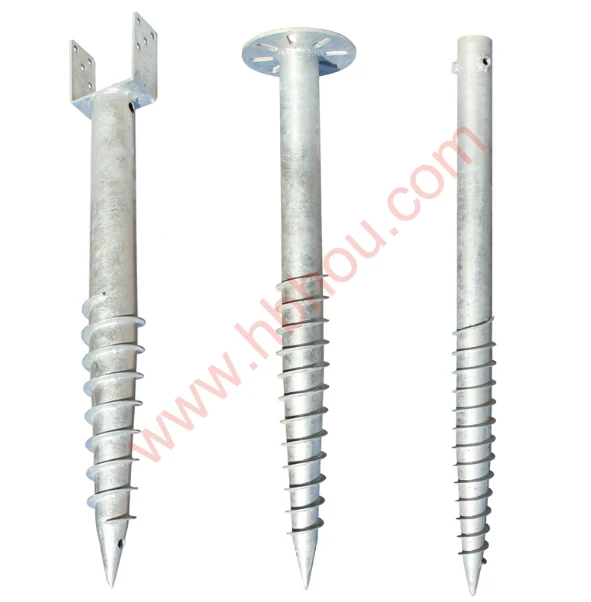
push in fence posts

1. Digging the Holes Use your post hole digger to create holes for your posts. The depth of the holes should typically be one-third of the post length above ground. If you are using 6-foot posts, aim for a 2-foot deep hole. The width of the hole should also be 2-3 times the width of the post to allow for proper anchoring.
2. Setting the Posts After you’ve dug your holes, place the fence posts in the center. If you’re using concrete for extra support, pour it into the hole around the post, making sure to keep the post straight. If not, you can simply backfill the hole with soil, compacting it as you go.
3. Using a Level This is a crucial step. Use a level to check that the post is perfectly vertical. Make adjustments as necessary, and once satisfied, hold the post in place.
4. Securing the Posts If using concrete, allow it to set according to the manufacturer’s instructions. This may take a day or more. If backfilling soil, ensure it's tightly packed and level with the surrounding ground.
5. Repeat Continue this process for each post along the fence line, consistently checking the spacing and alignment.
Final Touches
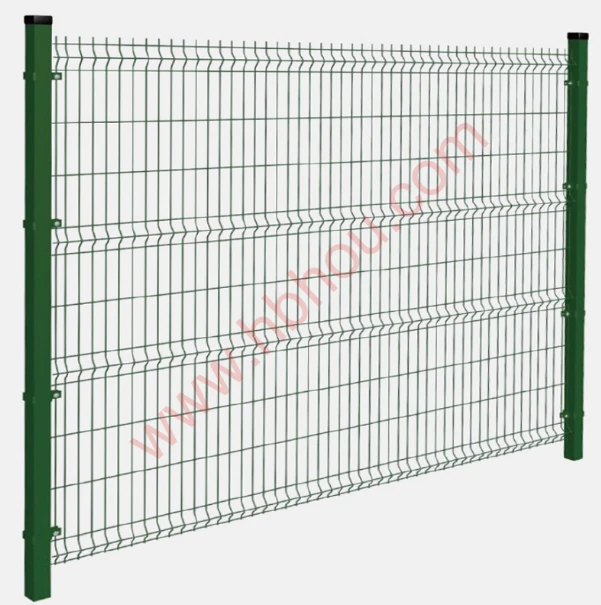
Once all posts are installed, it's time to attach the horizontal rails and fencing of your choice. If you've done the work correctly, you’ll have a strong fence that looks great and withstands the elements.
Conclusion
Pushing in fence posts might appear to be a simple task, but it is foundational to the success of your fence. By choosing quality materials, employing the right tools, and following a thorough process, you can set the stage for a beautiful and functional boundary around your property. Not only will this enhance your landscape, but it will also provide a sense of security and style. Whether you're a DIY enthusiast or a first-time builder, mastering the art of fence post installation will undoubtedly yield satisfying results.


