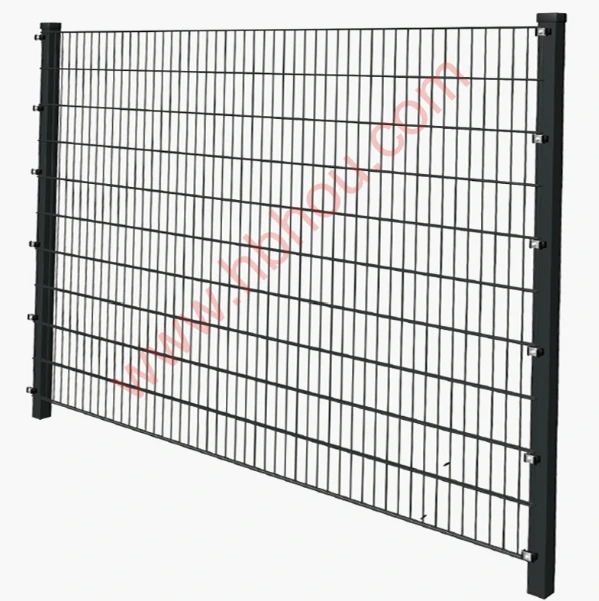
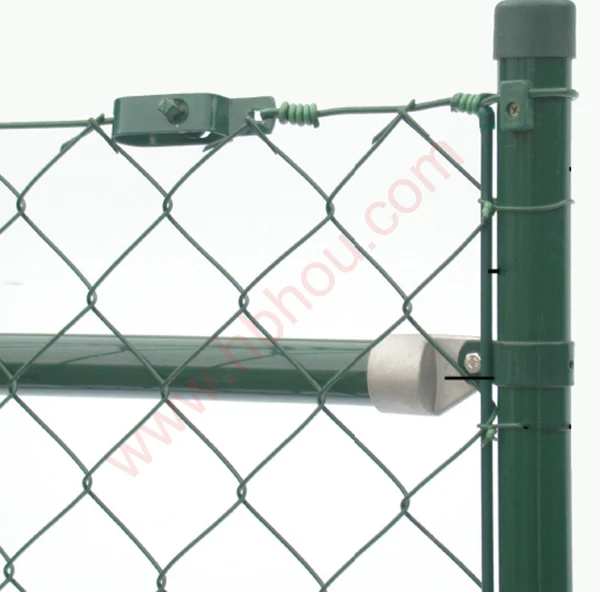
Setting Straight Fence Posts A Guide to Craftsmanship and Precision
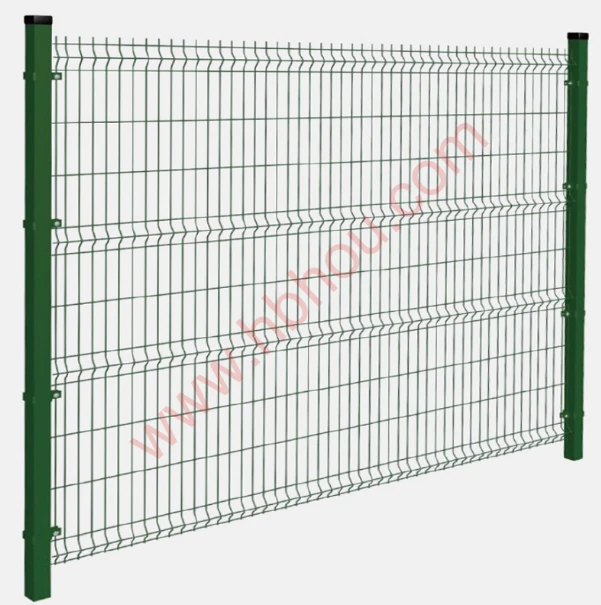
When it comes to maintaining the aesthetics and functionality of your property, a well-constructed fence is essential. Not only does it serve as a boundary, but a fence also adds character and value to your home. One critical aspect of fence installation that often gets overlooked is the importance of setting straight fence posts. The integrity of your entire fence relies on these seemingly simple pillars. This article will guide you through the process, ensuring your fence stands tall and straight for years to come.
Tools and Materials
Before embarking on the journey of setting your fence posts straight, it’s crucial to gather the necessary tools and materials. You will need
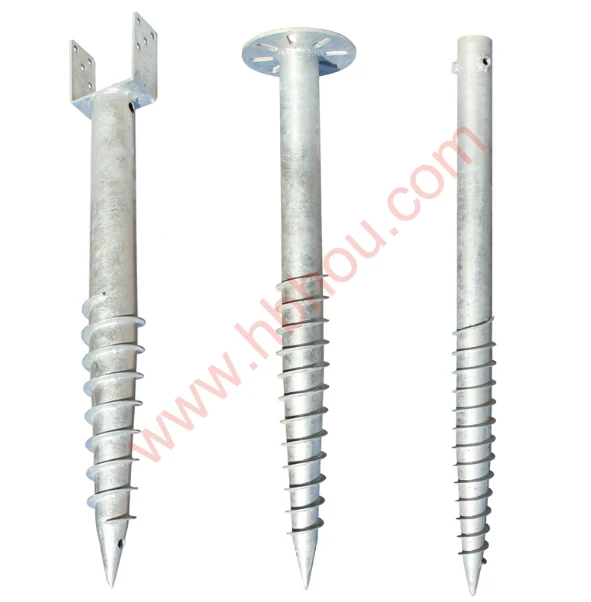
- Fence posts (wood, vinyl, or metal, depending on your preference) - Concrete mix (for stability) - A post hole digger or auger - A level - A tape measure - A string line - A shovel - Water (for mixing concrete)
Step-by-Step Guide
1. Planning and Layout Before digging, determine where your fence will go. Use a tape measure to mark the locations for your fence posts, ensuring they are spaced evenly – typically, 6 to 8 feet apart is ideal for most fences.
2. Digging the Holes Using a post hole digger or auger, dig holes for each post. The depth of the holes will depend on the height of the fence – a general rule of thumb is to bury one-third of the post's length underground. Ensure that the holes are at least 6 inches wider in diameter than the posts to allow for adjustments and concrete.
setting straight fence posts
3. Positioning the Posts Place the first fence post into the hole and use a level to ensure it is vertical. Straightness is crucial; even a slight tilt can affect the overall look of the fence. If you’re using more than one post, run a string line between the posts to guarantee they’re aligned.
4. Securing the Posts Once the post is level, add concrete mix into the hole. Follow the instructions on the concrete bag for the right water-to-mix ratio. Make sure the concrete surrounds the post evenly. As the concrete sets, intermittently check the post with the level and adjust as necessary.
5. Curing and Finishing Touches Allow the concrete to cure for at least 24 to 48 hours, depending on the manufacturer's instructions. Once fully set, you can remove the string line and proceed with attaching the horizontal beams and panels.
Common Mistakes to Avoid
- Not Using a Level Skipping this step can lead to crooked posts, which is one of the most common mistakes in fence installation. - Improper Depth Posts that are not deep enough may lean or become unstable over time, especially in areas with frost or heavy winds. - Rushing the Concrete Setting Allowing the concrete to cure properly is essential. Rushing this step can lead to a weak hold and eventual sagging of the fence.
Conclusion
Setting straight fence posts is a fundamental skill for any DIY enthusiast or professional. The effort you invest in ensuring each post is correctly placed and secured will pay off in the long run, resulting in a sturdy, aesthetically pleasing fence. With the right tools, careful planning, and a commitment to precision, you can create a boundary that enhances your property and stands the test of time. Remember, just like any craft, patience and attention to detail are key to achieving a successful and lasting outcome. Happy fencing!


