Installing a Welded Wire Fence A Step-by-Step Guide
Installing a welded wire fence can be an effective way to secure your property while allowing visibility and airflow. This type of fencing is durable, weather-resistant, and often used for keeping pets safe or creating enclosures for gardens. Below is a comprehensive guide on how to install a welded wire fence.
Step 1 Planning and Materials
Before beginning your installation, it’s essential to plan the layout of your fence. Measure the area where you want to install the fence to determine how much material you will need. Key materials include welded wire fencing rolls, fence posts (wooden or metal), concrete mix, and fencing tools such as pliers, a post driver, and a level.
Additionally, check your local regulations regarding fencing to ensure compliance with height and zoning laws. Consider underground utilities before digging, and mark any essential lines to avoid damage.
Step 2 Preparing the Site
Clear the installation area of debris, rocks, or vegetation. A clean site will make the installation process smoother. Use stakes and a string line to outline the fence's perimeter. This will help maintain a straight and level line throughout the installation.
Step 3 Installing Fence Posts
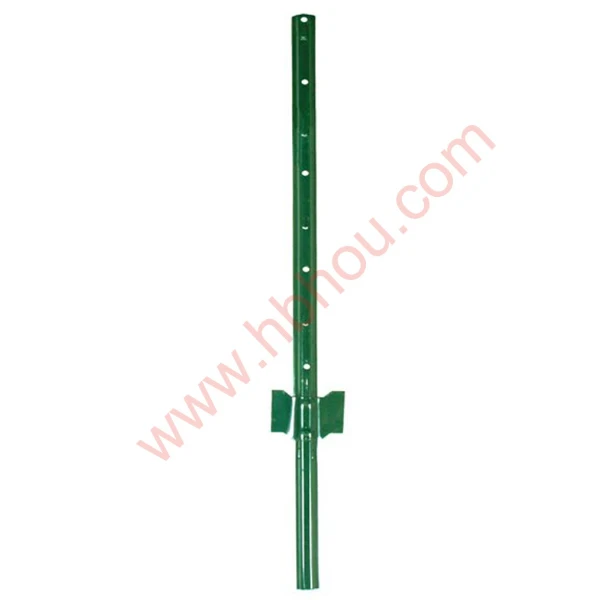
The next step is to install the fence posts, which provide the structure of your fence. Posts should be spaced about 6 to 10 feet apart, depending on the fence's height and material. Start at a corner and use a post hole digger to excavate a hole about 2 feet deep for each post. This depth provides stability and prevents tipping.
installing welded wire fence
Insert the posts into the holes, ensuring they are plumb with a level. Pour in concrete mix around the base of the posts for added support, and allow it to cure according to the manufacturer’s instructions.
Step 4 Attaching the Welded Wire Fencing
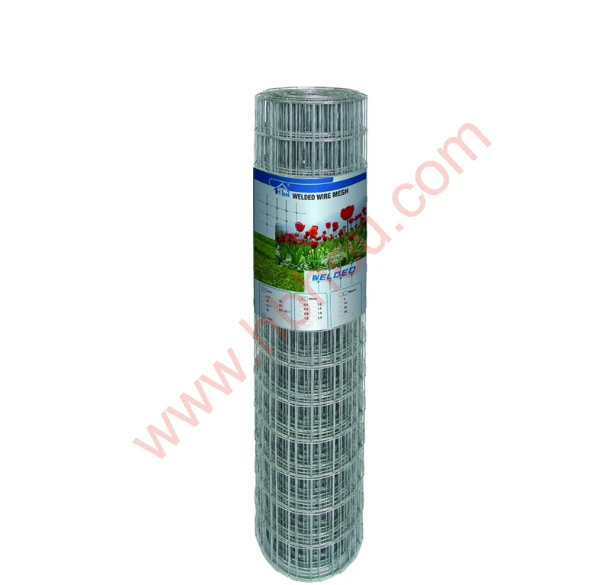
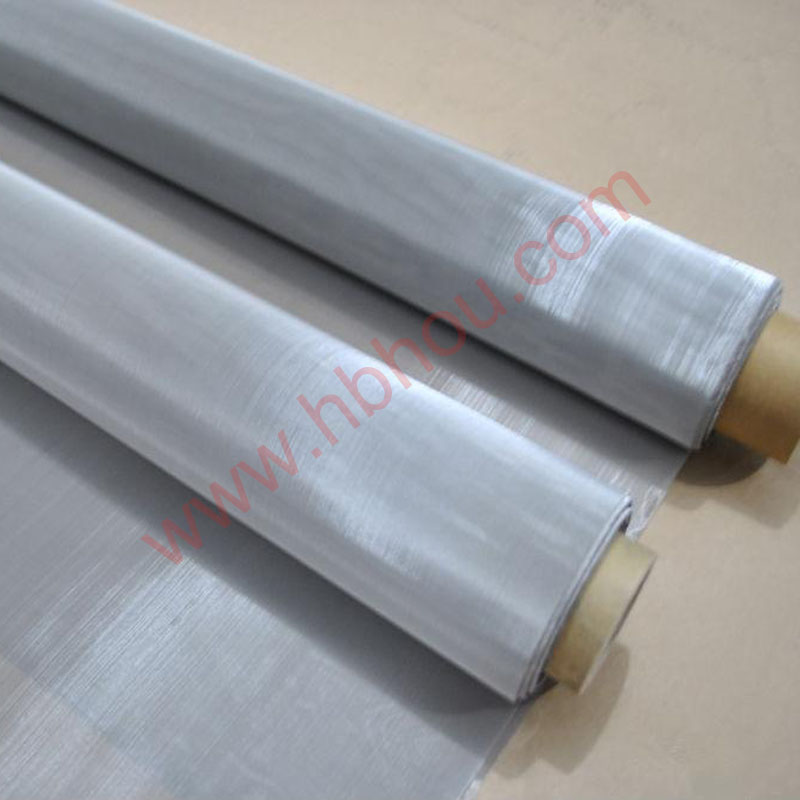
Once the posts are securely installed, it's time to attach the welded wire fencing. Unroll the fence along the line of posts, ensuring it is taut and level. Use fencing staples or wire to attach the fencing to the posts. Start at one end and work your way along, ensuring the mesh remains straight and free of sagging.
When reaching corners or gates, it may be necessary to cut the fencing to the correct length. Use wire cutters and be cautious to avoid injuring yourself or damaging the material.
Step 5 Finishing Touches
After attaching the fencing, inspect the entire perimeter for any loose areas or sharp edges. Use wire snips to trim any excess wire and protect against injuries. You can also apply a rust-inhibitor spray to metal posts and fence sections to enhance longevity.
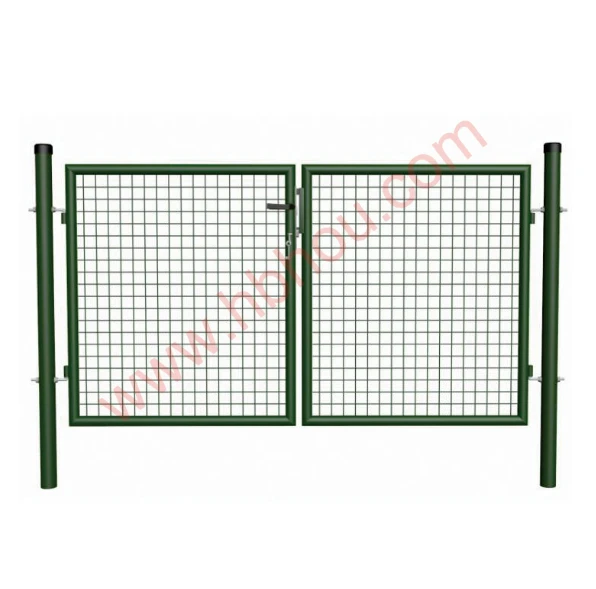
Lastly, if you are enclosing pets or livestock, consider adding a top rail for added security or a gate for easy access. Ensure the gate closes securely to keep your animals safe.
Conclusion
Installing a welded wire fence can be a straightforward DIY project with the right tools and preparation. By following these steps, you can create a functional and attractive enclosure that enhances your property’s security and aesthetics. Always remember to take your time and check local regulations to ensure your fence meets all necessary guidelines. Happy fencing!


