
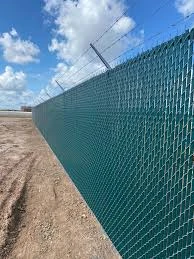
Once the posts are in place, unroll the chicken wire alongside the posts. Begin attaching the wire at one end, securing it to the first post using staples or wire ties. It is important to keep the wire taut as you progress along the fence line, connecting it sequentially to each post. This tension is crucial for preventing sagging and maintaining a robust barrier. For added security, extend the wire below ground level or bury an additional strip of wire horizontally to prevent predators from digging underneath. This step is particularly important if the fence is intended to protect chickens, as many common predators are adept at burrowing. An often overlooked aspect of installing a chicken wire fence is the installation of a proper entry gate. The gate should blend seamlessly with the fence design and maintain the same security standards. Use a pre-made gate or construct one using wire and sturdy wooden frames, ensuring it swings freely and is equipped with a reliable locking mechanism. Maintenance of a chicken wire fence is essential for prolonging its lifespan. Regularly inspect the wire for any tears or damage, and promptly repair these areas. Over time, the tension of the wire may decrease, so checking and re-tightening where necessary is advisable. Environmental factors such as heavy snow or falling branches can impact the integrity of the fence, warranting periodic reviews, especially after storms. In conclusion, while installing a chicken wire fence may initially appear daunting, thorough preparation and careful installation can result in a functional and durable perimeter. Investing time upfront in selecting the right materials and following a methodical installation process will ensure your fence serves its purpose for years to come. By maintaining your fence well, you not only protect your property or livestock but also boost your property’s aesthetic value and security.


