Installing Chicken Wire Fence A Step-by-Step Guide
Installing a chicken wire fence can be a practical and effective way to protect your garden, yard, or livestock from unwanted animals. Whether you’re aiming to keep chickens contained or prevent pests from invading your vegetable patch, understanding the process of setting up a chicken wire fence is essential. Here’s a detailed guide to help you through the installation.
Materials Needed
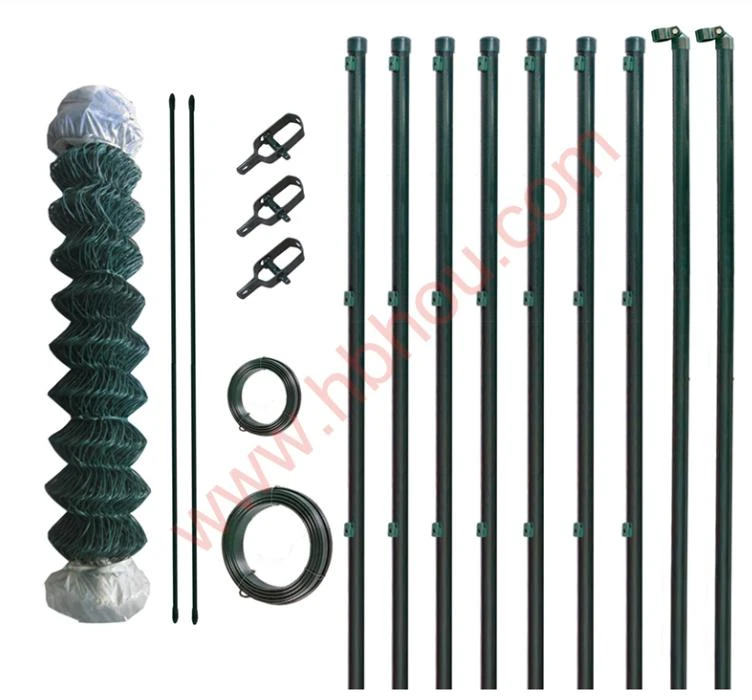
Before you start, ensure you have all the necessary materials. You’ll need chicken wire, wooden or metal posts, post-hole digger, hammer, staples, wire cutters, and a level. Depending on your area and the space you’re fencing in, you may also want to purchase fencing spray paint to mark the perimeter.
Step 1 Planning Your Fence
Begin by identifying the area you intend to fence. Take the time to measure and mark the dimensions. A clear plan will help you visualize the layout. Use stakes or spray paint to outline the perimeter. Consider the size and spacing of your posts, typically recommended at intervals of 6 to 8 feet.
Step 2 Setting the Posts
Once everything is marked out, it’s time to dig holes for your posts. Use a post-hole digger to create deep holes, around 2 feet deep, to ensure stability. Place the posts in the holes and fill with concrete or soil, ensuring they are vertical with the aid of a level. Allow sufficient time for the concrete to set if using it.
Step 3 Unrolling the Chicken Wire
installing chicken wire fence

With your posts securely in place, unroll the chicken wire along the perimeter of the fence. Make sure the wire extends slightly above the ground to prevent animals from digging underneath. Chicken wire comes in various heights, typically between 3 to 6 feet; choose one that suits your needs.
Step 4 Attaching the Chicken Wire
Start at one end of the fence and pull the wire tight against the posts, ensuring there are no sagging spots. Use a stapler or staples to attach the wire to each post. If you're using wooden posts, ensure the staples penetrate deeply enough to hold the wire firmly. For metal posts, consider using fencing ties for a secure hold.
Step 5 Securing the Bottom
To prevent animals from digging under the fence, secure the bottom of the chicken wire. You can bury a few inches of the wire into the ground or use landscape staples to secure it against the earth. This step is crucial for maintaining an effective barrier.
Step 6 Final Touches
Once the chicken wire is installed, check for any loose sections or gaps. Trim any excess wire with wire cutters. If desired, you can paint the posts or add a gate for entry. Your fence should now be both functional and visually appealing.
Conclusion
Installing a chicken wire fence is a straightforward process that can provide long-lasting benefits for your garden or yard. By following these steps and putting in a bit of effort, you can create an effective barrier to keep your space secure. Enjoy the peace of mind that comes with knowing your plants and animals are protected!


