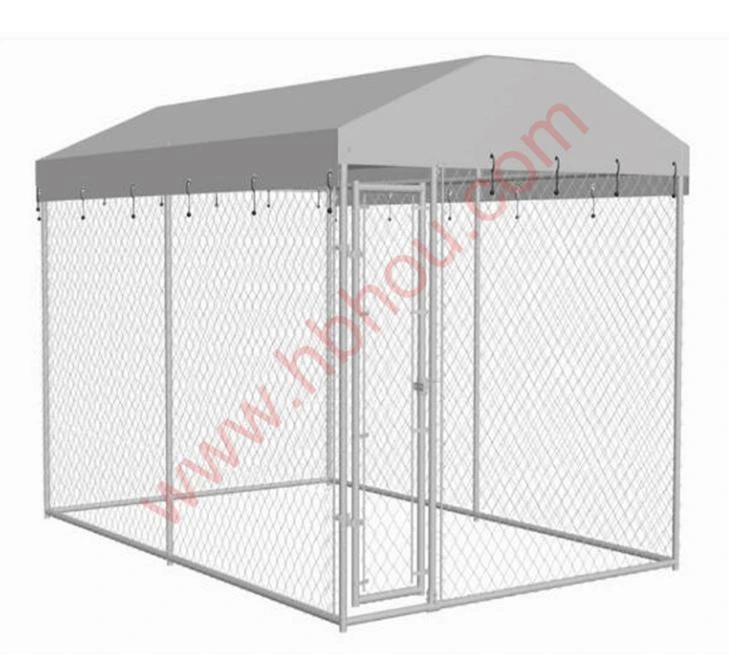
Installing a Chain Link Fence with T-Posts
Installing a chain link fence can be an excellent way to enhance security and define boundaries on your property. Using T-posts as the primary posts for your chain link fence is a popular choice among DIY enthusiasts due to their lightweight and cost-effective nature. This article will guide you through the process of installing a chain link fence with T-posts, ensuring you achieve a durable and attractive fence that meets your needs.
Materials and Tools Required
Before starting the installation, it’s essential to gather all the necessary materials and tools
Materials - Chain link fabric (the mesh) - T-posts - T-post clips - T-post driver or hammer - Top rail (if required) - Fence tension wire (optional) - Fence ties (for securing the mesh) - Concrete (optional for securing T-posts) - Gate hardware (if a gate is needed)
Tools - Fence pliers - Wire cutters - Level - Measuring tape - Chalk line - Post driver or hammer - Gloves - Safety goggles
Steps for Installation
1. Planning and Measurement Begin by determining the fence layout. Use your measuring tape to mark where the fence will go, ensuring to account for any gates or openings. It’s advisable to use stakes and string to create a clear outline of the area. Measure the total length of the fence to know how many T-posts you will need.
2. Choosing T-Posts Choose the right length of T-posts based on the height of the chain link fence you intend to install. Typically, T-posts come in various lengths, such as 5, 6, or 8 feet. The height of the fence will also determine how deep to drive the posts into the ground.
3. Installing T-Posts Drive the T-posts into the ground at intervals of about 5 to 10 feet along the fence line, ensuring they are straight and level. If the soil is firm, use a T-post driver to pound them into the ground to a depth of about 2 feet for stability. For softer soil, you might consider using concrete to set the posts securely.
installing chain link fence with t posts

4. Adding the Top Rail (if required) If your design specifies a top rail, attach it to the T-posts using the clips as you go along the fence line. The top rail helps maintain the shape of the fence and adds additional strength.
5. Installing Chain Link Fabric Unroll the chain link fabric along the fence line. It’s usually best to start at the end of the fence where you want the gate. Lift the fabric and attach it to the T-posts using the fence ties. Space the ties out evenly along the height of the fabric—typically every 12 inches is sufficient. Make sure the fabric is taut and straight as you secure it.
6. Tensioning the Fence If you’re using tension wire, run it along the bottom and tension it by pulling it taut and fastening it to the T-posts. This step is crucial as it helps maintain the stability of the fence fabric against wind and other forces.
7. Secure the Ends Once the chain link fabric is installed, ensure it is secured at the ends. If you have a gate, install the gate frame and the necessary hardware following the manufacturer's instructions to ensure it operates smoothly.
8. Final Touches Check the entire fence for levelness and tightness. If you notice any sagging areas, adjust the fabric as needed. Trim any excess fabric at the ends if necessary.
Maintenance
After installation, the chain link fence requires minimal maintenance. Regularly check for rust or wear on the fabric and the T-posts. Keeping the surrounding area clear of weeds and debris will also help preserve the integrity of your fence.
Conclusion
Installing a chain link fence with T-posts is a straightforward project that can be accomplished with basic tools and materials. Following these steps, you can create a reliable barrier that enhances your property’s security while allowing visibility and airflow. Engage in this rewarding DIY project and enjoy the benefits of having your chain link fence up and running!


