Chain Link Fence Posts in Concrete A Strong and Reliable Solution
When it comes to securing a property or defining a boundary, chain link fences are a popular choice among homeowners and businesses alike. The strength and durability of these fences largely depend on the solidity of the posts that support them. Installing chain link fence posts in concrete is an effective method to ensure that the fence remains upright and intact for years to come.
The Importance of Proper Installation
The installation of chain link fence posts in concrete is crucial for the overall stability of the fence. A well-installed fence not only serves a functional purpose—keeping pets in and unwanted visitors out—but also enhances the aesthetic appeal of the property. Inadequate installation can lead to leaning posts, sagging wire, and a fence that ultimately fails to provide the required security.
Concrete serves as an excellent anchor for chain link fence posts. It adds significant weight and stability, preventing the posts from shifting due to soil erosion, extreme weather conditions, or physical impacts. The use of concrete ensures that the posts remain firmly in place, providing a robust framework for the chain link material that spans between them.
Choosing the Right Materials
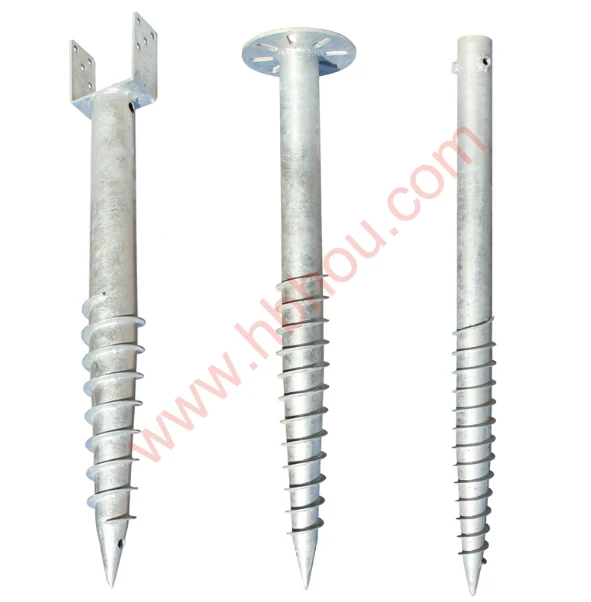
When installing chain link fence posts, selecting the right materials is essential. The posts themselves are usually made of galvanized steel, which offers resistance to rust and corrosion. This durability is imperative, especially in regions with harsh weather conditions. The concrete used should also be of high quality, typically a quick-setting mix designed for outdoor use.
Step-by-Step Installation Process
1. Planning and Measurement Before digging, it’s essential to measure the perimeter where the fence will be installed. Mark where each post will go, keeping in mind the necessary distance depending on the size of the chain link rolls.
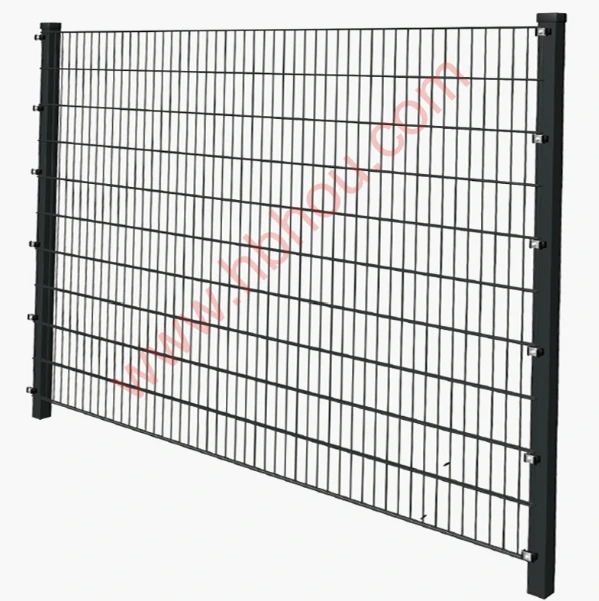
chain link fence post in concrete

2. Digging Post Holes Using a post hole digger, create holes that are approximately 2 feet deep and 6 to 8 inches wide. This depth may vary based on local building codes and the height of the fence.
3. Setting Posts in Place Place the chain link fence posts into the holes, ensuring they are vertical and aligned. It’s important to use a level to verify the alignment before moving to the next step.
4. Pouring Concrete Prepare the concrete mix according to the manufacturer's instructions. Pour the concrete into the holes around the posts, filling them completely. Use a trowel to smooth out the surface and help the concrete set properly.
5. Allowing to Cure Allow the concrete to cure for at least 24 to 48 hours, or as recommended by the manufacturer, before attaching the chain link fabric. This curing time is crucial for achieving maximum strength and stability.
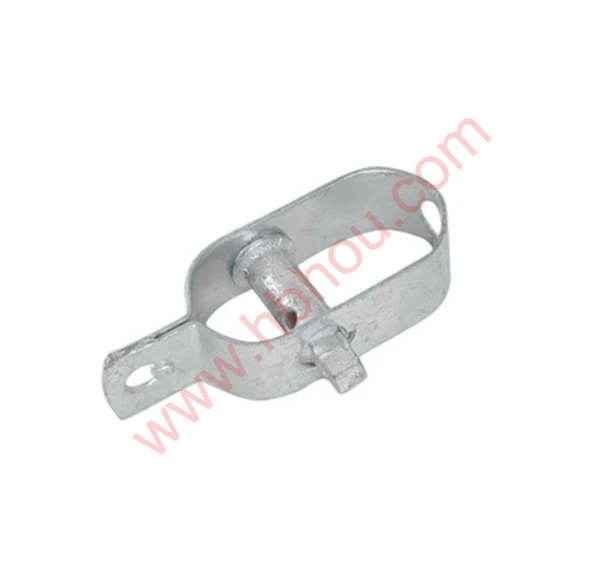
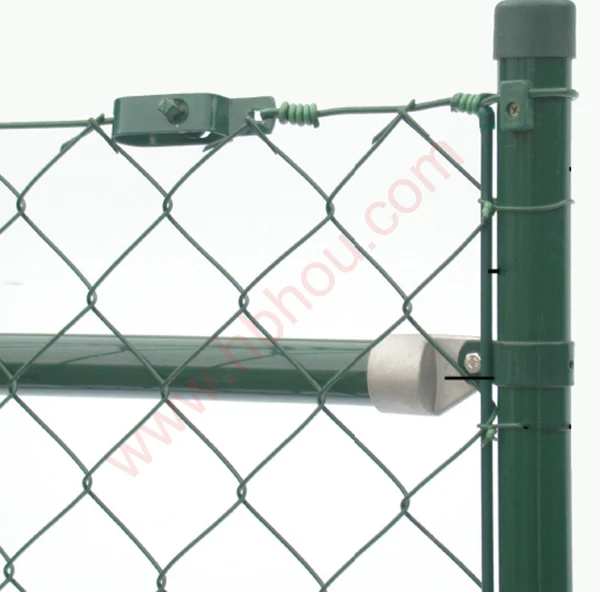
6. Attaching Chain Link Fabric Once the concrete has cured, attach the chain link fabric to the posts using tension bands and wires. Make sure the fabric is taut to prevent sagging.
Maintenance Considerations
Once the chain link fence is installed with concrete-anchored posts, periodic maintenance is necessary to ensure its longevity. Regularly inspect for any signs of rust on the posts or the chain link and address them promptly. Additionally, check for any loose fittings or missing components and replace them as needed.
Conclusion
Installing chain link fence posts in concrete is a straightforward yet impactful approach to enhancing the strength and durability of a fencing system. By following the proper installation techniques and utilizing high-quality materials, property owners can ensure that their chain link fences provide reliable security and maintain their aesthetic value over time. Whether for residential or commercial use, a well-installed chain link fence can offer peace of mind and protect your space for years to come.


