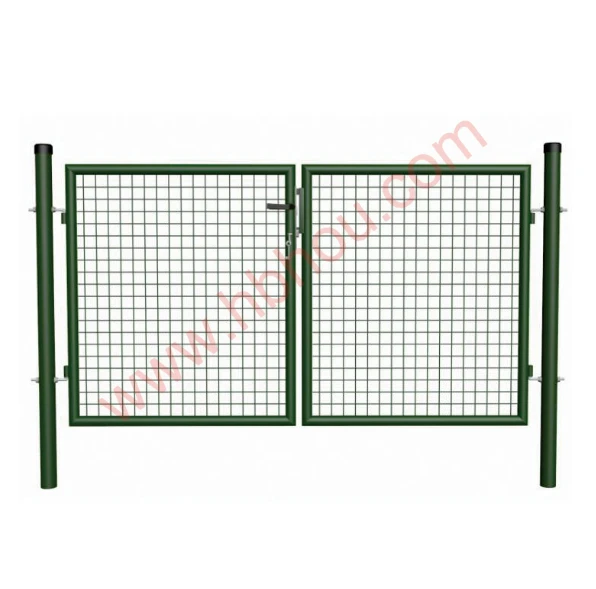
Creating Your Own Homemade Garden Gate A Step-by-Step Guide
A garden gate is not just a functional entryway; it's a beautiful and inviting feature that can enhance the overall aesthetic of your garden. Building a homemade garden gate can be a rewarding project, allowing you to infuse your personal style into your outdoor space. In this guide, we’ll take you through the essential steps to create a durable and attractive garden gate that complements your garden's design.
Step 1 Designing Your Gate
Before diving into construction, spend some time planning your gate design. Consider the style of your garden—whether it is rustic, modern, or traditional—this will help dictate the materials and style of gate you choose. Measure the entryway where the gate will be installed, noting the dimensions carefully.
Several designs are popular, such as a classic picket gate, a tall garden arch, or a more contemporary flat-panel gate. Sketch out your ideas, keeping in mind any design elements like decorative flourishes or latticework that would add character and charm.
Step 2 Choosing Materials
The materials you select for your garden gate significantly affect its durability and appearance. Untreated lumber, such as cedar or redwood, is a great choice due to its natural resistance to rot. If you’re looking for a more low-maintenance option, consider using pre-treated wood or composite materials that can withstand the elements.
For added durability, you might want to consider metal accents or even a complete metal gate. Galvanized steel or wrought iron can offer an elegant touch while providing strength and security. If you prefer a more rustic look, reclaimed wood adds character and is an eco-friendly option.
Step 3 Gathering Tools and Supplies
Once you have your design and materials figured out, gather the necessary tools. Typically, you will need
- A saw (hand or power) - A drill - Screws and/or nails - Sandpaper or a sander - Outdoor wood finish or paint - Hinges and a latch
Make sure to have safety gear as well, including gloves and eye protection, especially when using power tools.
Step 4 Building the Gate
homemade garden gate

Start by cutting your lumber to the desired sizes according to your design specifications. If your gate will be rectangular, cut two vertical pieces for the sides and two horizontal pieces for the top and bottom.
Once your pieces are cut, lay them out on a flat surface to assemble. Use nails or screws to secure each corner, ensuring everything is square and aligned. If you’re adding decorative elements like a diagonal brace or latticework, now is the time to incorporate those features.
After assembling the gate, sand the entire surface to eliminate rough spots and splinters. This step is crucial, especially if children or pets will use the gate.
Step 5 Finishing Touches
Before installation, it’s essential to protect your gate from the elements. Apply an outdoor wood finish, paint, or sealant according to your aesthetic preference. This will not only enhance the appearance of your gate but also prolong its lifespan by preventing moisture damage.
Allow the finish to dry completely before proceeding to the installation stage.
Step 6 Installing Your Gate
Installing the gate may require a helper for a seamless experience. Determine the correct position for your hinges on the gate and the fence post. Attach the hinges securely to both the gate and the post, ensuring the gate swings smoothly.
Once the hinges are in place, install the latch on the opposite side. A simple hook-and-eye latch can be effective, but you might prefer a more complex locking mechanism, depending on the level of security you desire.
Step 7 Enjoying Your Garden Gate
After installation, take a moment to admire your handiwork. A homemade garden gate is not just a passageway; it reflects your creativity and efforts. Decorate around the gate with climbing plants, flowers, or small garden decor to enhance its visual appeal.
Building a homemade garden gate is a fulfilling project that celebrates both functionality and style. Each time you or a guest passes through, it will serve as a reminder of your creativity and hard work, making your garden feel all the more inviting. Happy gardening!


