Setting Aluminum Fence Posts A Guide
Setting aluminum fence posts is a rewarding project that enhances both the security and aesthetic appeal of your property. Aluminum fences are not only durable and lightweight, but they also provide a sleek, modern look that complements a variety of landscape designs. If you’re considering installing aluminum fencing, understanding how to properly set the posts is crucial for achieving a long-lasting and visually appealing result. Below, we’ll explore the steps involved in this process.
Tools and Materials Needed
Before you begin, it’s essential to gather all necessary tools and materials. You'll need
- Aluminum fence panels - Aluminum posts - Concrete mix - Post hole digger or auger - Level - Measuring tape - String line and stakes - Safety gloves and goggles
Planning and Layout
The first step is to plan your fence layout. Measure the area where the fence will be installed and mark the corners and gates with stakes. Use a string line to outline the path of the fence, ensuring it’s straight and true. This layout will help you visualize the fence’s placement and identify how many posts and panels are needed.
Digging the Post Holes
Once your layout is established, it’s time to dig the post holes. The general rule is to dig holes that are one-third the length of the post and at least 6 inches wider than the post itself. For example, if your posts are 7 feet tall, the holes should be approximately 2.5 feet deep. Use a post hole digger or auger for this task, ensuring that the holes are evenly spaced as per the manufacturer’s recommendations.
Setting the Posts
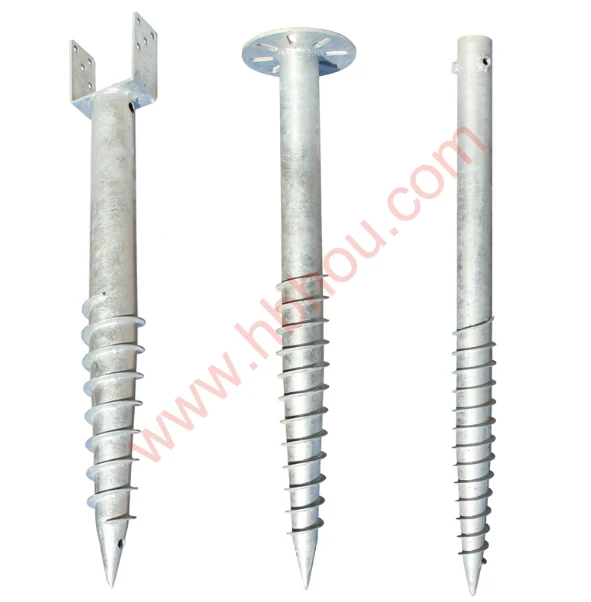
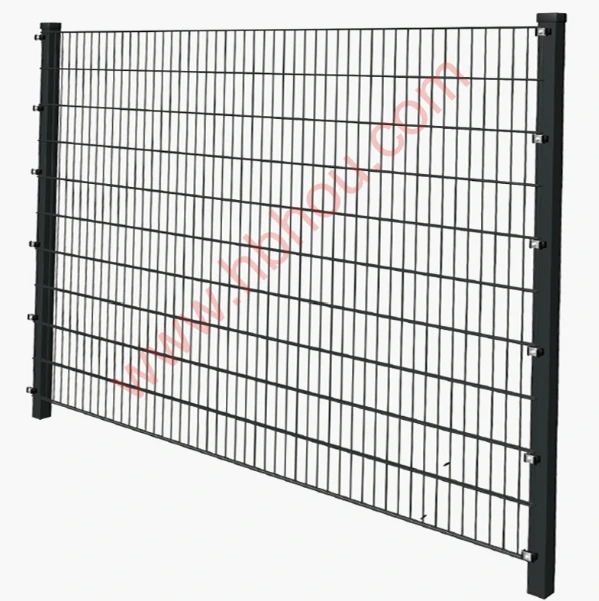
setting aluminum fence posts

After digging the holes, you can set the posts. Position the post in the center of the hole and use a level to ensure it is plumb (vertically straight). Ideally, you should have someone assist you in holding the post steady while you prepare to add concrete. Pour concrete into the hole around the post until it’s filled to just below ground level. As you pour, use a level to make adjustments, ensuring the post remains vertical.
Securing the Posts
To further secure the posts, you can backfill the hole with soil after the concrete has set for at least 24 hours. This added layer helps stabilize the posts in various weather conditions. Make sure to tamp down the soil to eliminate any air pockets.
Attaching the Fence Panels
With the posts set, it's time to attach the aluminum fence panels. Start by connecting the panels to the first post, ensuring they are level and aligned properly. Depending on the design of your aluminum fence, you may need to use brackets or clips for secure attachment. Continue this process for all remaining panels, periodically checking for level and alignment.
Finishing Touches
Once all panels are installed, inspect the entire fence for any irregularities. Make necessary adjustments to ensure uniformity and stability. Lastly, any exposed concrete should be smoothed out, and the area around the posts should be cleaned up to enhance the fence's appearance.
Conclusion
Setting aluminum fence posts requires careful planning and execution, but with the right tools and steps, you can achieve a beautiful and durable fence. A well-installed aluminum fence not only adds security to your property but also increases its value and curb appeal. With the tips outlined above, you’ll be well on your way to enjoying your new fence for many years to come.


