Fitting a Garden Gate to a Wall A Step-by-Step Guide
Fitting a garden gate to a wall is a straightforward yet fulfilling project that can enhance the security and aesthetics of your outdoor space. Whether you’re replacing an old gate or installing a new one, here’s a comprehensive guide to ensure a successful installation.
1. Choosing the Right Gate
Before diving into the installation process, it’s essential to choose the right garden gate. Consider the material—wood, metal, vinyl, or composite—based on your garden’s style and your maintenance preference. Additionally, think about the gate's size; it should fit comfortably within the wall opening while leaving enough space for smooth operation.
2. Gathering Materials and Tools
Once you have your gate, gather the necessary materials and tools for the installation. You will need hinges, a latch, screws, a level, a measuring tape, a drill, and possibly a saw. Ensure you have all components at hand to avoid interruptions during the process.
3. Preparing the Wall and Gate
Before fitting the gate, prepare both the wall and the gate itself. If you’re using a wooden gate, give it a coat of weatherproof paint or stain to protect it from the elements. For the wall, make sure the surfaces where the hinges will be attached are clean and sturdy. If your wall is made of brick or concrete, you might need anchors and masonry screws for a secure hold.
The next step is to position the gate. Hold the gate in place within the wall's opening and use a level to ensure it is straight. It’s important that the gap between the gate and the wall is consistent on both sides, allowing it to swing open and closed without obstruction. A common practice is to have about a half-inch gap at the bottom to accommodate any uneven ground.
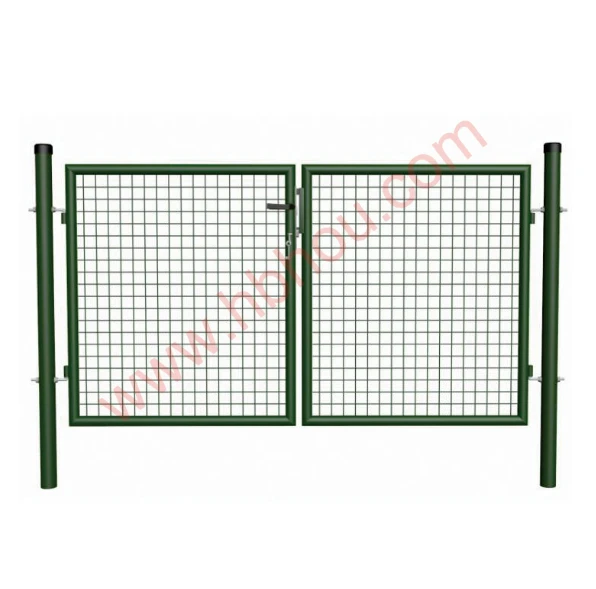
fitting a garden gate to a wall

5. Attaching the Hinges
Start by attaching the hinges to the wall. Mark the positions where you will install the hinges based on the height you want for the gate—typically about 6-8 inches from the top and a similar distance from the bottom. Drill pilot holes and secure the hinges with the appropriate screws.
Then, lift the gate and align the hinges on the opposite side to attach it to the gate. Ensure that the gate swings toward the desired direction.
6. Installing the Latch
After the hinges are fixed and the gate is securely hanging, it's time to install the latch. Position it at a comfortable height that is easy for you to reach, and drill the necessary holes for the latch and its corresponding plate on the wall.
7. Final Adjustments
Once the latch is in place, check the functionality of your gate. Ensure that it opens and closes smoothly and engages properly with the latch. If necessary, make adjustments to the hinges or latch for optimum performance.
Conclusion
Fitting a garden gate to a wall not only improves the security and privacy of your outdoor area but also adds a decorative element to your property. By following these steps, you can successfully install your garden gate, achieving a perfect blend of functionality and style. Enjoy your newly fitted gate and the enhanced curb appeal it brings to your garden!


