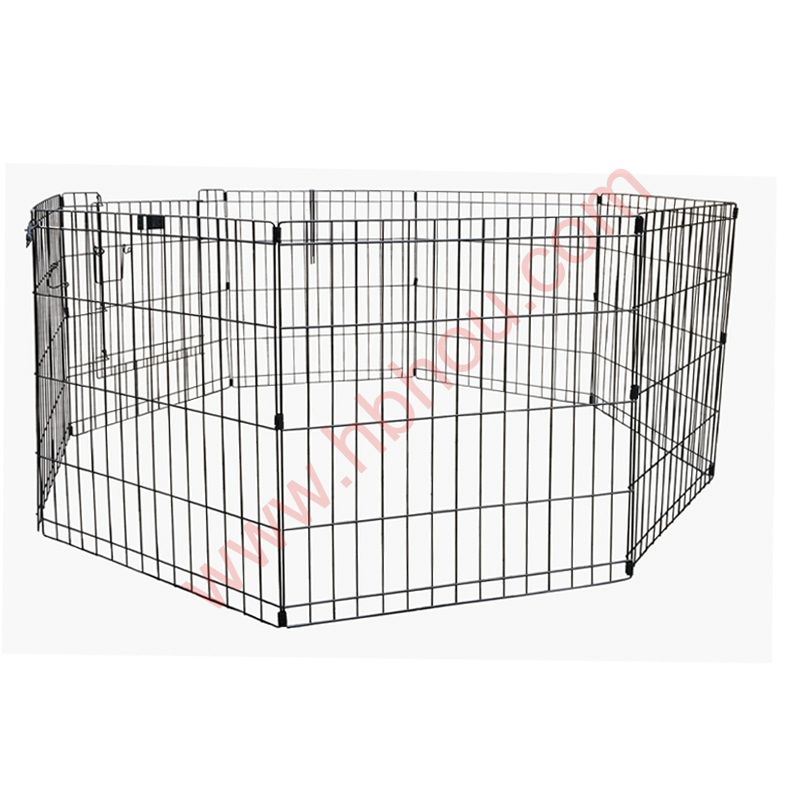
Installing a Fence Set with Roll and Post A Comprehensive Guide
Fencing is an essential component of any property, providing security, privacy, and a defined boundary. Among the various fencing options available, a fence set with rolls and posts stands out for its efficiency and ease of installation. This article will guide you through the steps and considerations needed to successfully install a fence using this method.
Understanding the Components
A typical fence set with roll and post consists of rolled fencing material, which could be wire or mesh, combined with vertical posts that provide support and structure. The roll makes it easy to transport and handle, while the posts secure the fence in position, ensuring it withstands environmental forces effectively.
Planning and Preparation
Before beginning your installation, careful planning is crucial. Start by determining the area you wish to enclose, taking precise measurements to calculate how much fencing material you will need. Consider local zoning laws and regulations regarding fencing height and types, as these can differ widely by area.
After assessing the perimeter, sketch a layout that marks where your posts will be installed. A common recommendation is to space the posts about 6 to 8 feet apart, depending on the type of fencing you choose. Ensuring a proper layout will simplify the installation process and support the stability of the structure.
Gathering Tools and Materials
Once planning is complete, gather the necessary tools and materials for the installation. You will typically need
- Fencing roll (wire or mesh) - Fence posts (treated wood or metal) - Post anchors (for securing the posts) - Concrete mix (for setting the posts) - Digging tools (post hole digger or auger) - Measuring tape - Level and string line - Wire cutters and pliers
Having all the tools at hand before starting will greatly improve the efficiency of the project
.fence set with roll and post

Installation Steps
1. Mark Post Locations Use your layout to mark where each post will be placed. Ensure they are in a straight line using the string line method for accuracy.
2. Digging Post Holes With a post hole digger, create holes deep enough to accommodate the posts firmly. Generally, a depth of at least one-third the height of the post is advisable.
3. Setting the Posts Place a post into each hole and check that it's level. Fill the hole with concrete mix or dirt to secure the post. Allow adequate time for the concrete to cure if used.
4. Attaching the Fence Roll Once the posts are set, unroll the fencing material along the perimeter. Secure one end of the roll to the first post using ties or clamps, ensuring it is taut as you work your way down to each subsequent post.
5. Finishing Touches After securing the roll to all posts, inspect the entire fence to ensure it is tight and uniformly aligned. Trim any excess material if necessary.
Maintenance and Care
Maintaining your fence is crucial for longevity. Regularly inspect it for damage, tightening any loose sections and addressing rust if using metal fencing. Keeping the area clear of vegetation can also prevent potential damage over time.
Conclusion
Installing a fence set with roll and post can be a fulfilling DIY project that enhances your property’s security and aesthetics. By following this guide and using high-quality materials, you can ensure a robust and lasting fence that will serve you well for years to come. Whether you are enclosing a garden or defining your property line, this installation method is both practical and effective. Happy fencing!


