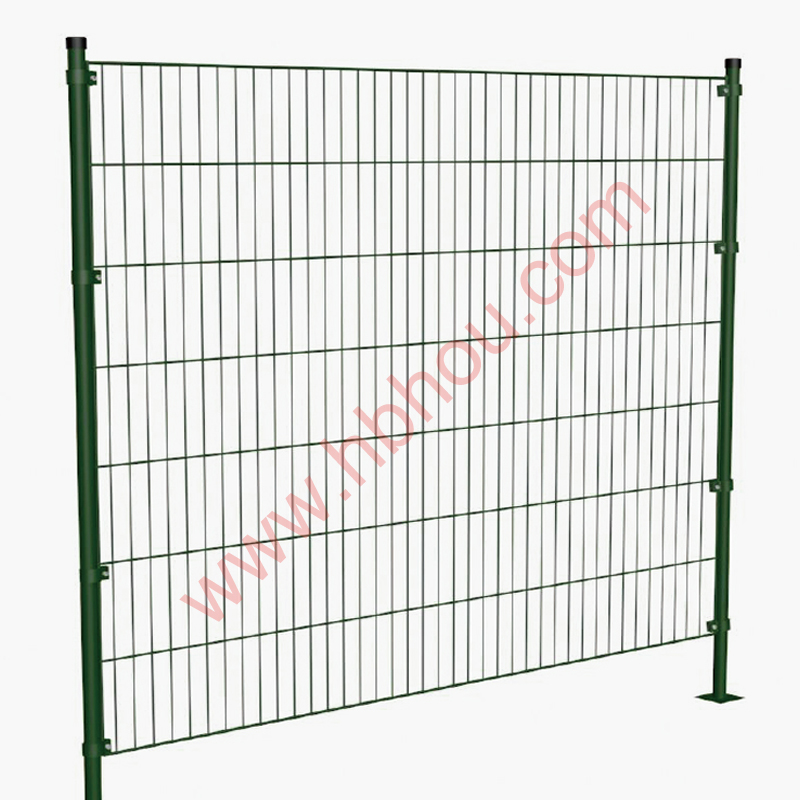
The Challenge of Digging Fence Post Holes
When embarking on any landscaping or construction project, one of the essential tasks that can easily become a headache is digging fence post holes. Whether you’re looking to build a fence for security, privacy, or aesthetic purposes, understanding the intricacies of this seemingly straightforward task is critical to achieving a successful outcome.
Understanding the Importance of Proper Fence Post Installation
Before we dive into the process, it’s essential to recognize why properly installed fence posts are crucial. They serve as the backbone of your fence, supporting the structure and maintaining its integrity over time. If the posts are not adequately anchored in the ground, the fence can lean, sag, or even fall, leading to costly repairs and potential safety hazards.
Tools and Preparation
To dig a fence post hole, you will need some basic tools a post hole digger, shovel, tape measure, level, and a bucket for removing loose soil. Gallons of water may come in handy for removing any stubborn soil, and safety gear such as gloves and goggles should not be overlooked.
Before beginning to dig, it’s important to plan your fence layout and mark the location of each post. Use stakes and string to outline where the fence will go, ensuring that you accurately measure the distance between each post. Standard spacing is typically between 6 to 8 feet, but this can vary based on the type of fence and local regulations.
The Digging Process
1. Mark the Spot Once you have determined where each post will be located, mark the ground with a stake or spray paint. This will serve as a guide when you start digging.
fence post holes

2. Start Digging For each marked spot, begin digging with your post hole digger. Place the blades of the digger into the ground and push the handles together to scoop out soil. It’s best to dig a hole that is about 2 to 3 times wider than the diameter of the post and at least 1/3 of the post’s length deep for stability. Generally, a depth of about 30 inches is recommended for most fence posts.
3. Remove Obstacles If you encounter rocks or hard soil, you may need a shovel or even a digging bar to break through tougher materials. It’s essential to remove any debris to create a clean hole for the post.
4. Check Depth Regularly check the depth of your hole with a tape measure, ensuring that it meets the required specifications for your particular fence type.
Setting the Posts
Once the holes are dug, it’s time to set the posts. Place the post in the center of the hole and use a level to ensure it stands straight. Fill the hole with concrete or packed soil, depending on your method of installation. If using concrete, fill the hole halfway, and then add water before filling the rest and leveling it off. Allow the concrete to set for at least 24-48 hours before attaching any panels or fencing material.
Final Tips
Consider the weather when planning your project. Digging post holes can be challenging in rocky or frozen ground, so timing is essential. Additionally, if you are installing a long fence, consider hiring equipment like a post hole auger for efficiency.
In conclusion, while digging fence post holes may seem like a simple task, attention to detail and proper technique are vital to building a fence that will stand the test of time. With careful planning, the right tools, and a bit of elbow grease, you’ll ensure that your fence is sturdy, functional, and aesthetically pleasing.


