Stretching Welded Wire Fence A Comprehensive Guide
Welded wire fencing is a popular choice for both residential and agricultural applications due to its durability and strength. One of the essential processes to ensure the effectiveness and longevity of a welded wire fence is the stretching of the wire during installation. Proper stretching is critical as it prevents sagging, maintains tension, and enhances the overall appearance of the fence. In this article, we will explore the importance of stretching welded wire fences, the techniques involved, and tips for successful installation.
Why Stretching Matters
The primary purpose of stretching a welded wire fence is to maintain consistent tension across the entire length of the fence. When installed correctly, a stretched wire fence stands firm against various environmental factors, including wind, animals, and ground movement. If the wire is not adequately stretched, it can sag or form loose areas, leading to potential hazards. For instance, livestock could escape through gaps, or wildlife may be able to breach the fence, rendering it ineffective.
Furthermore, a well-stretched wire fence not only serves its protective function but also offers aesthetic appeal. A tight, neat-looking fence enhances the overall appearance of the property and reflects well on the owner’s attention to detail.
Techniques for Stretching Welded Wire Fence
1. Preparation Before you start stretching the wire, ensure that the fence line is clear of debris, overgrown vegetation, and obstacles. This preparation helps maintain a straight line and allows for a smoother installation process.
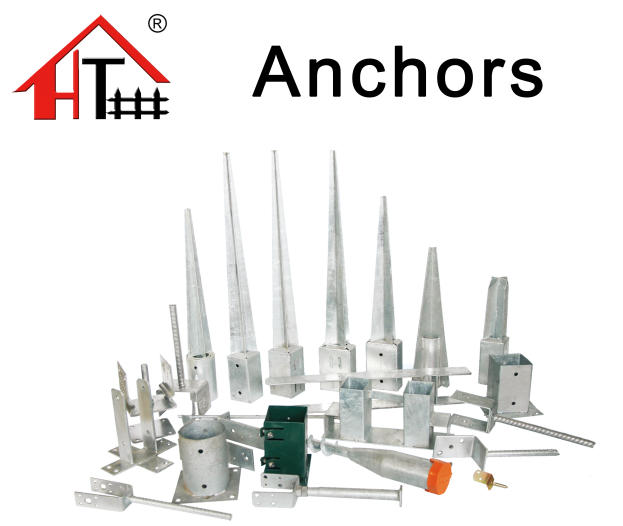
2. Setting Corner and End Posts Corner and end posts are key components that help anchor the tension. Install these posts first, making sure they are firmly set in concrete to provide the stability required for tensioning the wire. A general guideline is to bury at least one-third of the post's length in the ground.
stretching welded wire fence

3. Installing the Wire Once the corner and end posts are set, start installing the welded wire from one corner post. It is advisable to unroll the wire alongside the fence line and attach it to the posts using wire ties or clips. Ensure that the wire is placed tight against the post to minimize sagging.
4. Stretching the Wire Use a wire stretcher or come-along tool for effective tensioning. Begin at one end, and slowly pull the wire towards the opposite end post. While pulling the wire tight, ensure that the tension is evenly distributed across the entire length. It's crucial to avoid excessive force, which could damage the wire or cause it to twist.
5. Securing the Wire After achieving the desired tension, securely fasten the wire to all posts using staples or clips. Be sure to leave a slight amount of slack to accommodate changes in soil or environmental conditions over time, which can cause a fence to shift.
Tips for Successful Installation
- Regular Maintenance Periodically inspect your fence for signs of wear and tension loss. If you notice any sagging areas, re-tighten the wire to maintain its integrity.
- Use Quality Materials Opt for high-quality welded wire that can withstand weather conditions and potential impact. This investment will pay off in the long term with reduced maintenance needs.
- Work with a Partner Stretching wire can be a labor-intensive task. Having another person can help you maintain tension while securing the wire to the posts, making the job more manageable and efficient.
In conclusion, stretching a welded wire fence is a fundamental step in ensuring its overall effectiveness and appearance. With proper techniques and attention to detail, you can create a sturdy and visually appealing barrier that serves its purpose for years to come. By prioritizing quality materials and taking the time to maintain your fence, you can enjoy the benefits of an excellent welded wire fence on your property.


