Installing a Dry Set Fence Post A Comprehensive Guide
When it comes to setting up a fence, one of the most critical components is the installation of the fence posts. A properly installed post not only provides stability to the entire structure but also ensures its longevity. While there are various methods to set fence posts, one of the most effective and durable approaches is the dry set method. In this article, we will discuss the dry set fence post technique, including the materials required, the steps involved, and some tips for achieving optimal results.
What is Dry Set Fence Post Installation?
The dry set method involves placing your fence posts in the ground without the use of concrete or other binding materials. Instead of using concrete, this technique relies on the natural soil around the post to hold it in place. This approach has several advantages, including reduced setting time, less material cost, and the ability to easily adjust posts if necessary.
Materials Required
1. Fence Posts Depending on your fence type, you can choose from wood, vinyl, metal, or composite. 2. Post Hole Digger A manual or powered device to create a hole in the ground. 3. Gravel This will help with drainage around the post. 4. Level A tool to ensure your post is straight and level. 5. Tamper For compacting the soil around the post. 6. Tape Measure For measuring the depth and spacing between posts.
Steps for Installing a Dry Set Fence Post
1. Determine Post Location Start by marking where each fence post will be placed. Use stakes and string to lay out a straight line.
2. Dig the Holes The depth of the holes will depend on the height of your fence, but a general rule is to dig at least one-third the height of the post. For example, if your fence post is 6 feet tall, the hole should be at least 2 feet deep. Use your post hole digger to create holes that are about 10 to 12 inches wide.
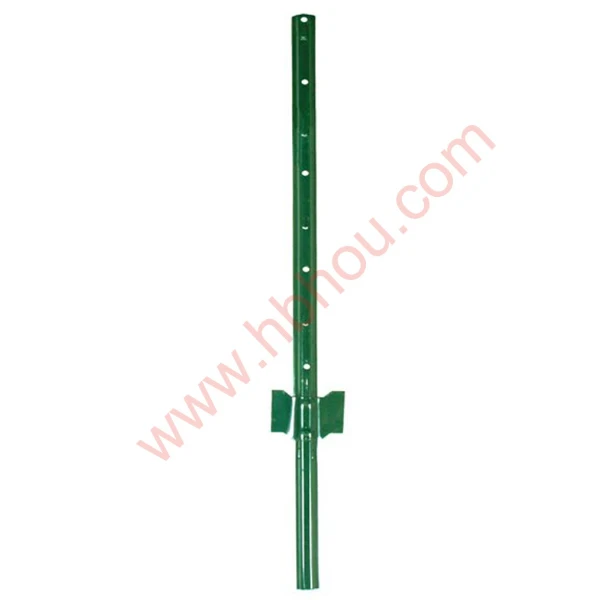
dry set fence post

3. Add Gravel Pour about 6 inches of gravel into the bottom of each hole. This will aid in drainage, preventing water from accumulating around the post, which could lead to rotting or damage over time.
4. Insert the Post Place the fence post into the hole, ensuring it is centered. Use a level to check that it is straight before proceeding.
5. Backfill with Soil Start filling in the hole with the soil you removed earlier. Make sure to pack the soil tightly around the post using a tamper to ensure it remains stable.
6. Check for Level After filling, double-check the post with your level once more. Make any necessary adjustments while you still can, as it will be much harder to do so once the soil settles.
7. Let It Settle Although this method is quicker, it's wise to allow the post to settle for a couple of days before attaching any fence panels. This will ensure it is adequately supported.
Tips for Success
- Choose the Right Soil If your soil is sandy, it might not hold the post as well. Consider using compactable soil or adding more gravel for better drainage. - Spacing Ensure that the spacing between posts complies with local regulations and the type of fence you are installing. - Weather Considerations Avoid installation during heavy rain or freezing temperatures, as these conditions can affect the settling of the post.
By following these guidelines, you can successfully install a dry set fence post that will provide stability and support for your fence. This method not only saves you time and money but also allows for easy adjustments in case you need to make changes in the future. Happy fencing!


