Creating a DIY Garden Border Fence
Gardening enthusiasts often seek innovative ways to enhance the aesthetic appeal of their garden spaces, and one effective method is by building a DIY garden border fence. A garden border fence not only adds charm and character to your garden but also serves practical purposes such as defining space, protecting plants from animals, and keeping out unwanted weeds. Here’s a guide to help you create a beautiful and functional garden border fence that suits your style and budget.
Materials You'll Need
Before diving into the project, gather your materials. The type of fence you choose will determine the materials required, but here are some basic items often used in DIY garden border fences
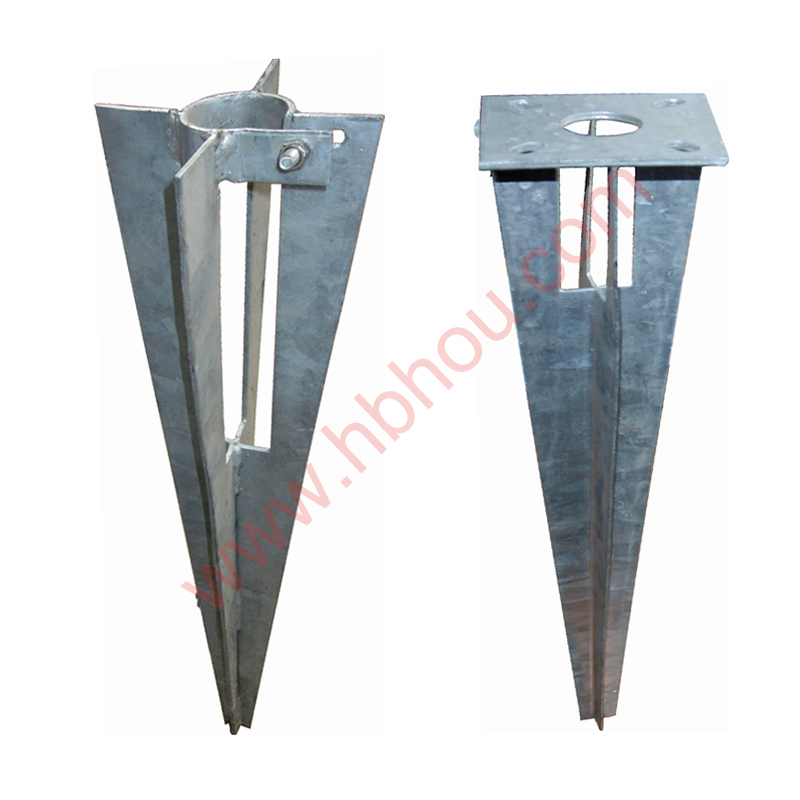
1. Wooden Stakes or Panels - Treated wood, cedar, or reclaimed wood makes for a durable and visually appealing option. 2. Wire Fencing - If you’re leaning towards a more modern look or need added security, wire fencing can be a great choice. 3. Garden Posts - These can be made of wood, metal, or vinyl to support your fence. 4. Concrete or Gravel for Stability - This ensures that your fence remains upright against weather and wear. 5. Nails, Screws, or Zip Ties - Depending on your chosen materials, these fasteners will help secure your fence. 6. Paint or Stain (optional) - Adding a finish can enhance the appearance of wooden fences and increase their longevity.
Planning Your Fence
Before you start construction, it’s important to plan out how you want your fence to look
. Consider the following1. Design - Will it be a classic picket fence, a rustic log fence, or a modern slatted design? Think about the style of your garden and house. 2. Height - Decide how tall you want your fence to be. Standard heights range from 2 to 4 feet for most garden borders. 3. Layout - Measure the area where the fence will be installed. Use stakes and ropes to outline the boundary where you plan to place your fence.
Building the Fence
diy garden border fence

1. Install the Posts Begin by marking where the posts will go, typically spaced every 6 to 8 feet apart. Dig holes deep enough to ensure stability—at least one-third of the post should be underground. Use concrete or gravel to secure the posts in place and allow them to set.
2. Attach the Panels or Wire Depending on your design, you can either attach wooden panels to the posts or stretch wire fencing around the posts. If using wood, ensure panels are level and secured tightly with nails or screws.
3. Finishing Touches If desired, paint or stain your wooden fences to match your garden’s theme. This will not only add visual appeal but also protect the wood from the elements.
4. Add Landscaping Elements Consider adding climbing plants, flowers, or decorative stones at the base of your fence to enhance its beauty and create a seamless transition into your garden space.
Maintenance
Once your fence is up, regular maintenance is essential to keep it looking great. Check for any loose panels, rust on wire fencing, or rot on wooden posts. Treat the wood annually with sealant to protect it from moisture and insects. Prune any plants that may encroach upon the fence to maintain its structure and appearance.
Conclusion
Creating a DIY garden border fence is a rewarding project that adds both functionality and aesthetic value to your outdoor space. With clear planning, the right materials, and a little bit of effort, you can craft a fence that reflects your unique style and enhances your garden’s beauty for years to come. Whether you opt for rustic charm or modern elegance, your garden will surely become a more inviting and defined space. Happy gardening!


