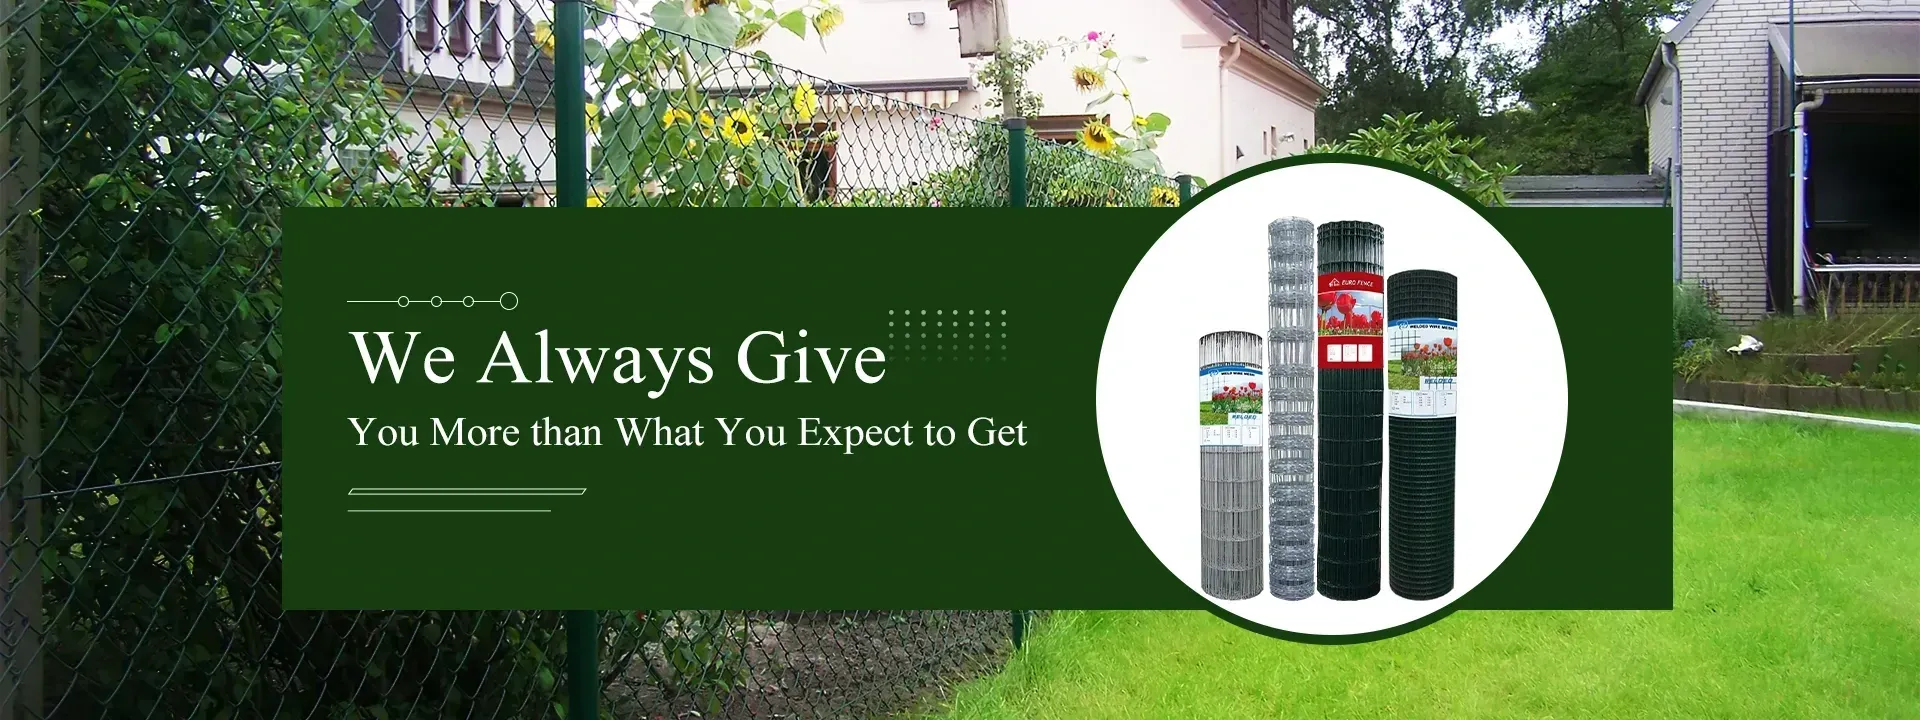
Installing Deer Fencing A Comprehensive Guide
Deer are beautiful creatures, often admired for their grace and elegance. However, when it comes to gardening or farming, they can become quite a nuisance. As herbivores, deer are known for their ability to consume vast amounts of vegetation, posing a significant threat to ornamental plants, flowers, and edible crops. One effective solution to mitigate these issues is to install deer fencing. This article will guide you through the process of installing deer fencing, ensuring your garden remains untouched by these slender, hoofed intruders.
Understanding Deer Fencing
Deer fencing is specifically designed to keep deer out of areas where you want to protect your plants. Unlike regular fencing, deer fencing is typically taller, ranging from 8 to 12 feet, and can be made from various materials including plastic, metal wire, or reinforced fabric. The height of the fence is crucial since deer are capable jumpers, easily clearing a standard fence if it’s too short.
Planning Your Installation
Before you begin the installation process, it's essential to assess your property and determine the boundaries you wish to secure. Here are the steps to consider
1. Identify the Area Choose the specific location where the deer fencing will be installed. Consider the size of your garden or farm and any areas that are particularly vulnerable.
2. Check Local Regulations Make sure to check any zoning laws or regulations regarding fencing in your area. Some municipalities have specific requirements regarding fence height, material, and appearance.
3. Gather Supplies Depending on the type of fencing you choose, you will need different materials. Common supplies include fence posts, fencing fabric or wire, staples or ties, and tools like a post hole digger, hammer, and wire cutters.
deer fencing installation

Installation Process
Now that you’re prepared, it’s time to install your deer fencing. Follow these steps for a successful installation
1. Mark the Perimeter Use stakes and rope to outline the area where the fence will go. This will ensure you maintain a straight line and know exactly how much material you will need.
2. Set the Fence Posts Begin by digging holes for your fence posts, which should be spaced approximately 8 to 10 feet apart. Ensure the posts are securely planted in the ground, typically about one-third of their length buried for stability.
3. Attach the Fencing Material Once your posts are in place, begin attaching the fencing material. If you're using wire, start at one end and use staples or ties to secure it to the posts. Ensure it is taut and free from sagging, as deer may be able to push through a loose fence.
4. Add Additional Features To enhance the efficacy of your deer fence, consider additional features. Some people opt to add an inward overhang at the top, angled downward to deter jumping. Others may incorporate visual deterrents such as reflective tape or hanging noise makers.
5. Regular Maintenance After the installation, it's vital to maintain the fence. Regularly check for tears or gaps in the fencing, and ensure that vegetation is not growing too close, which could provide cover for deer.
Conclusion
Installing deer fencing can be a cost-effective investment in protecting your garden from these hungry grazers. With proper planning and execution, you can create a protective barrier that ensures your plants thrive without the risk of deer damage. By following the steps outlined in this article, you’ll be well on your way to enjoying a peaceful coexistence with nature while keeping your gardens and crops safe. Remember, a well-installed deer fence not only protects your plants but also enhances the beauty of your outdoor space.


