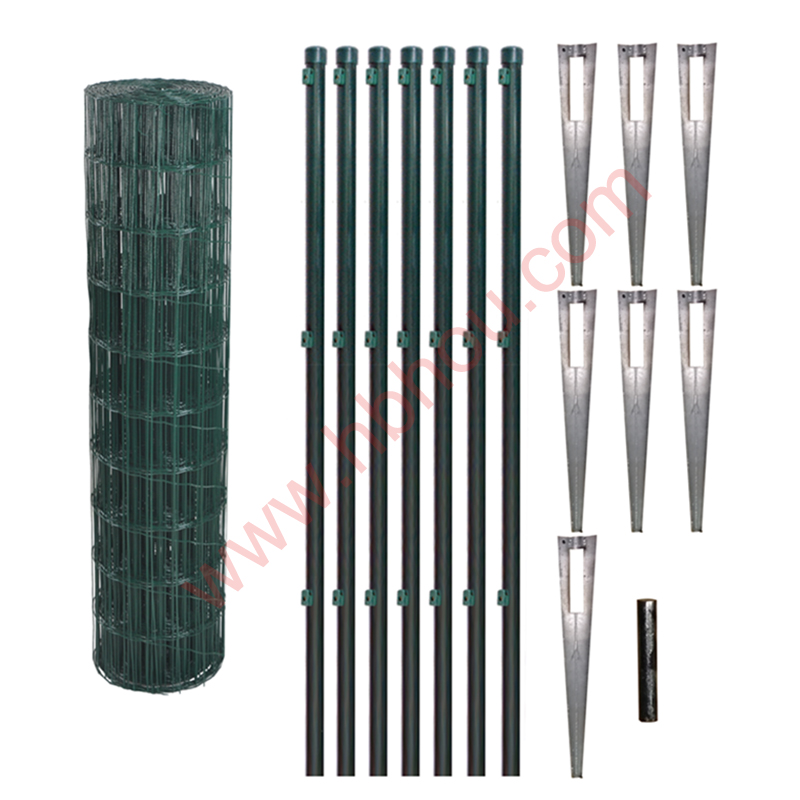
Creating a Chicken Wire Gate for Your Garden
In the world of gardening, practical solutions are crucial for protecting your plants and creating a space that thrives. One effective method for safeguarding your garden involves the use of a chicken wire gate. This simple yet versatile structure can keep unwanted animals away while allowing you easy access to your greenery. In this article, we will explore the benefits, how to create one, and some tips for maintaining it.
Benefits of a Chicken Wire Gate
1. Protection Against Pests A chicken wire gate serves as a barrier to deter unwanted animals such as rabbits, deer, and larger pests that could wreak havoc on your garden. By enclosing your plants, you create a secure environment for them to grow.
2. Visibility and Airflow Unlike solid gates, chicken wire allows visibility, letting sunlight and air flow freely into your garden area. This can help maintain a healthy environment for your plants to flourish.
3. Cost-Effective Solution Chicken wire is relatively inexpensive compared to other fencing materials. This makes it an ideal choice for gardeners on a budget who need a quick and efficient way to secure their plot.
4. Easy to Install Creating a chicken wire gate is a straightforward process that requires minimal tools and skills. With just a few supplies and some time, you can set up your gate in no time.
How to Create a Chicken Wire Gate
Creating a chicken wire gate for your garden can be achieved in several steps
Materials Needed - Chicken wire - Wooden or metal frame (wooden posts and rails are common) - Hinges - Latch - Wire cutters - Hammer - Staple gun (with staples) - Measuring tape
Step-by-Step Instructions
1. Measure Your Opening Determine the size of the gate you need by measuring the opening where you want to install the gate. Keep in mind that a standard size is usually about 3 to 4 feet wide.
chicken wire gate for garden

2. Build the Frame Using wooden posts and rails, construct a rectangular frame for your gate. Make sure the frame is sturdy, as it will need to withstand wear and tear.
3. Attach the Hinges Attach the hinges to one side of the gate frame. Ensure they are securely fixed, as these will support the entire structure when it swings open and closed.
4. Cut and Attach the Chicken Wire Roll out the chicken wire and cut it to fit the dimensions of your gate. Using a staple gun, attach the chicken wire to the frame securely, stretching it taut to avoid sagging.
5. Install the Latch On the opposing side of the hinges, mount the latch to the frame. This will ensure that the gate remains closed and secure when not in use.
6. Hinges and Final Installation Finally, attach the other side of the hinges to the gate post, which allows for smooth opening and closing of the gate.
Maintenance Tips
Once your chicken wire gate is installed, it’s essential to maintain it for longevity
- Regular Inspections Check the frame and wire for any damage or rust, especially after harsh weather conditions. Address any issues promptly to prevent further deterioration. - Reinforcement If you notice sagging over time, reinforce the frame with additional supports, such as brackets or extra posts. - Keep It Clean Remove any debris or dirt that accumulates on the gate to prevent decay or pest attraction.
- Paint or Seal Consider painting or sealing the wooden parts of your gate to protect them from moisture and prolong their life.
Conclusion
In conclusion, a chicken wire gate is a practical addition to any garden, offering protection against pests while being cost-effective and easy to install. By following the steps outlined above and maintaining your gate, you can ensure that your garden remains a flourishing sanctuary for your plants. Next time you tend to your garden, remember that a simple, homemade chicken wire gate can make a world of difference!


