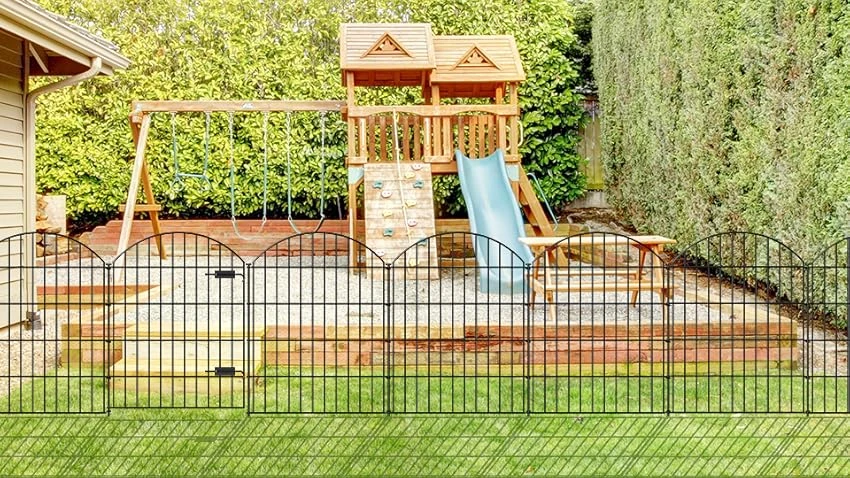
Chain Link Fence Replacement A Comprehensive Guide
Chain link fencing is a popular choice for many property owners due to its durability, low maintenance, and cost-effectiveness. However, over time, these fences may suffer from wear and tear or become less aesthetically pleasing. Whether it's due to rust, damage from weather conditions, or simply outdated looks, replacing a chain link fence can greatly enhance your property's curb appeal and functionality. This article serves as a comprehensive guide on how to effectively replace your chain link fence.
Assessing the Condition of the Fence
Before considering replacement, take the time to assess the current condition of your chain link fence. Look for signs of rust, dents, or other damages. If the fence is structurally sound but just looks unattractive, you might consider repainting or repairing rather than a full replacement. However, if the posts are loose, there are significant rust issues, or you notice deep dents in the fabric, replacement is likely the best option.
Planning Your Replacement
1. Determine the Purpose Consider why you are replacing the fence. Is it for security, boundary marking, or simply aesthetics? Your purpose will guide your selection of materials and design. 2. Choose the Right Materials While chain link is not the only option available, if you are set on a chain link replacement, you can choose from various gauge thicknesses, colors, and coatings. For added security, consider heavier gauge wire, while for aesthetics, a vinyl-coated chain link might be more appealing.
3. Check Local Regulations Before you start tearing down the old fence, check with local zoning laws and HOA rules. Some communities have restrictions on fence heights and styles, and you may need a permit to install a new fence.
The Replacement Process
Replacing a chain link fence involves several steps
chain link fence replacement

1. Removing the Old Fence Start by removing the fabric of the fence from the top to the bottom. Then, detach the posts. It's advisable to wear gloves and protective gear, as metal edges can be sharp.
2. Preparing the Area Clear the area around where the new fence will be installed. Look for any debris or large rocks that may interfere with the installation of the new posts.
3. Setting New Posts Dig holes for the new fence posts. The depth of the holes should be about one-third of the post's height above ground. Mixed concrete can provide a solid base for the posts. Make sure the posts are aligned and plumb before the concrete is set.
4. Attaching the Fencing After the posts have been set and the concrete has cured, it’s time to attach the new chain link fabric. Use tension bands and bolts to secure the fencing to the posts, ensuring it is taut.
5. Finishing Touches Finally, add any finishing touches such as a gate or privacy slats if desired. Ensure all parts are securely fastened, and double-check the overall appearance.
Maintenance Tips
Once your new chain link fence is installed, regular maintenance can prolong its lifespan. This includes washing it down periodically to remove dirt and debris, inspecting for rust annually, and applying protective coatings if necessary.
Conclusion
Replacing a chain link fence may seem daunting, but with careful planning and execution, it can be a rewarding project that enhances your property's value. By assessing your needs, selecting quality materials, and following a systematic replacement process, you can achieve a sturdy and attractive fence that will stand the test of time. Whether you opt for a DIY approach or hire professionals, your newly installed chain link fence will surely provide the functionality and aesthetic appeal you desire.


