The Complete Guide to Chain Link Fence Installation
Chain link fences are popular for their durability, affordability, and low maintenance, making them an ideal choice for both residential and commercial properties. If you're considering installing a chain link fence, this guide will walk you through the step-by-step process to help ensure a successful installation.
Step 1 Planning and Measurement
Before you begin the installation, it's crucial to plan your fencing project. Start by determining the purpose of your fence. This could be for security, privacy, or simply marking property boundaries. Once you understand its purpose, measure the area where you’ll be installing the fence. It’s important to create a layout that indicates where the fence will go, taking note of any gates or corners.
Step 2 Obtain Necessary Permits
Check with your local zoning office to see if you need any permits for the installation of your chain link fence. Some communities have restrictions on fence height or placement, and failing to comply can lead to fines or the need to remove the fence later.
Step 3 Gather Your Materials
Once you have your measurements and permits, gather the materials you'll need for your fence installation. For a basic chain link fence, you will require
- Chain link fabric rolls - Fence posts (terminal posts for corners and ends) - Top rails - Fencing hardware (tension bands, tension bar, ties, caps, and gates) - Concrete mix (for setting posts) - Tools (post hole digger, leveling tool, hammer, and wire cutters)
Step 4 Mark the Fence Line
With all materials prepared, head out to your measurement layout and mark your fence line. Use stakes and string to outline the perimeter of your fence. This visual guide will help ensure that your installation is straight and in line with your plans.
Step 5 Set the Fence Posts
chain link fence installation

Begin installing the fence posts at the corners and gate locations first. Using a post hole digger, dig holes about 2 to 3 feet deep, depending on the height of your fence. Place a post in each hole and level it to ensure it stands upright. Then, pour the concrete into the hole around the post and let it set according to the manufacturer’s instructions—typically 24 to 48 hours.
Step 6 Install Top Rail and Chain Link Fabric
Once the concrete is set, attach the top rail to the posts. Ensure it is securely fitted, as this will help maintain the fence’s structure. Next, unroll the chain link fabric along the length of the fence. Attach the fabric to the terminal posts using ties and make sure it is taut before moving on.
Step 7 Secure the Fence
At each terminal post, you'll need to install tension bands and a tension bar to keep the fabric securely in place. Start at one end and work your way down to ensure that the fabric is held tight. At each point, use wire cutters to cut any excess fabric if necessary.
Step 8 Install Gates
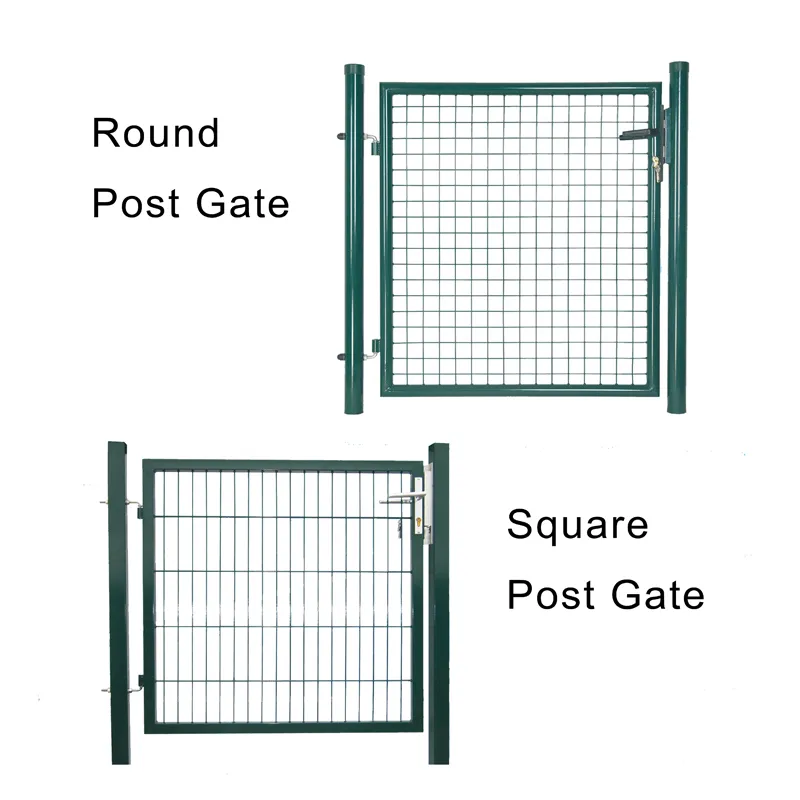
If you’re including gates, determine their location and install them according to the instructions provided with the gate kit. Ensure that the gates operate smoothly and align with the rest of the fence.
Step 9 Final Touches
Once the installation is complete, inspect the entire fence for any loose areas or misalignments. Tighten any loose ties and ensure the fabric remains taut. If desired, you can also consider painting or coating the fence for added aesthetics and protection against the elements.
Conclusion
Installing a chain link fence can be a rewarding DIY project if planned and executed correctly. With patience and attention to detail, you can create a functional and attractive boundary that meets your needs. Whether for security, pet containment, or simply marking your territory, a chain link fence is a practical solution for many homeowners and businesses alike.


