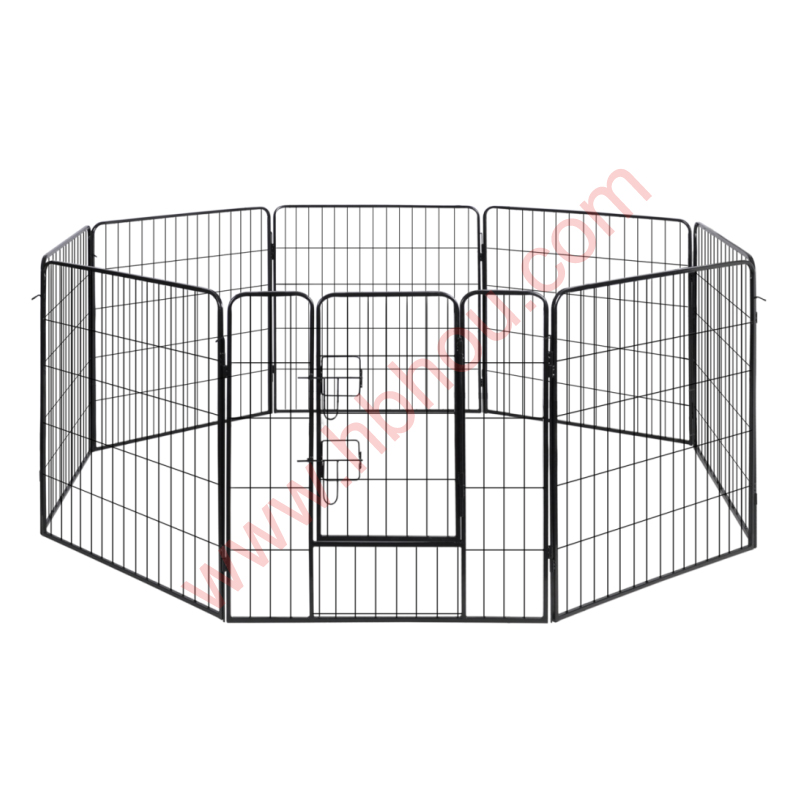
Chain Link Fence Installation A Comprehensive Guide
Installing a chain link fence can be an effective way to secure your property, outline boundaries, or simply enhance your landscape. Known for its durability and low maintenance requirements, a chain link fence is a popular choice for homeowners and businesses alike. This guide will walk you through the essential steps of the installation process, ensuring a successful outcome.
Step 1 Planning and Preparation
Before starting the installation, it is crucial to plan your project. First, determine the intended purpose of the fence is it for security, privacy, or merely to mark boundaries? Once the purpose is clear, measure the area where the fence will be installed and mark the corners using stakes and string. This will provide a visual representation of your fence line and help in measuring distances accurately.
Next, check local zoning regulations or homeowner association guidelines to ensure compliance with any requirements regarding fence height, materials, and placement. Additionally, locate any underground utilities to avoid damaging them during installation.
Step 2 Gathering Materials
Once planning is complete, gather all necessary materials for the project. For a chain link fence, you will need
- Chain link fabric (the height and length will depend on your measurements). - Fence posts (end, corner, and line posts). - Top rail and bottom rail. - Tension bands and ties. - Post caps. - Concrete mix (for setting the posts). - Gravel (for drainage). - A variety of tools including a post hole digger, level, tape measure, and wire cutters.
It is advisable to purchase extra materials to account for any mistakes or unforeseen needs
.Step 3 Installing the Fence Posts
chain link fence installation

The first step in the actual installation is to set the fence posts. Start by digging holes for the posts, ensuring they are deep enough to provide stability (usually one-third of the post should be underground). Place the end and corner posts first, ensuring they are level and properly aligned with your marked line.
Pour gravel at the bottom of the hole for drainage, then insert the posts and fill the remaining space with concrete. Allow the concrete to cure according to the manufacturer's instructions, usually 24 to 48 hours. Once cured, proceed to install the line posts, maintaining uniform spacing as per your design.
Step 4 Attaching the Chain Link Fabric
With the posts in place, the next step is to attach the chain link fabric. Unroll the fabric and stretch it across the fence line, ensuring it is taut and aligned with the posts. Use tension bars to secure the fabric to the end posts, then insert tension bands and secure them with bolts.
Attach the fabric to the line posts using wire ties, spacing them about every 12 inches. This step is crucial in ensuring that the fabric is securely held in place and can withstand wind and other environmental factors. Lastly, cut any excess fabric at the end, making sure to use wire cutters for a clean cut.
Step 5 Final Touches
Once the fabric is securely attached, install the top rail by connecting it between the line posts. Secure the rail using rail ends and braces. Install post caps on the ends of the fence posts to provide a finished look and prevent debris from entering the posts.
Finally, conduct a thorough inspection of your fence, ensuring all components are secure and properly installed. Clear any debris, tools, or materials from the site to leave a tidy workspace.
Conclusion
Installing a chain link fence is a rewarding project that can significantly enhance the security and aesthetic appeal of your property. By carefully planning, gathering materials, and following the installation process step by step, you can achieve a sturdy and attractive fence that meets your needs. Whether you are a seasoned DIY enthusiast or a novice, taking on this project can be both manageable and fulfilling. Enjoy your new chain link fence!


