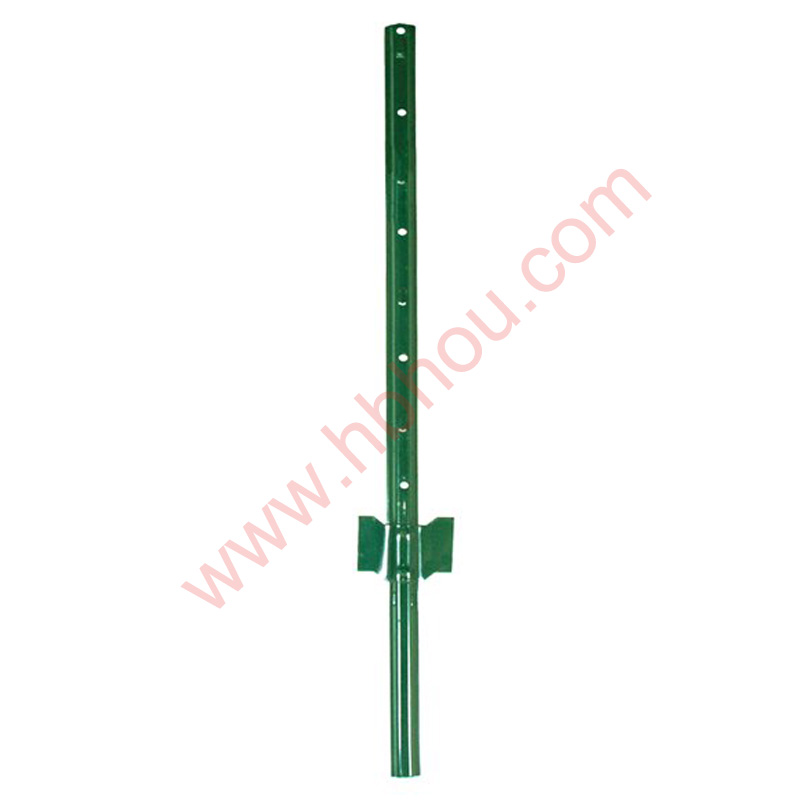
The Best Way to Set Fence Posts Without Concrete
Installing a fence can be a rewarding project, whether you’re looking to enhance your yard’s privacy, add security, or simply improve its aesthetic appeal. Traditionally, fence posts are often set in concrete for stability. However, there are effective methods to set fence posts without concrete that not only save time and money but also can promote better drainage and healthier soil conditions. Here’s a comprehensive guide on how to set fence posts securely without using concrete.
Materials You Will Need
Before you begin the installation, gather the necessary materials
1. Fence posts Choose treated wooden posts, metal posts, or vinyl posts, depending on your preference and budget. 2. Gravel Large gravel stones work well for drainage and stability. 3. Post hole digger or auger This will help you create a hole for the post. 4. Level To ensure that your posts are straight. 5. String line For alignment. 6. Soil or a compactable material Optional, may be used if you want to backfill around the post.
Step-by-Step Guide
1. Planning Your Fence Line Begin by planning the layout of your fence. Use stakes and a string line to mark where each fence post will sit. Ensure that the posts are evenly spaced according to your fence design, typically 6 to 8 feet apart.
2. Digging the Post Holes Using the post hole digger or auger, dig holes that are about 2 to 3 feet deep and approximately three times the width of the fence post. A deeper hole provides better stability and helps to protect against topsoil erosion.
best way to set fence post without concrete

3. Adding Gravel for Drainage Before placing the posts, add about 6 inches of gravel to the bottom of each hole. This gravel will help with drainage and prevent water from pooling around the post, which can lead to wood rot or corrosion over time.
4. Setting the Fence Post Place the post into the hole, ensuring it stands upright. Use a level to check that the post is vertically aligned. If you’re using wooden posts, treat the bottom with a wood preservative to prolong its life.
5. Backfilling with Gravel Once the post is positioned correctly, fill around it with more gravel, compacting it as you go. Ensure that a minimum of 3 to 4 inches of gravel surrounds the post above the ground line. This provides excellent drainage and keeps the post securely in place. Leave about a few inches of space at the top of the hole for soil or another material if desired.
6. Tamping Down Use a tamper or the bottom end of a 2x4 to compact the gravel firmly around the post. The more compact the gravel, the steadier the post will be. If you desire, you can add soil on top to further secure it, but make sure the post remains straight and firm.
7. Repeat for Remaining Posts Continue this process for the remaining fence posts, ensuring they all align correctly according to the string line you set up.
8. Allowing for Settling After all posts are set, give them some time to settle. Avoid attaching any fencing material until the posts have settled properly. This will typically take a day or two.
Conclusion
Setting fence posts without concrete may seem unconventional, but it can lead to a more sustainable and effective fencing solution. By following the steps outlined above and using gravel for drainage, you ensure your fence is sturdy, environmentally friendly, and less prone to issues related to moisture. With a little effort and the right technique, you can create a beautiful fence that lasts for years without the need for concrete. Happy fencing!


