The Best Way to Set Posts for a Fence
When it comes to building a sturdy and long-lasting fence, the foundation is crucial. The posts not only support the entire structure but also bear the brunt of environmental pressures, making their proper installation essential. Whether you are fencing for privacy, aesthetic appeal, or livestock control, understanding how to set your posts correctly can make all the difference. Here’s a comprehensive guide on the best way to set posts for a fence.
1. Choose the Right Materials
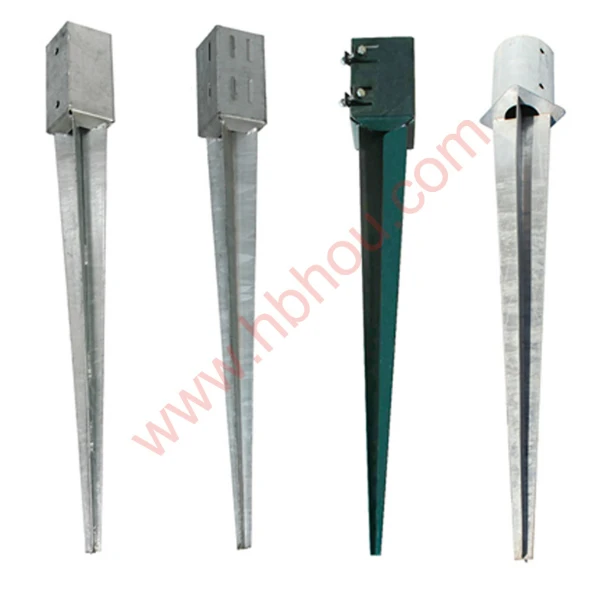
Before you begin, selecting the right materials is vital. Typically, fence posts are made from wood, metal, or vinyl. Wooden posts, especially treated ones, are commonly used due to their strength and affordability. Metal posts are more durable and less susceptible to rot, while vinyl offers a low-maintenance option. Ensure your posts are at least 4 to 6 inches in diameter for optimal stability.
A successful fence starts with a solid plan. Decide on the layout, ensuring that all measurements are accurate. Use a measuring tape to mark where each post will go, typically spaced 6 to 8 feet apart, depending on the type of fence and its purpose. Use stakes and string to outline the fence line, ensuring you have a straight path.
3. Digging the Holes
Once your layout is set, it’s time to dig the post holes. The depth of the hole is crucial; a good rule of thumb is to bury about one-third of the post underground. For most fences, this means digging holes that are approximately 2 to 3 feet deep. Additionally, make the hole about three times wider than the post itself—this allows for ample room for support material later. Use a post hole digger or shovel for this task, keeping the holes straight and even.
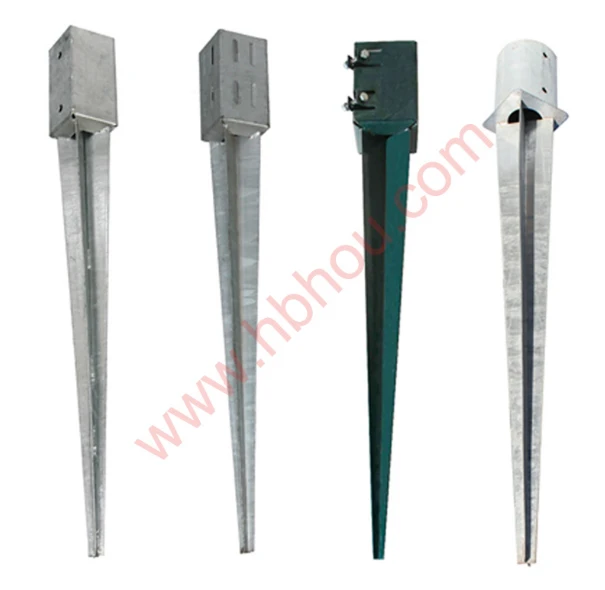
best way to set posts for a fence
4. Set the Posts
After digging the holes, it’s time to set the posts. Place the post in the center of the hole, using a level to ensure it is plumb (vertically straight). To secure the post, backfill it with a mixture of dirt and gravel. Packing the gravel tightly around the post not only provides support but also facilitates drainage, preventing water from rotting the wood. For added stability, you may opt to use concrete. If you go this route, mix the concrete according to the manufacturer's instructions and pour it into the hole around the post.
5. Allow Time for Curing
Whether you used gravel or concrete, giving your posts time to set properly is crucial. With gravel, allow at least 24 hours for the dirt to settle before attaching any fencing material. If you used concrete, it’s best to wait at least 48 hours, or up to a week, for optimal strength.
6. Finishing Up
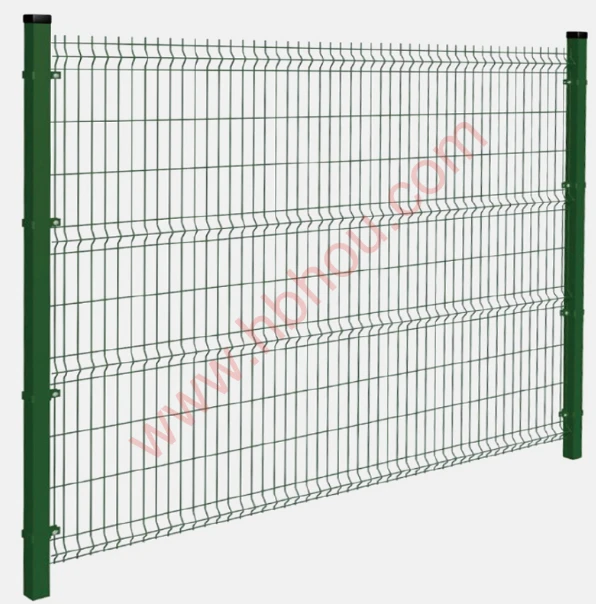
Once your posts are firmly in place, you can begin attaching the fence panels or rails. Ensure everything is level and spaced evenly. Regularly check for alignment as you work your way along the fence.
In conclusion, setting posts for a fence might seem straightforward, but attention to detail during the installation can lead to a beautifully constructed and durable fence. With the right materials, planning, and techniques, you can create a structure that will stand the test of time and weather, adding value and security to your property.


