Setting Fence Posts in Dirt A Practical Guide
Fencing has been a fundamental aspect of property delineation and security for centuries. Whether you're enclosing a garden, creating a safe space for pets, or enhancing your property's aesthetics, setting fence posts securely in dirt is a crucial step in ensuring that your fence stands the test of time. This article will provide you with a detailed guide on how to set fence posts in dirt effectively.
Choosing the Right Fence Posts
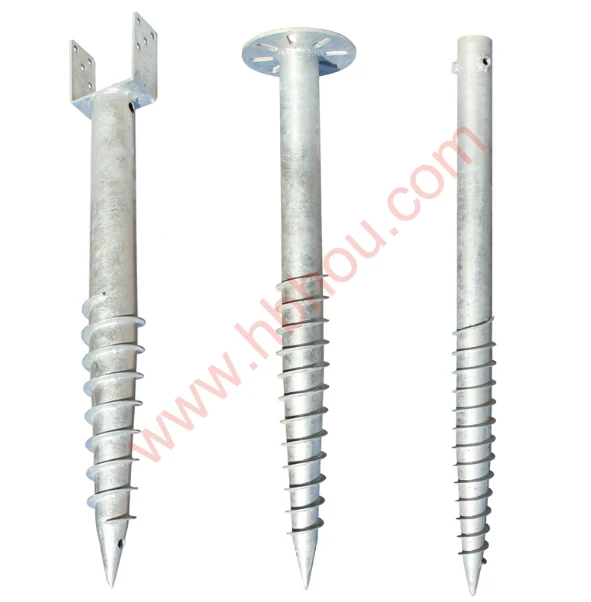
When starting any fencing project, the first consideration is the type of fence posts you'll be using. Wooden posts are popular due to their natural appearance and ease of use, while metal posts are known for their durability and resistance to rot. Whichever type you choose, ensure that the posts are treated for outdoor use, especially if you're using wood, to prevent decay and insect damage.
Preparing the Ground
Before you begin installing your fence posts, you must prepare the ground where they will be set. This involves clearing the area of any debris, rocks, or vegetation that could impede the installation process. Mark the locations where each post will go with stakes or spray paint. The distance between the posts will depend on the type of fence you are installing; typically, they are spaced about six to eight feet apart.
Digging the Holes
Once the ground is prepared, the next step is to dig the post holes. Ideally, the depth of the holes should be one-third the length of the post that will be above ground, which provides stability. For example, if you have a 6-foot post, you should aim for a hole that is at least 2 feet deep. A post hole digger or auger can be useful tools for this task, allowing you to create precise and deep holes efficiently.
set fence post in dirt

Setting the Posts
With the holes dug, it's time to place the posts. First, add a few inches of gravel to the bottom of each hole to facilitate drainage and prevent rot. Then, position your fence post in the center of the hole. It’s important to ensure that the post is vertical. A level can help you verify this easily. Once the post is in place, fill the hole with dirt, tamping it down as you go to remove air pockets and provide stability.
Securing the Posts
For added strength, consider using concrete to secure the posts. Mixing and pouring concrete around the post will create a robust base that is resistant to shifts and movement over time. If you choose this method, allow the concrete to cure according to the manufacturer's instructions—typically at least 24 to 48 hours—before attaching the fencing material.
Finishing Touches
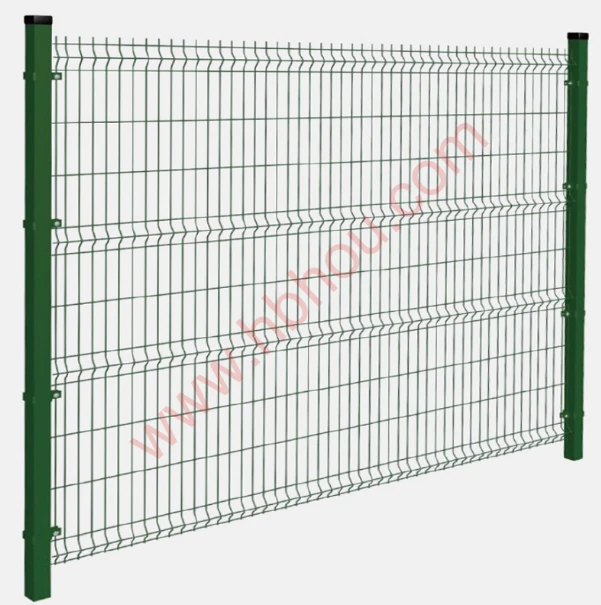
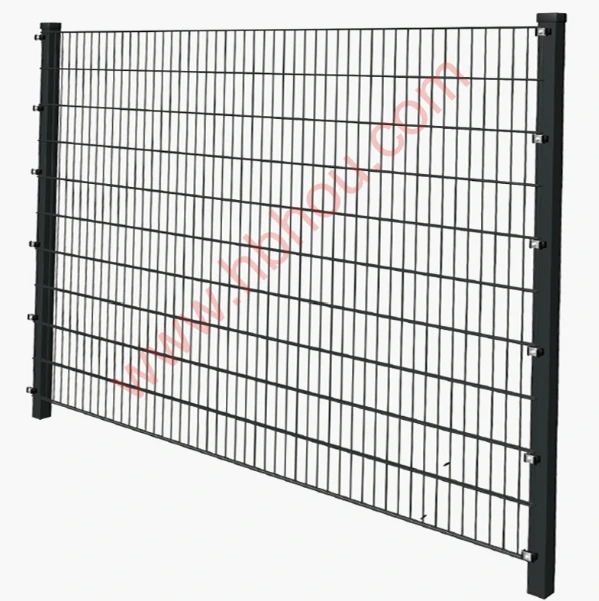
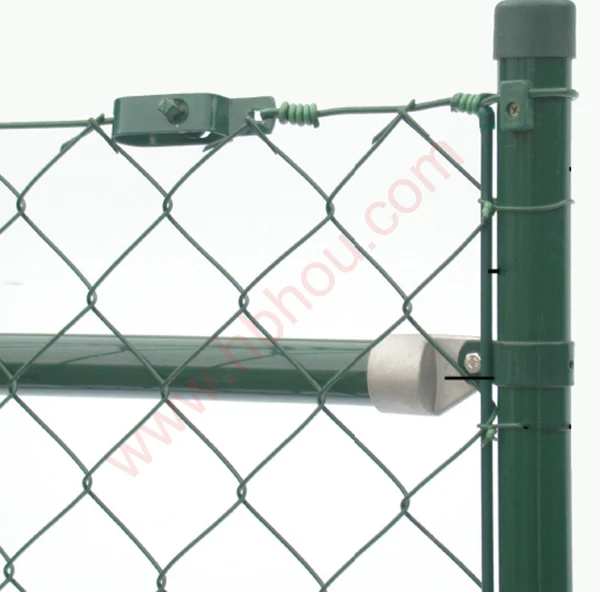
Once all the posts are set and secure, it’s time to add the fencing material. This could be wooden panels, wire mesh, or vinyl slats, depending on your design choice. As you attach the fence boards, continue to check that everything remains level and aligned. Complete any final adjustments to ensure your fence is not only functional but also visually appealing.
Conclusion
Setting fence posts in dirt may seem like a simple task, but it requires careful planning and execution to ensure a durable and effective result. By following these steps and taking the time to do it right, you can create a fence that not only serves its purpose but also enhances the overall beauty of your property. Whether it’s for privacy, security, or aesthetics, a well-constructed fence is an investment that will pay off for years to come.


