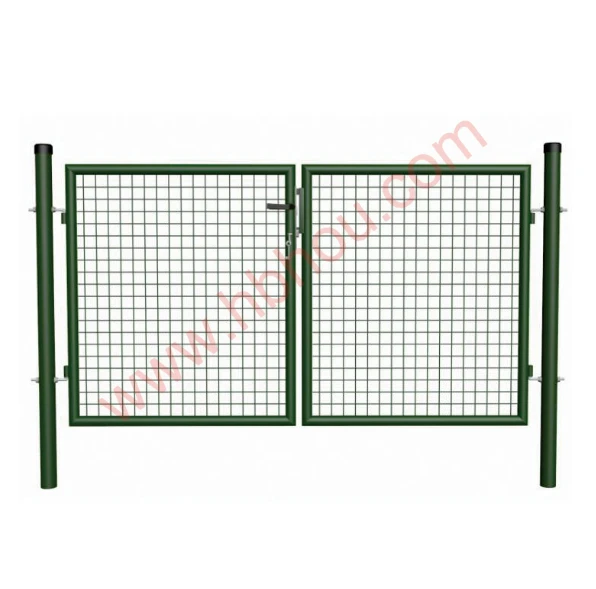
The 6 Step Process in Fence Post Installation
Installing a fence is a popular home improvement project that not only enhances the aesthetic appeal of your property but also offers privacy, security, and delineates boundaries. While the task may seem daunting at first glance, breaking it down into manageable steps can simplify the process significantly. Here’s a detailed look at the 6-step process of fence post installation.
Step 1 Planning and Preparation
Before you begin digging post holes, the first step is to plan your fence. Determine the layout, type, and height of the fence you wish to install. Consider local regulations regarding fence installation, as certain heights and styles may need permits. Utilize stakes and string to mark the corners and straight lines of your designated fence area. Measure the distance between each post to ensure uniformity, typically between 6 to 8 feet apart depending on the design.
Step 2 Gathering Materials and Tools
Once you have a solid plan in mind, it’s time to gather your materials and tools. You will need
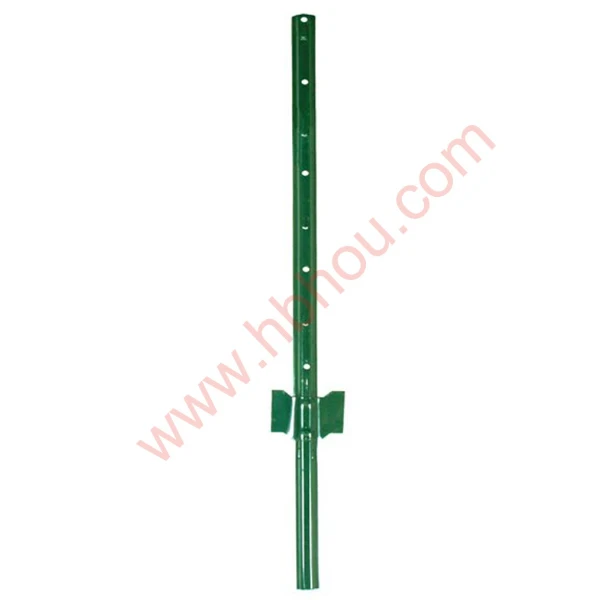
- Fence posts (wood, vinyl, or metal depending on your choice) - Concrete or gravel (for securing the posts) - String or twine (to help with alignment) - A post hole digger or auger - A level - A tape measure - A saw (if adjustments to the posts are required) - Safety gear (gloves, goggles, etc.)
Having all your materials at hand before beginning will save you time and effort and keep you organized.
Step 3 Digging Post Holes
6 step in fence post

With your materials ready, it’s time to start digging. Using the post hole digger or auger, excavate holes that are at least one-third the length of your posts deep. This depth provides adequate support for the fence. For most fences, a depth of 2 to 3 feet is recommended, particularly if you’re in a region with high winds or frost. Keep the post holes at least 6 inches wider than the diameter of your posts to allow for concrete or gravel.
Step 4 Setting the Posts
Now that the holes are ready, it’s time to set the posts. Place each post into its respective hole, ensuring that they are straight and level. Use a level to check for vertical alignment. To secure the posts properly, fill the hole with either concrete mix or gravel. If using concrete, mix it according to the package instructions and pour it into the hole around the post, ensuring it’s evenly distributed. If using gravel, fill the hole with a few inches, then tamp it down before adding more gravel. Allow the concrete to cure for at least 24 to 48 hours before proceeding to the next step.
Step 5 Attaching the Fence Panels
Once the posts are securely set and the concrete has cured, you can begin attaching the fence panels. Depending on the type of fence you are installing, you will either attach pre-fabricated panels or install individual boards. Start at one end of the fence, using nails or screws to secure each fence panel to the posts. Regularly check to ensure everything is straight before fully securing the panels. For added stability, consider adding horizontal rails, especially if you are working with individual boards.
Step 6 Finishing Touches
With all panels in place, it’s time for the finishing touches. Trim any excess wood, if necessary, and sand down rough edges to avoid any injuries. If you’re using wood panels, consider applying a protective sealant or paint to enhance durability and weather resistance. Additionally, clean up your work area by disposing of excess materials and debris. Finally, step back and admire your work; a newly installed fence can transform your yard and increase your property value.
Conclusion
Installing a fence post might seem like a daunting task, but with the right planning and execution, it can be an enjoyable DIY project. By following these six simple steps—planning, gathering materials, digging, setting posts, attaching panels, and finishing touches—you can successfully install a fence that will enhance your home and property. Always consider safety first and, when in doubt, don't hesitate to seek advice or assistance from professionals. With patience and attention to detail, your fence will serve as a lasting testament to your hard work and commitment to your home.


