Setting Up an Electric Fence A Comprehensive Guide
Electric fences are an effective and efficient way to manage livestock, protect gardens, and enhance security around properties. Unlike traditional barriers, electric fences provide a psychological barrier, deterring animals and intruders without causing permanent harm. In this guide, we will walk you through the essential steps to successfully set up an electric fence.
Step 1 Planning Your Electric Fence
Before you begin the installation process, it’s crucial to plan the layout of your electric fence. Identify the area you want to enclose or protect and take accurate measurements. Consider the terrain, existing structures, and the type of animals you want to contain or deter. Make sure to check local regulations regarding electric fencing, as there may be restrictions on height, voltage, or other factors.
You should also decide on the type of electric fence that best suits your needs. There are various types, including permanent, temporary, and portable systems. Permanent fences are typically used for livestock containment, while temporary solutions are ideal for rotational grazing or gardening.
Step 2 Gathering Materials and Tools
Once your planning is complete, gather all necessary materials and tools. You will need
- Electric fence energizer (fence charger) - Insulated fence posts (wooden or plastic) - Electric fence wire or tape - Insulators (to prevent the wire from touching the posts) - Grounding rods (for grounding the energizer) - Wire connectors and clamps - Tools for digging, such as a post hole digger or auger - A voltage tester (to ensure the system is functioning correctly)
Step 3 Installing Fence Posts
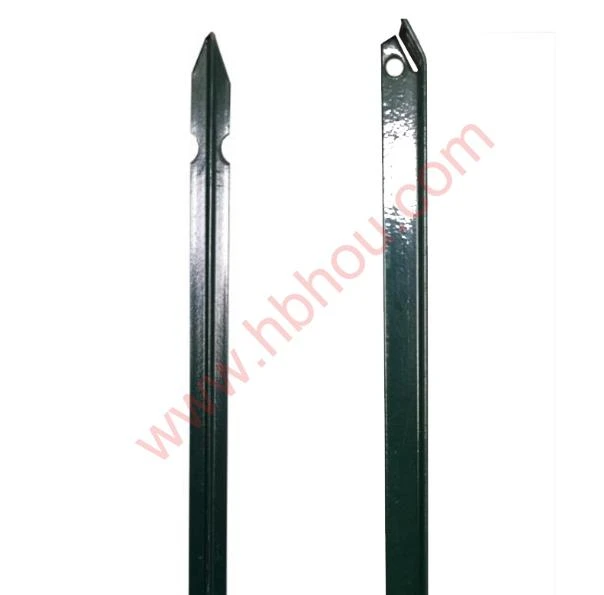
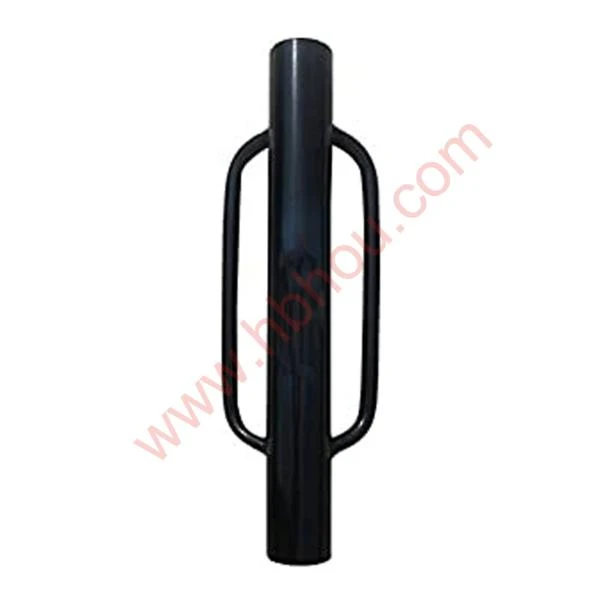
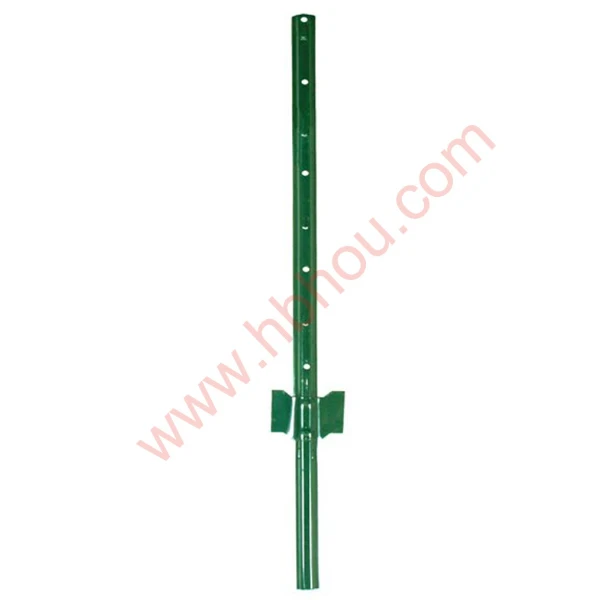
The next step is to install the fence posts. Space your posts according to the type of fencing you’re using, typically 10 to 20 feet apart, depending on the terrain and the height of the fence. Use a post hole digger to create holes for your posts, ensuring they are deep enough to provide stability (at least 1/3 of the post should be underground). Once the posts are in place, secure them with concrete mix if necessary.
electric fence set up

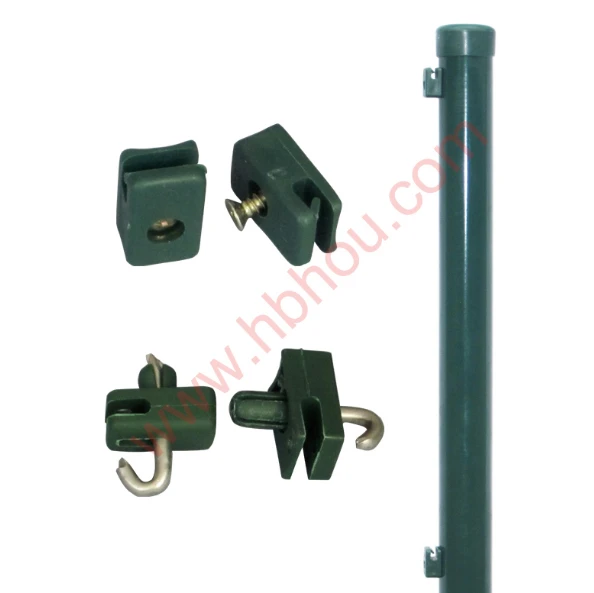
Step 4 Attach Insulators
After installing the posts, it’s time to attach the insulators. Insulators prevent the electric current from grounding through the posts and are essential for maintaining the fence's effectiveness. Position the insulators at the appropriate height based on the animals you are enclosing. For example, a cattle fence will require a different height compared to a fence meant for smaller animals like sheep or goats.
Step 5 Run the Electric Wire
Now, run the electric wire or tape through the insulators. Ensure that the wire is taut but not overly tight, as this can lead to breakage. If you're using multiple strands, maintain consistent spacing between them to prevent animals from accessing the area between wires.
Step 6 Install the Energizer
Select a suitable location for your electric fence energizer. It should be close to a power source and easily accessible for maintenance. Connect the energizer to the fence using high-quality connectors, and follow the manufacturer’s instructions for proper installation. Ensure that the energizer is properly grounded with grounding rods, as this is crucial for the effective operation of the system.
Step 7 Testing the Fence
Once everything is installed, it’s important to test the electric fence. Use a voltage tester to check each strand of wire for proper voltage. A functioning electric fence should deliver a strong shock (but not enough to cause injury) to deter animals and intruders effectively.
Conclusion
Setting up an electric fence may seem daunting at first, but with careful planning and execution, it can be a straightforward process. By following the steps outlined above, you can create a reliable barrier to protect your property or manage your livestock efficiently. Always remember to regularly inspect and maintain your electric fence to ensure it remains effective over time.


