Setting Out Fence Posts A Step-by-Step Guide
Setting out fence posts is a fundamental task for anyone looking to install a durable and aesthetically pleasing fence. Whether you’re securing a boundary, creating a private garden space, or a safe area for pets, the process requires careful planning and execution. Here’s a step-by-step guide on how to set out fence posts correctly.
1. Planning and Materials
Before you begin, you need to plan the fence layout. Decide the length, height, and style of the fence. Mark the corners of the fence area where the posts will be installed using stakes and string or spray paint for visual guidance. It’s essential to consider zoning regulations and obtain necessary permits if required.
Gather your materials fence posts (typically wooden or metal), concrete (if necessary), a level, measuring tape, and a post hole digger or auger. For wooden posts, pressure-treated lumber is recommended for longevity.
2. Measuring the Distances
Once the layout is defined, measure the distances between the posts. Standard spacing for fence posts is typically six to eight feet apart, but this can vary depending on the type of fence and materials used. Use a measuring tape to ensure that the distances are consistent.
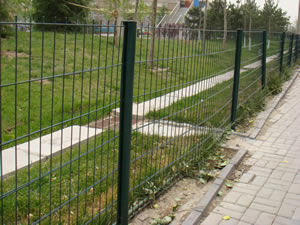
setting out fence posts
With the spacing established, it’s time to dig the post holes. The depth of each hole should be about one-third of the post height above ground, ensuring stability. Typically, this is around 2 feet deep for most residential fences. Make sure the holes are slightly wider than the posts to allow space for concrete or gravel if you decide to secure them this way.
4. Setting the Posts
Place the posts into the holes, ensuring they are straight and aligned with your layout. Use a level to check the vertical alignment. If you’re using concrete, pour it into the hole around the post and pack it solidly. For wooden posts, using gravel in the bottom of the hole can improve drainage and help prevent rotting.
5. Ensuring Stability
Support the posts temporarily with braces until the concrete sets, which usually takes 24 to 48 hours. During this time, double-check that each post is vertical and aligned. Once the concrete is cured, you can remove the braces and proceed with attaching the fencing material.
6. Final Touches
After the posts are securely in place, you can attach the fence panels, rails, or chain links as desired. Finish with any additional features such as decorative caps or paint to enhance appearance and durability.
Setting out fence posts is a rewarding DIY project. With careful measurement, proper materials, and attention to detail, you’ll create a sturdy fence that adds value and beauty to your property. Happy fencing!


